Step 1 |
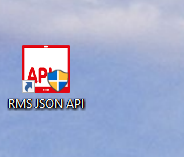
On the desktop, double click on the shortcut:
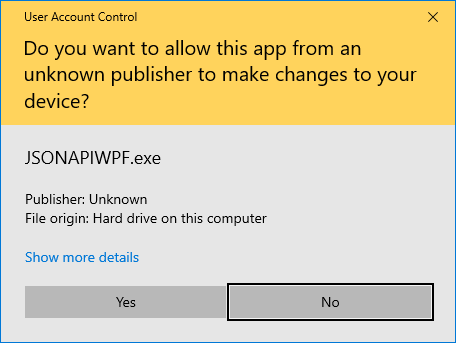
The User Account Control will ask if you want to allow this app from an unknown publisher to make changes to your device? Click on Yes:
|
Step 2 |
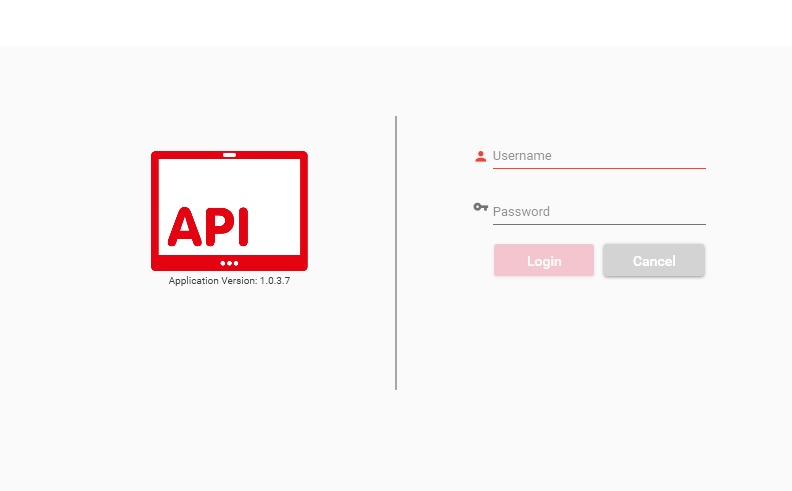
Login to the software with the following details:
Username: admin Password: admin
|
Step 3 |
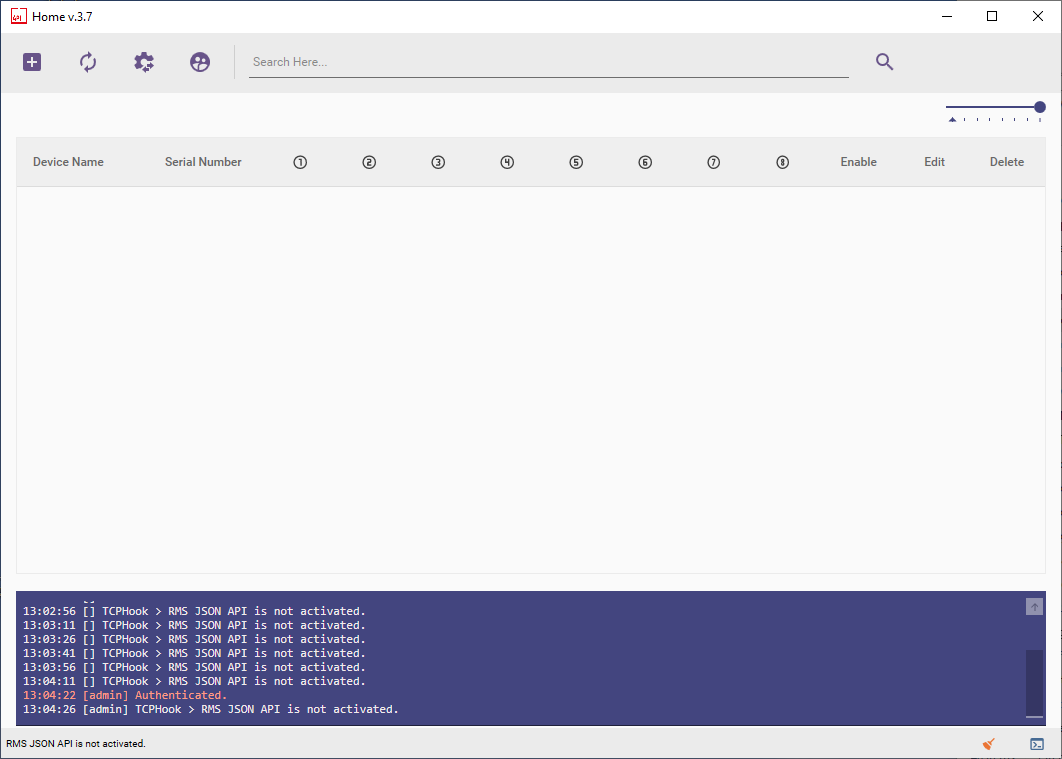
The software will open:
Ensure that the connection message is the following: TCPHook>start thread TCPHook>Trying to connect to 127.0.0.1 at TCP Port 9999. TCPHook>Connected to service.
If not, please see the Troubleshooting RMS-JSON-API 1. |
Step 4 |
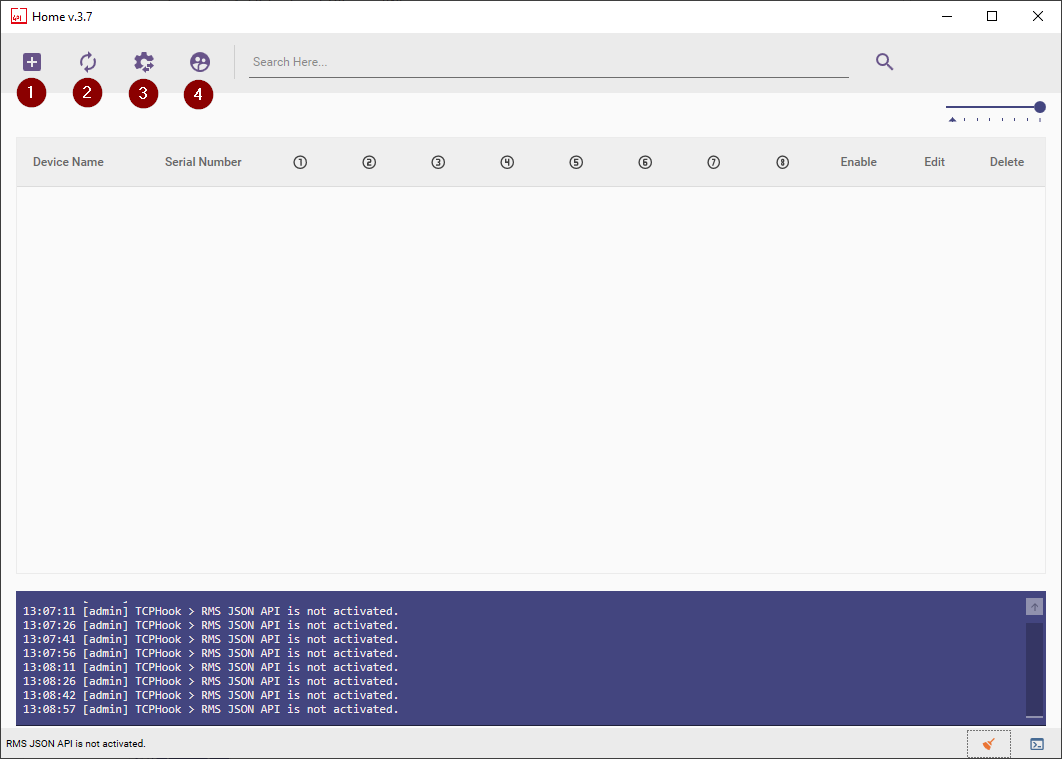
Software home overview:
1) Add a new device. Click here to add a new device. 2) Reload. Click here to reload the page. 3) RMS settings. Click here to define the RMS Post Data URL. 4) Users. Click here to setup users. |
Step 5 |
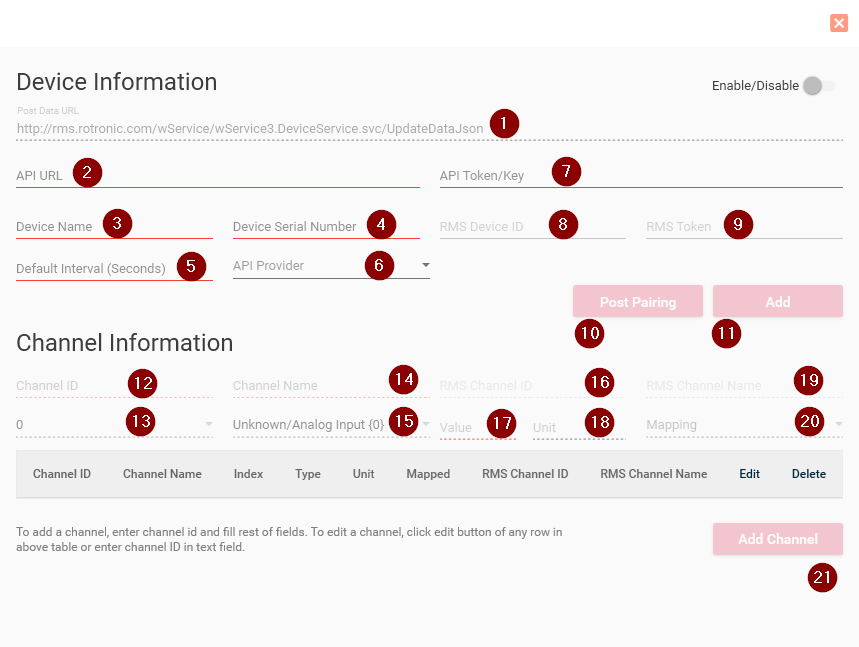
Add a new device overview:
1) Post Data URL (this is taken from the RMS settings, seen in 2) in the software home overview. 2) API URL. What is the URL of where the data can be found. 3) Device name. The device name that will appear in RMS. 4) Device Serial Number: The serial number of the device that will appear in RMS. 5) Default Interval (Seconds). The log interval. 6) API Provider. A list of the integrated API providers that are in the RMS-JSON-API software. 7) API Token/Key. If a token or key is required to get data, then it can be input here. 8) RMS Device ID. Once the device is added to RMS, a device ID will be attributed and will need to be added here. 9) RMS RMS Token. Once the device is added to RMS, a RMS token will be attributed and will need to be added here. 10) Post Pairing button. 11) Add button. 12) Channel ID. Add a channel ID. 13) Up to 8 inputs can be added per RMS-JSON-API device (0...7). 14) Channel Name. Add a channel name. 15) Select the parameter measured. 16) RMS Channel ID. Once the device is added to RMS, a channel ID will be attributed and will need to be added here. 17) Value. Add a standard value for the measurement. 18) Unit. Add a unit for the measurement. 19) RMS Channel Name. Once the device is added to RMS, a channel name will be attributed and will need to be added here. 20) Mapping. Based upon the API provider selected, the mapping will vary. The mapping is the information that is extracted via the API. 21) Add Channel button. Limited to 8 channels. |
Step 6 |
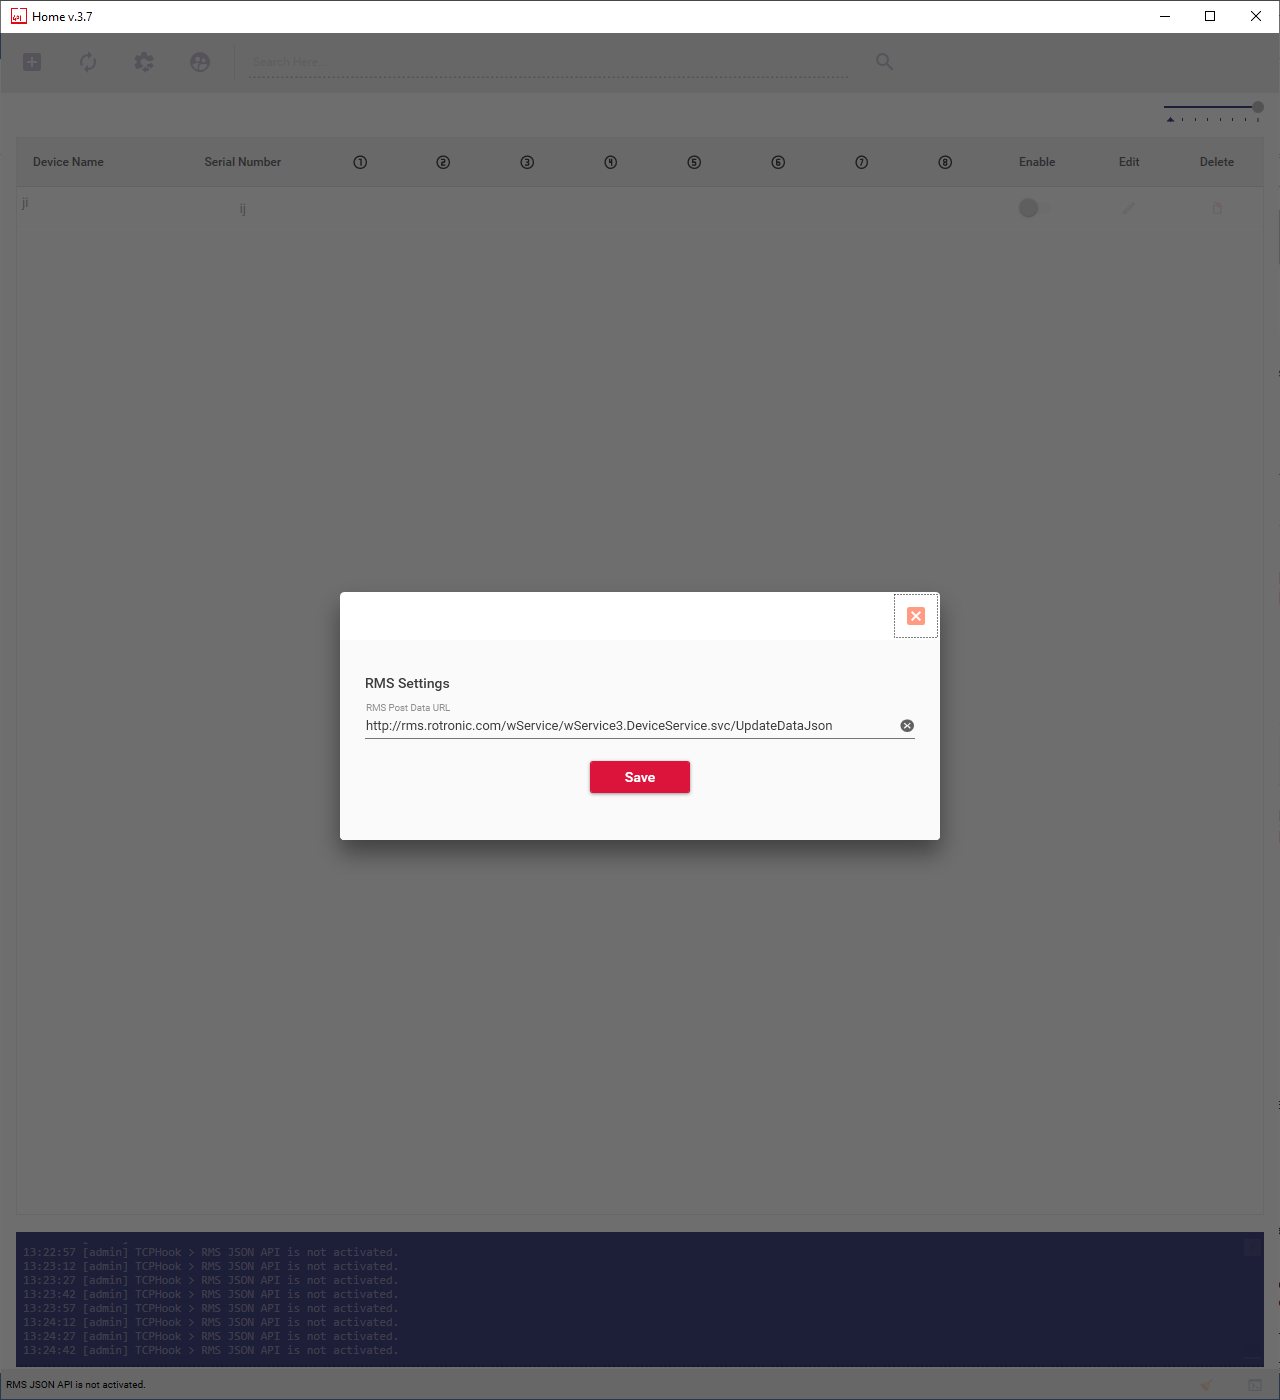
RMS Settings overview:
For standard cloud applications, use the following RMS Post Data URL: http://rms.rotronic.com/wService/wService3.DeviceService.svc/UpdateDataJson
For on-premise solutions update rms.rotronic.com with the server ID. |
Step 7 |
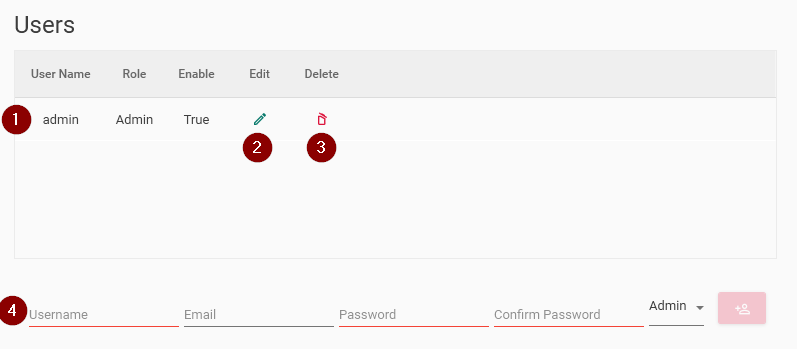
RMS Users overview:
1) View of the current users. 2) Edit user. 3) Delete user. 4) Update or add a new admin or user. An admin has all rights, a user can only open and close the application. |
