Step 1 |
The SQL Server Express should be downloaded and available under downloads: 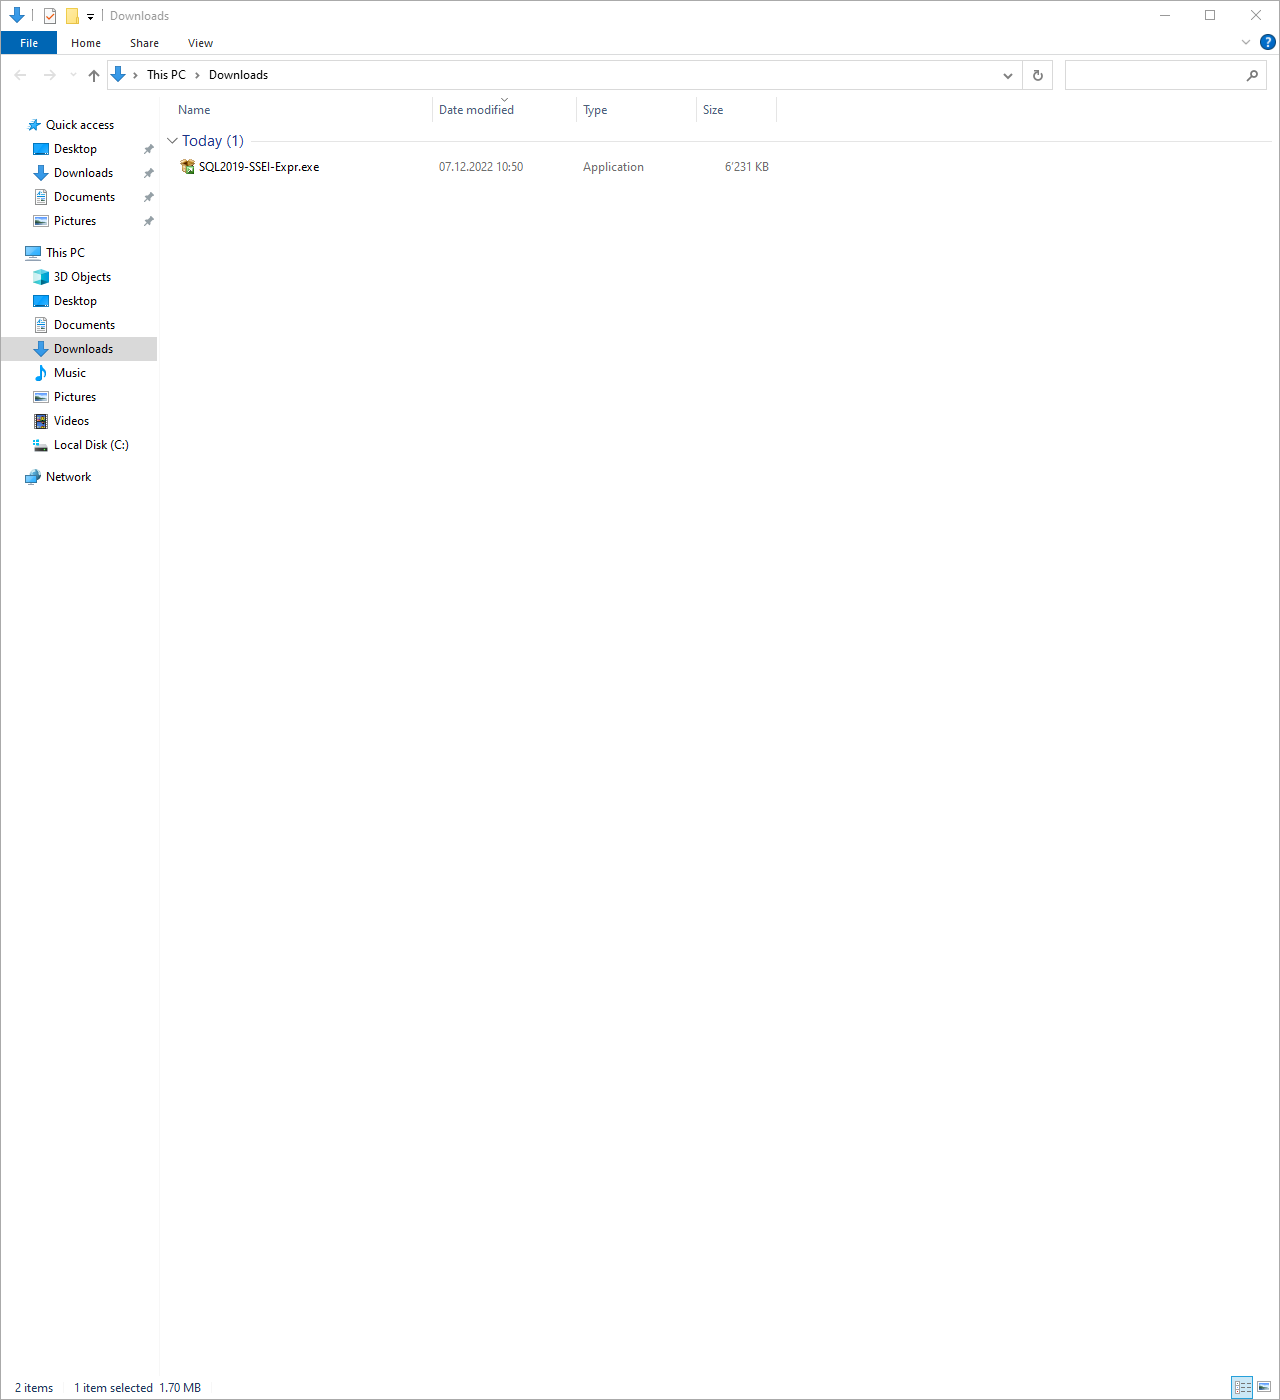
Right click on the "SQL2019-SSEI-Expr.exe" file and run as administrator:  |
|---|---|
Step 2 |
The following window will appear: 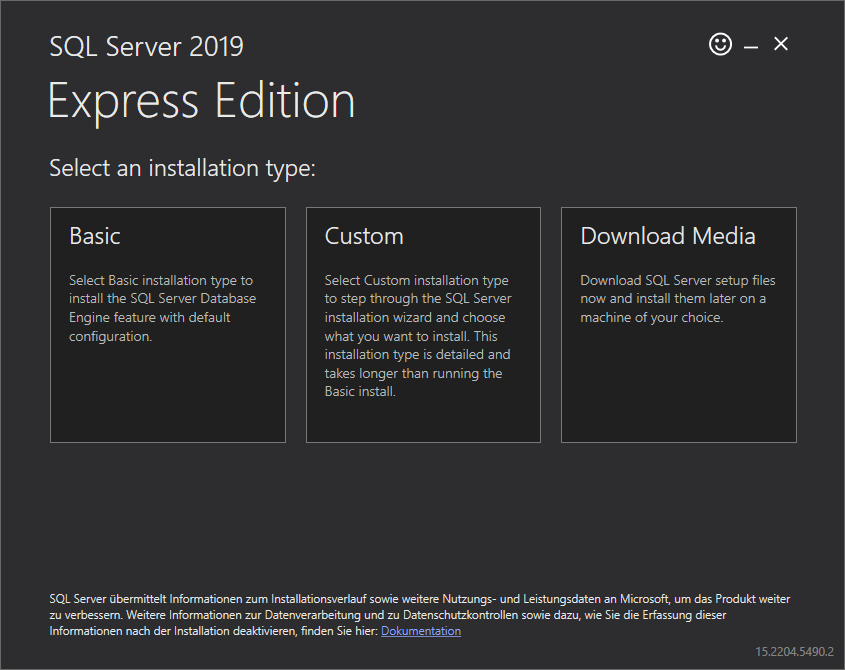
Select Download Media: 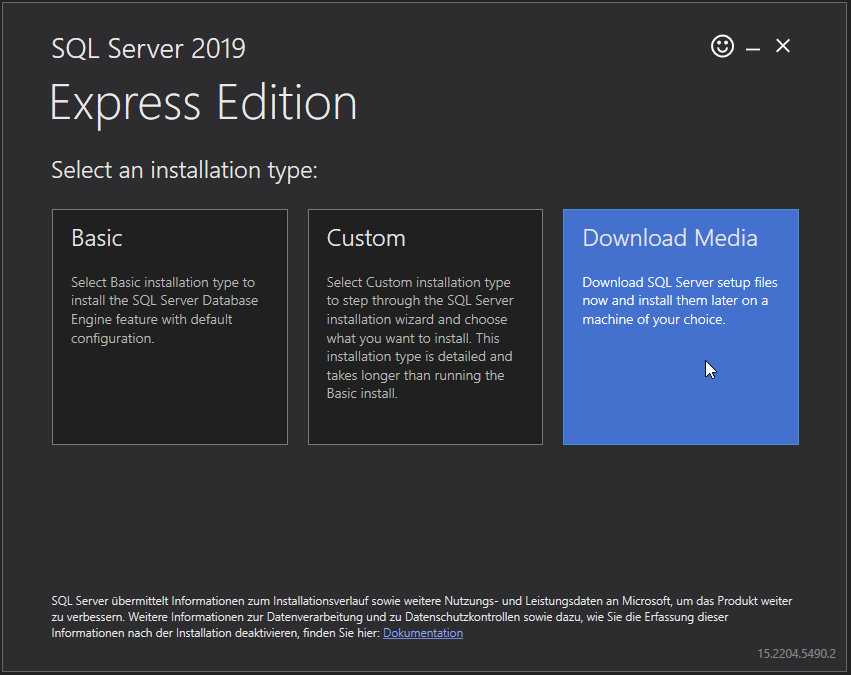
Select the following following language, package and download location and click on download: 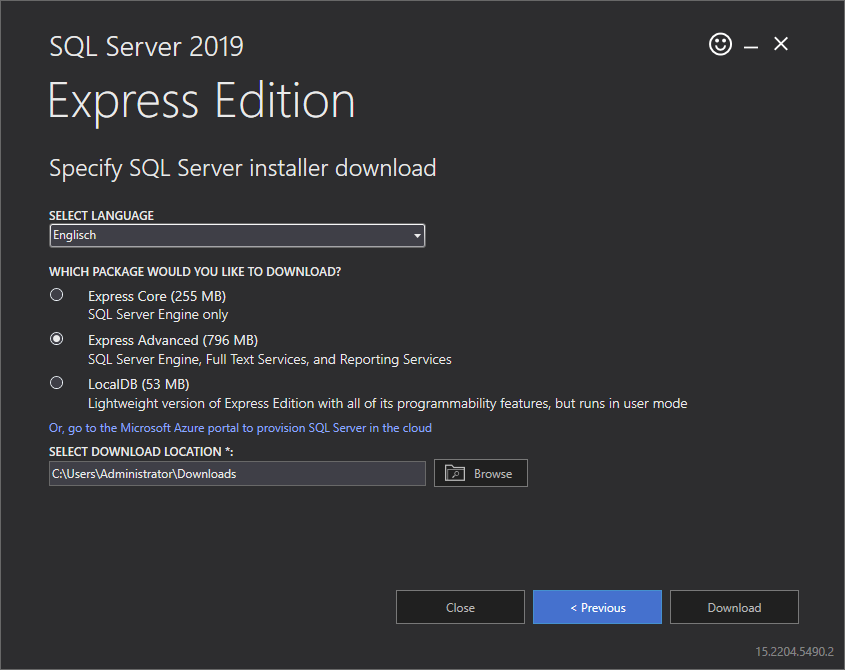
The download will commence: 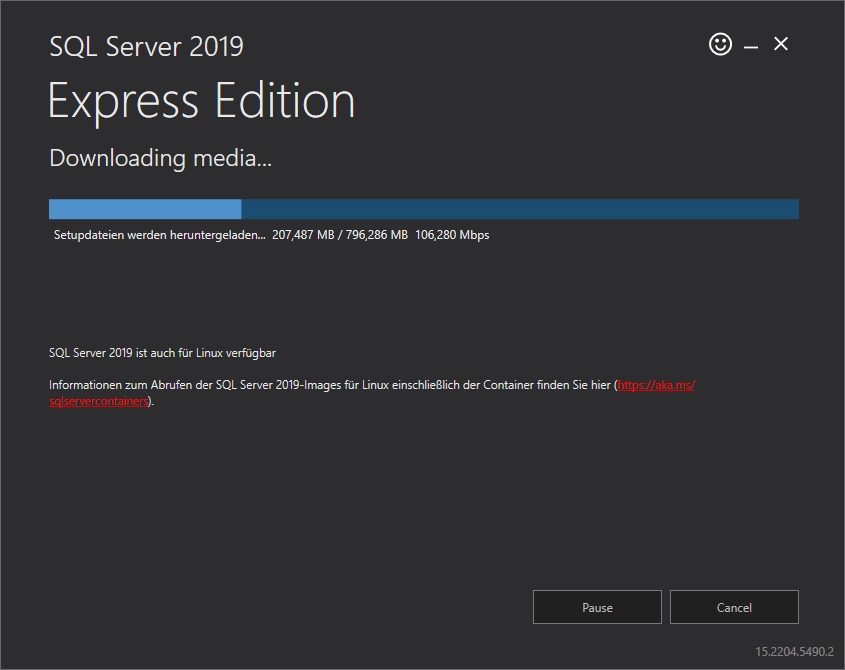
Once the download was successful, click on open folder: 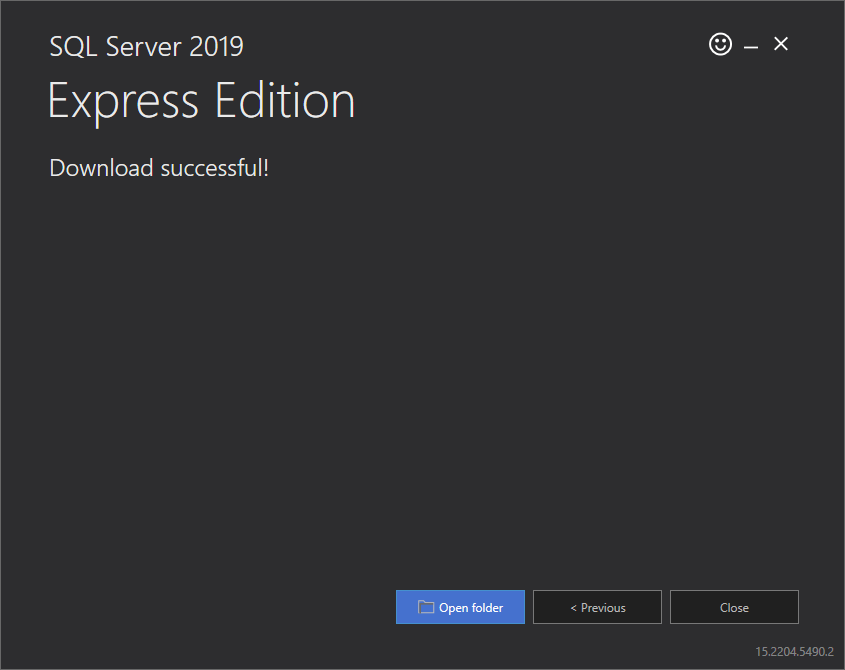 |
Step 3 |
Under the download folder, a new file is available: "SQLEXPRADV_x64_ENU.exe". 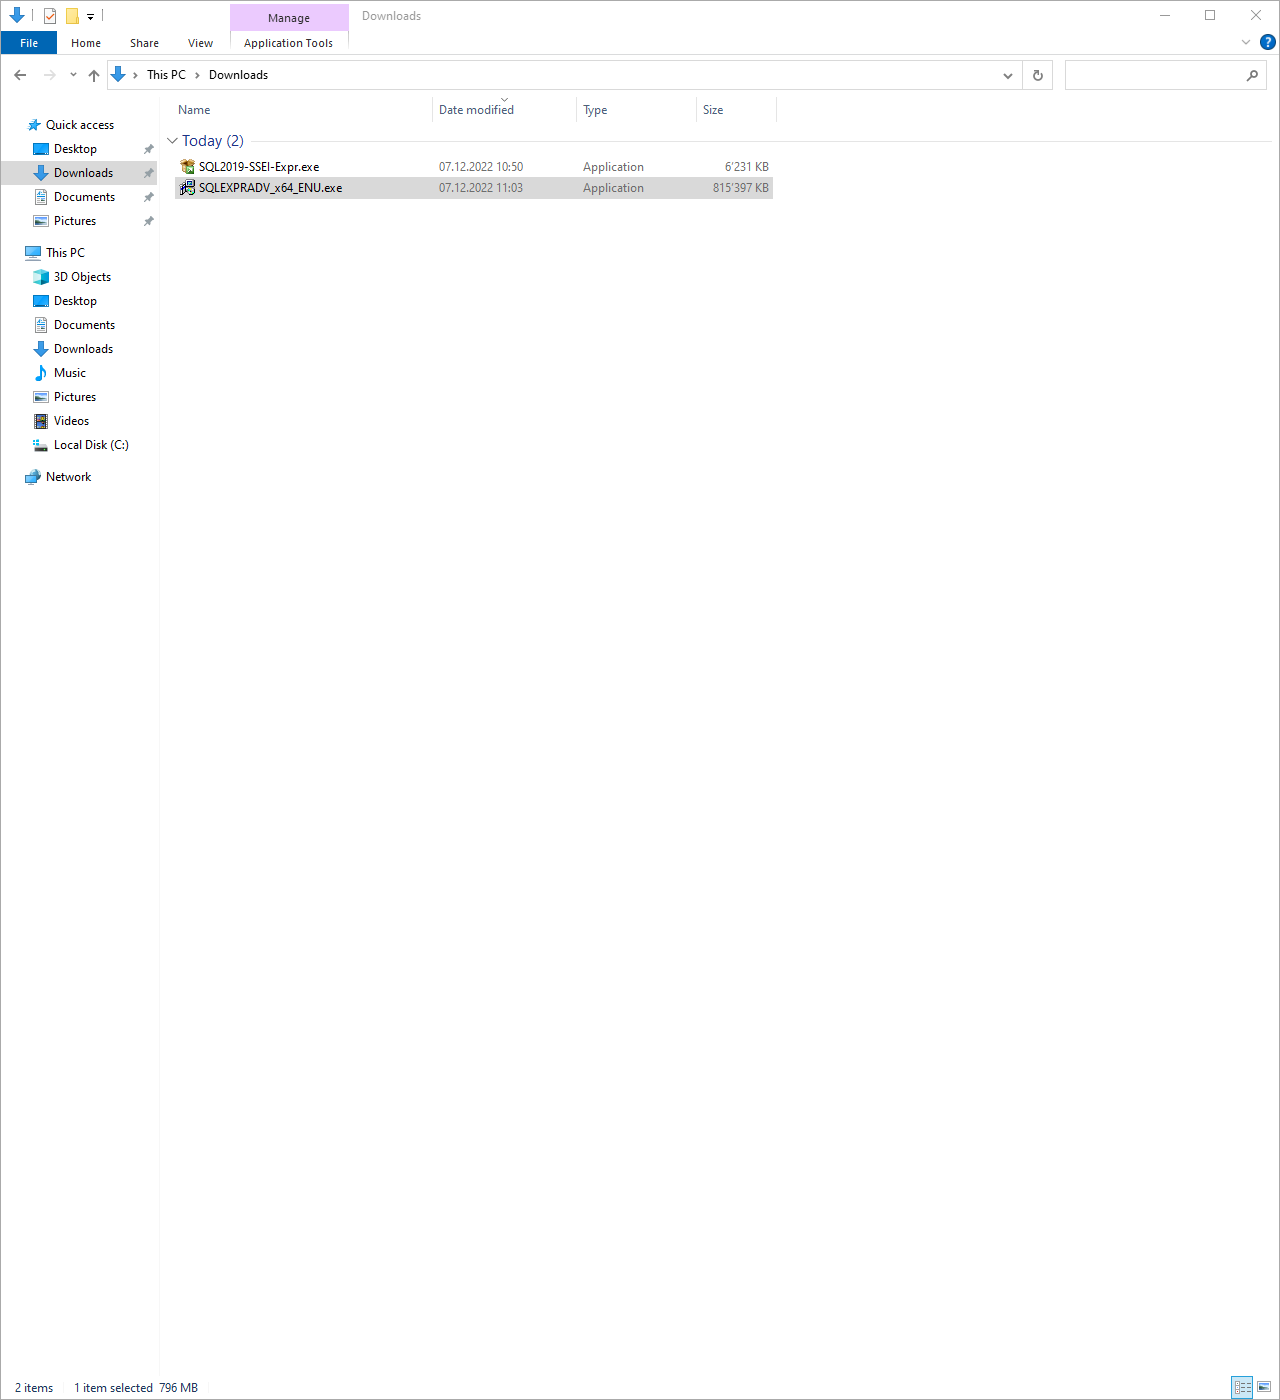
Right click on the "SQLEXPRADV_x64_ENU.exe" file and run as administrator: 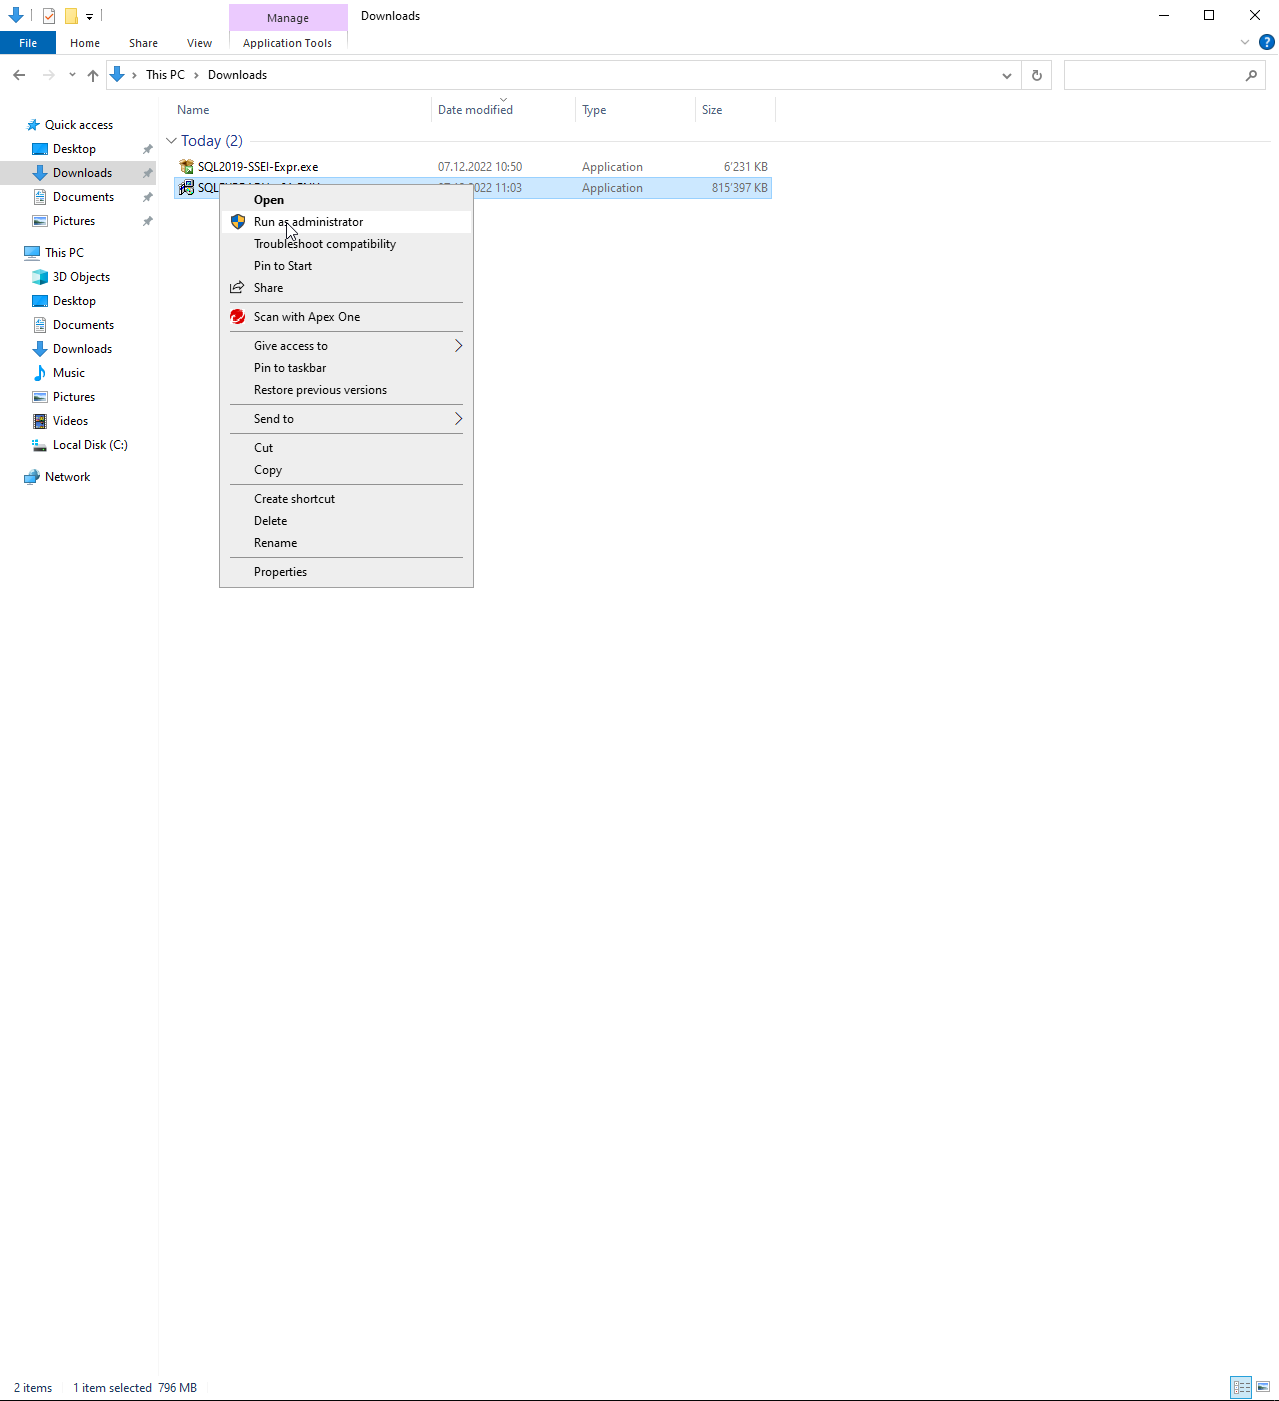 |
Step 4 |
Choose the directory for the extracted file: 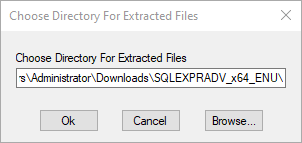
Click on OK and the extraction will start: 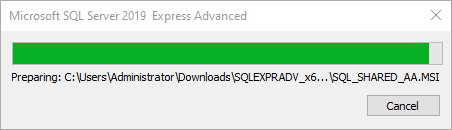 |
Step 5 |
The following window will open: 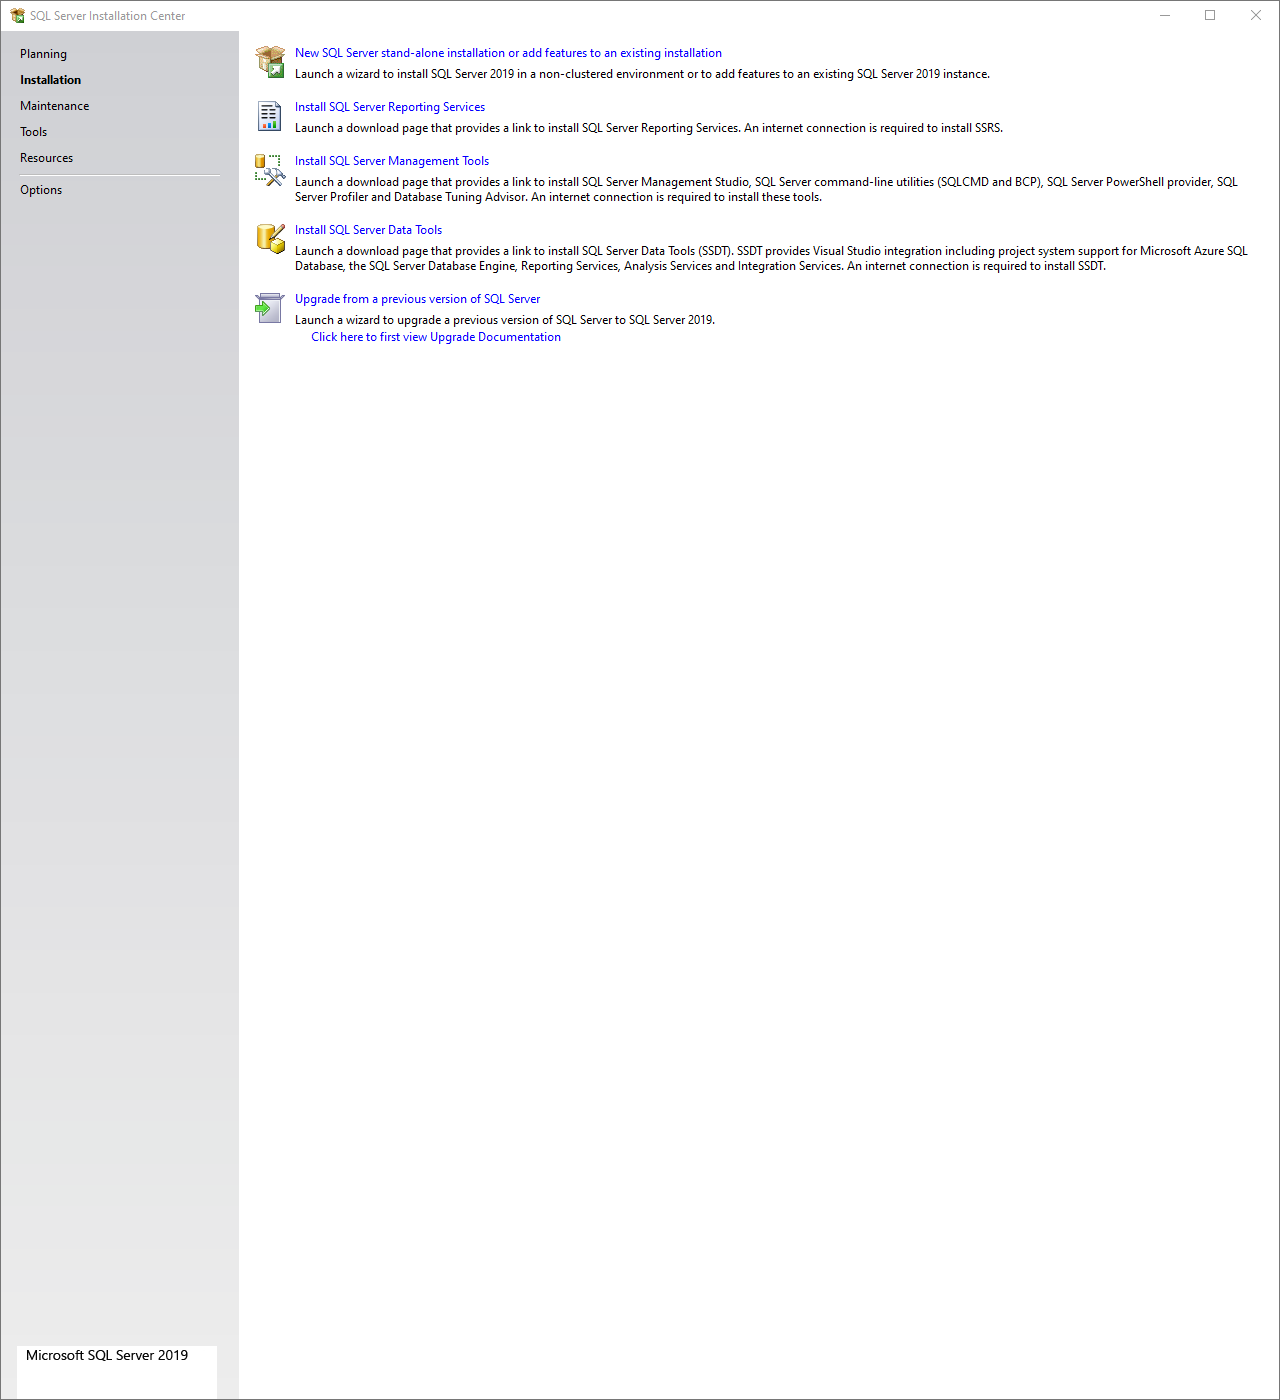
Select "New SQL Server stand-alone installation or add features to an existing installation": 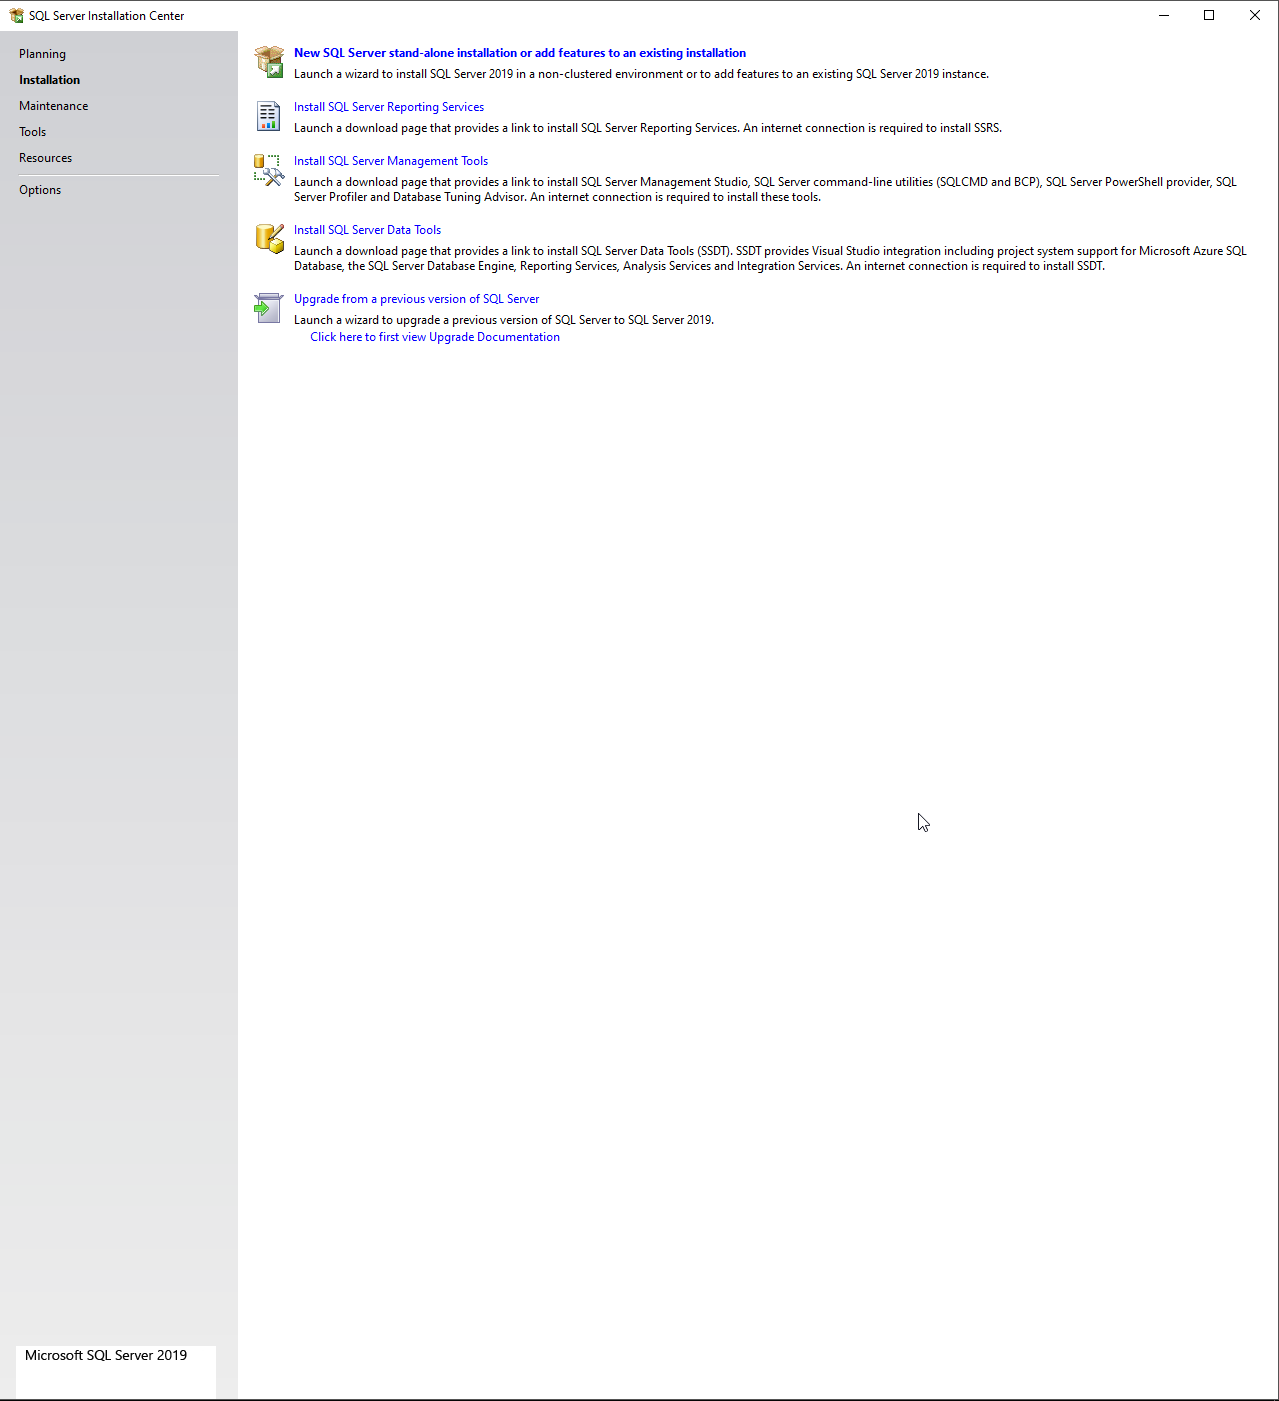
Read the License Terms and tick "I accept the license terms". Then click on "Next". 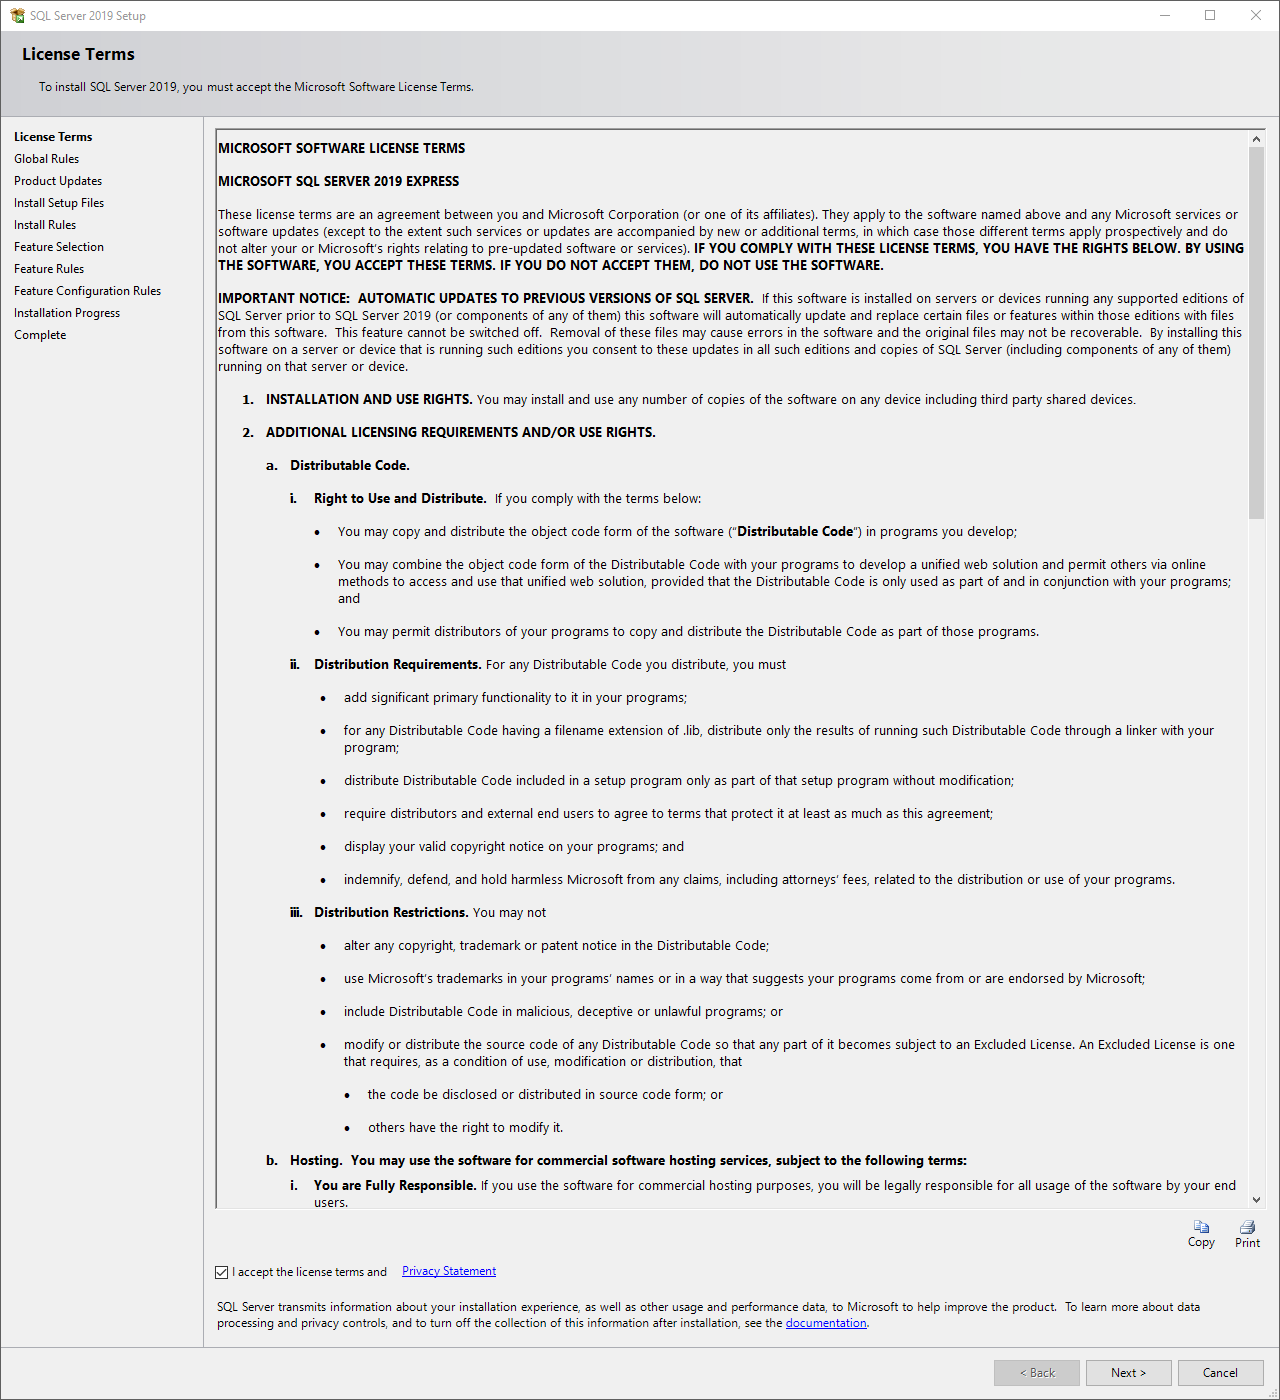 |
Step 6 |
Feature Selection: Select the features seen in the print screen (these are the standard features already offered by SQL when carrying out the setup). Then click on "Next". 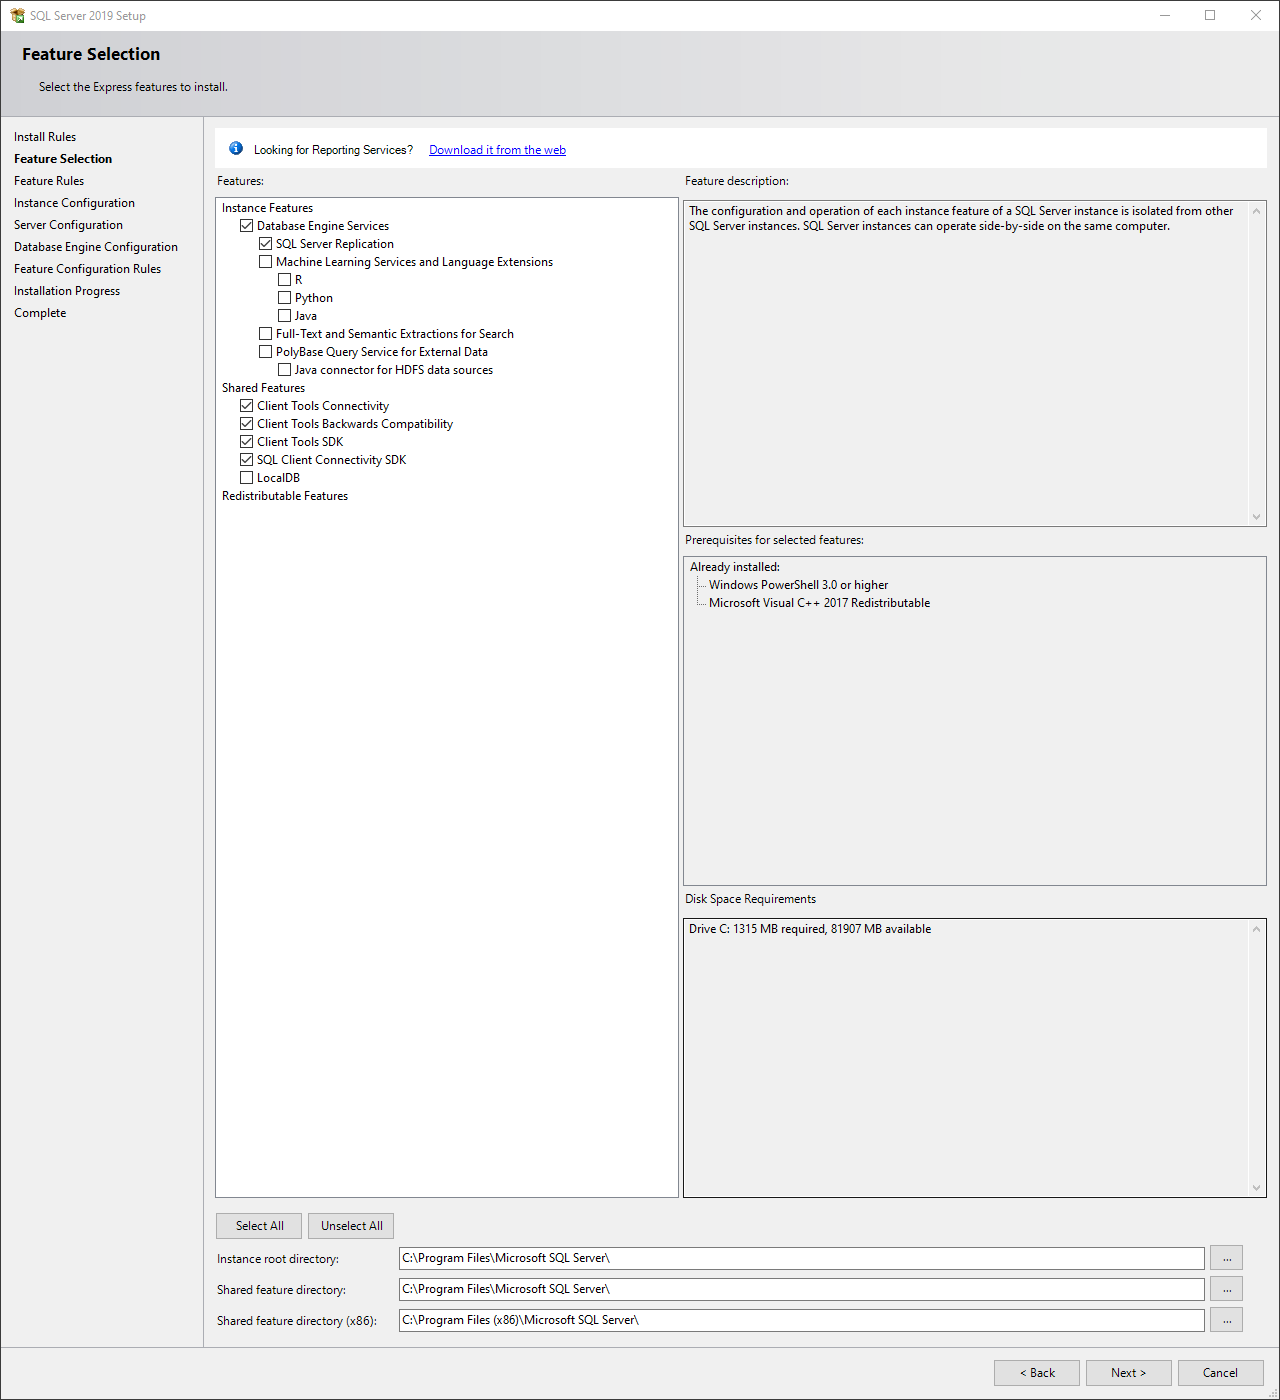
IMPORTANT: If the data of the SQL server should be added to another location, update the instance root directory now as this cannot be changed afterwards! |
Step 7 |
Instance Configuration: Change the named instance to SQLRMS and go to "Instance ID" with the tab key. SQL Server Setup will fill in the ID automatically with the named instance name. Then click on "Next". 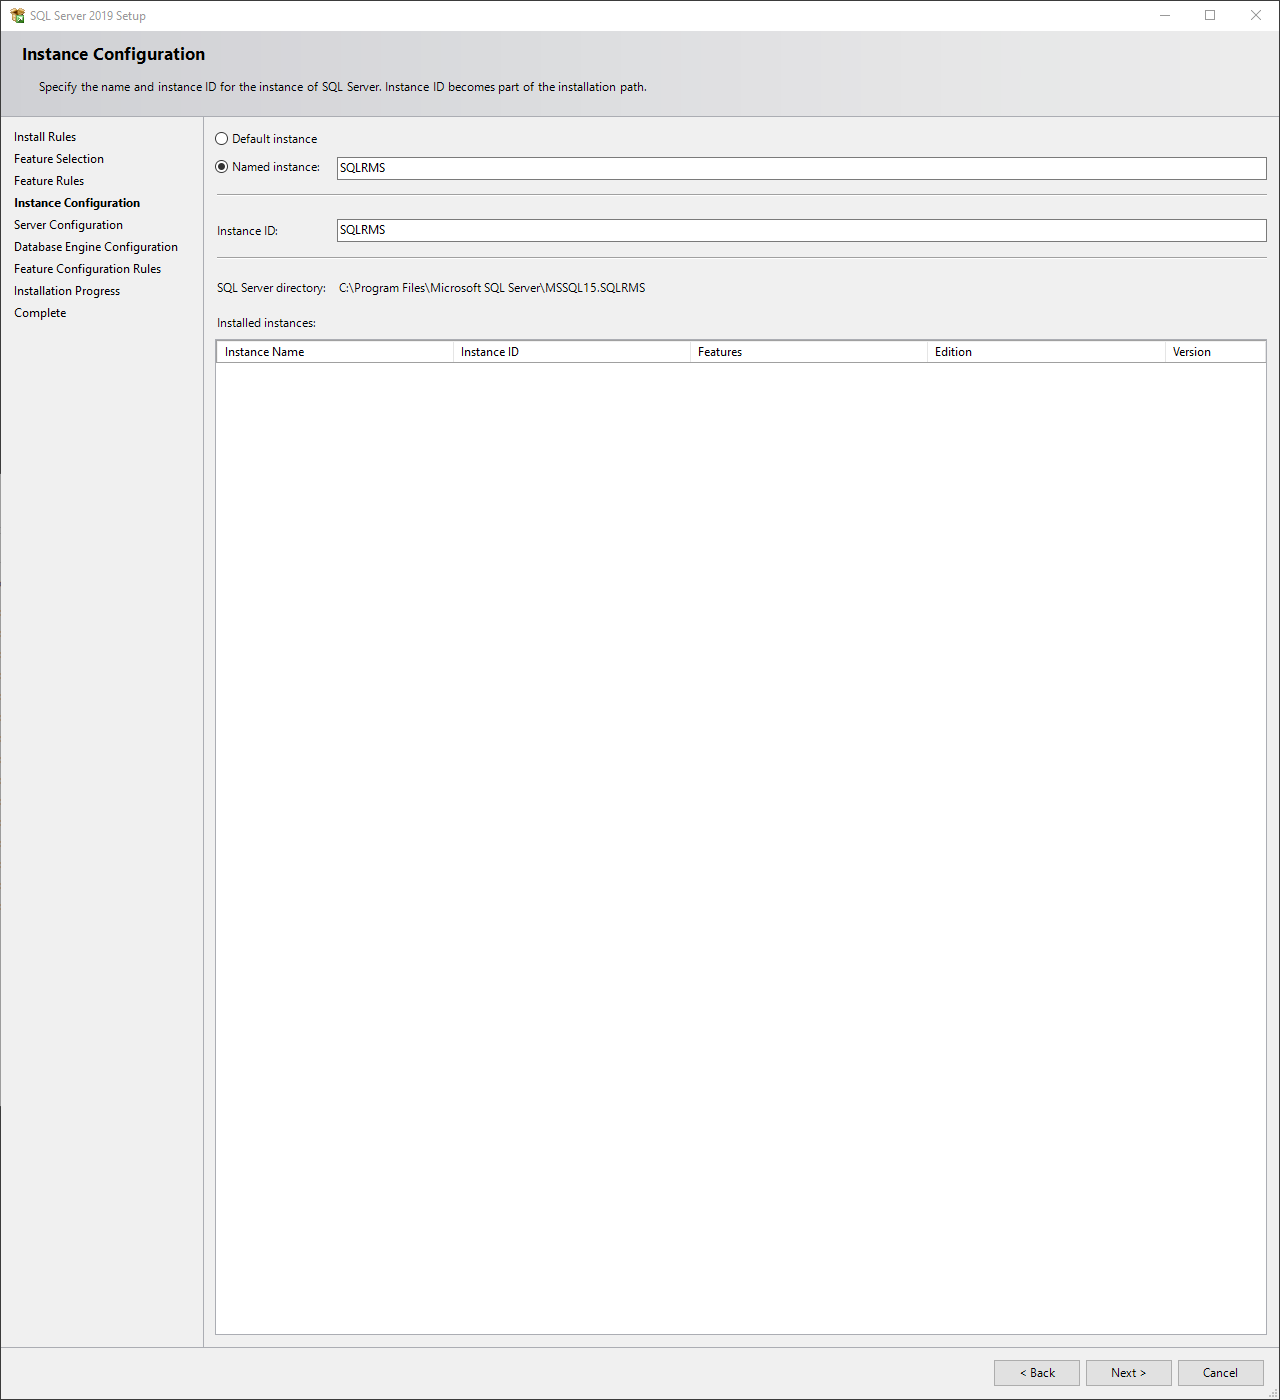 |
Step 8 |
Server Configuration: Make sure that the SQL Server Browser is set to Automatic. Then click on "Next". 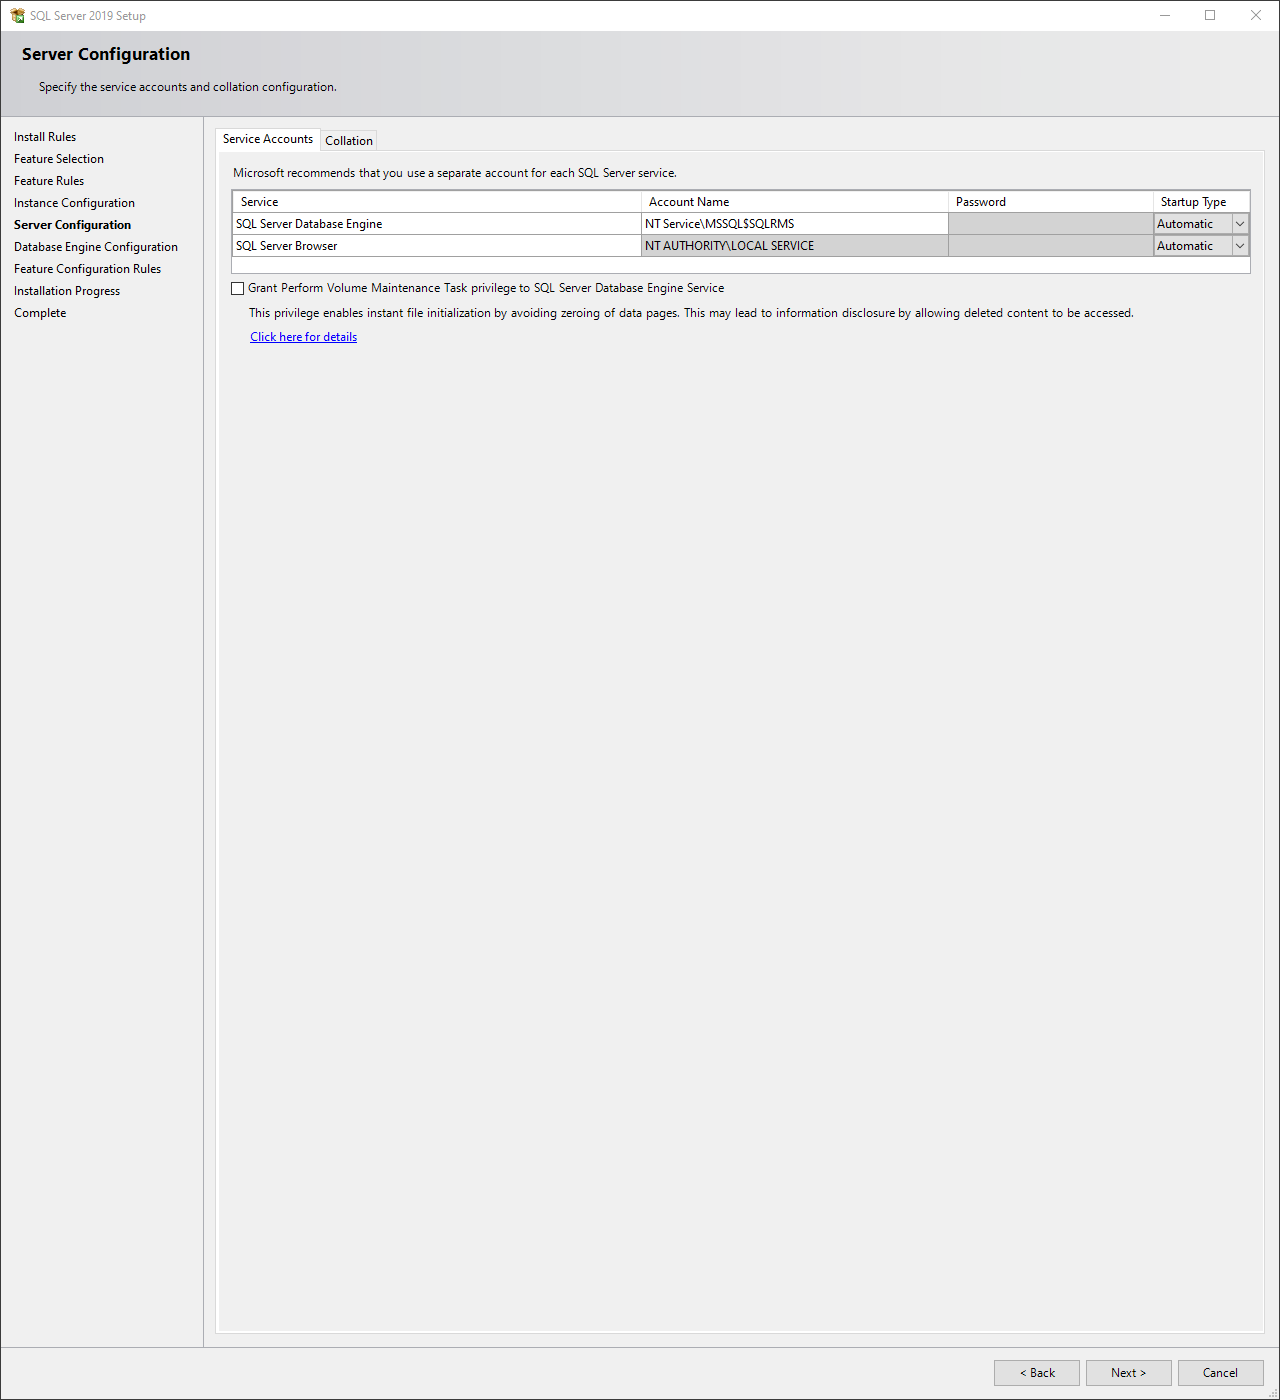 |
Step 9 |
Database Engine Configuration: Select the Mixed Authentication mode, then specify the password for the SQL Server system administrator (sa) account.
Recommendation Rotronic: Rotronic123.
Then click on "Next".
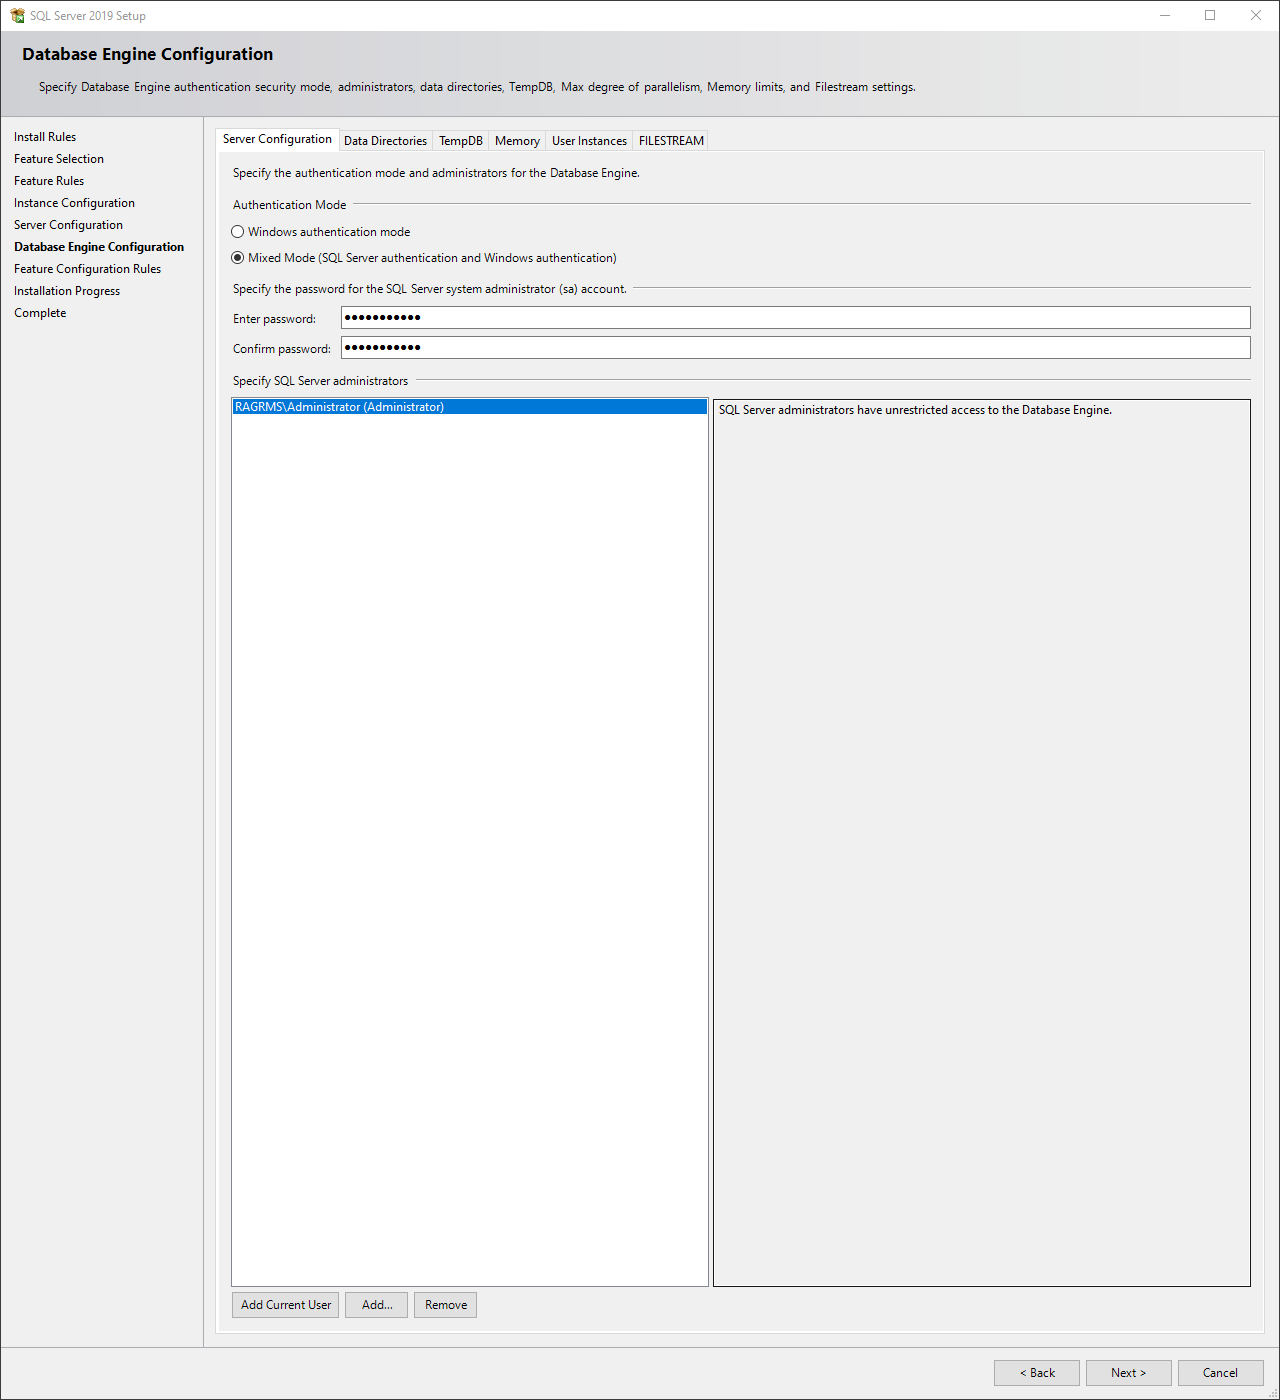
If using Windows authentication mode multiple other settings must be made and are not documented within this manual. Please reach out to rms@rotronic.ch for more details. |
Step 10 |
The SQL Server 2019 Setup is now complete. Click on "Close".  |