Step 1 |
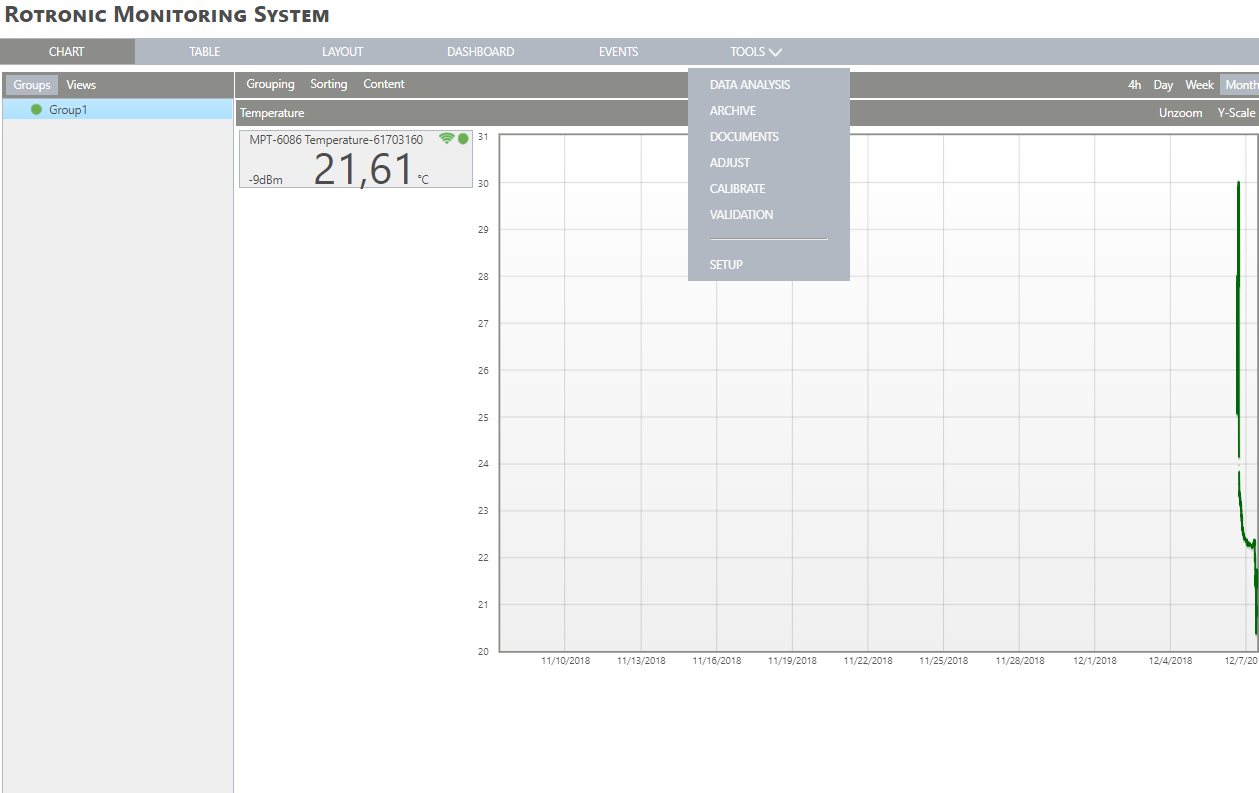
From the start page, click on "Tools" > "Setup":  |
Step 2 |
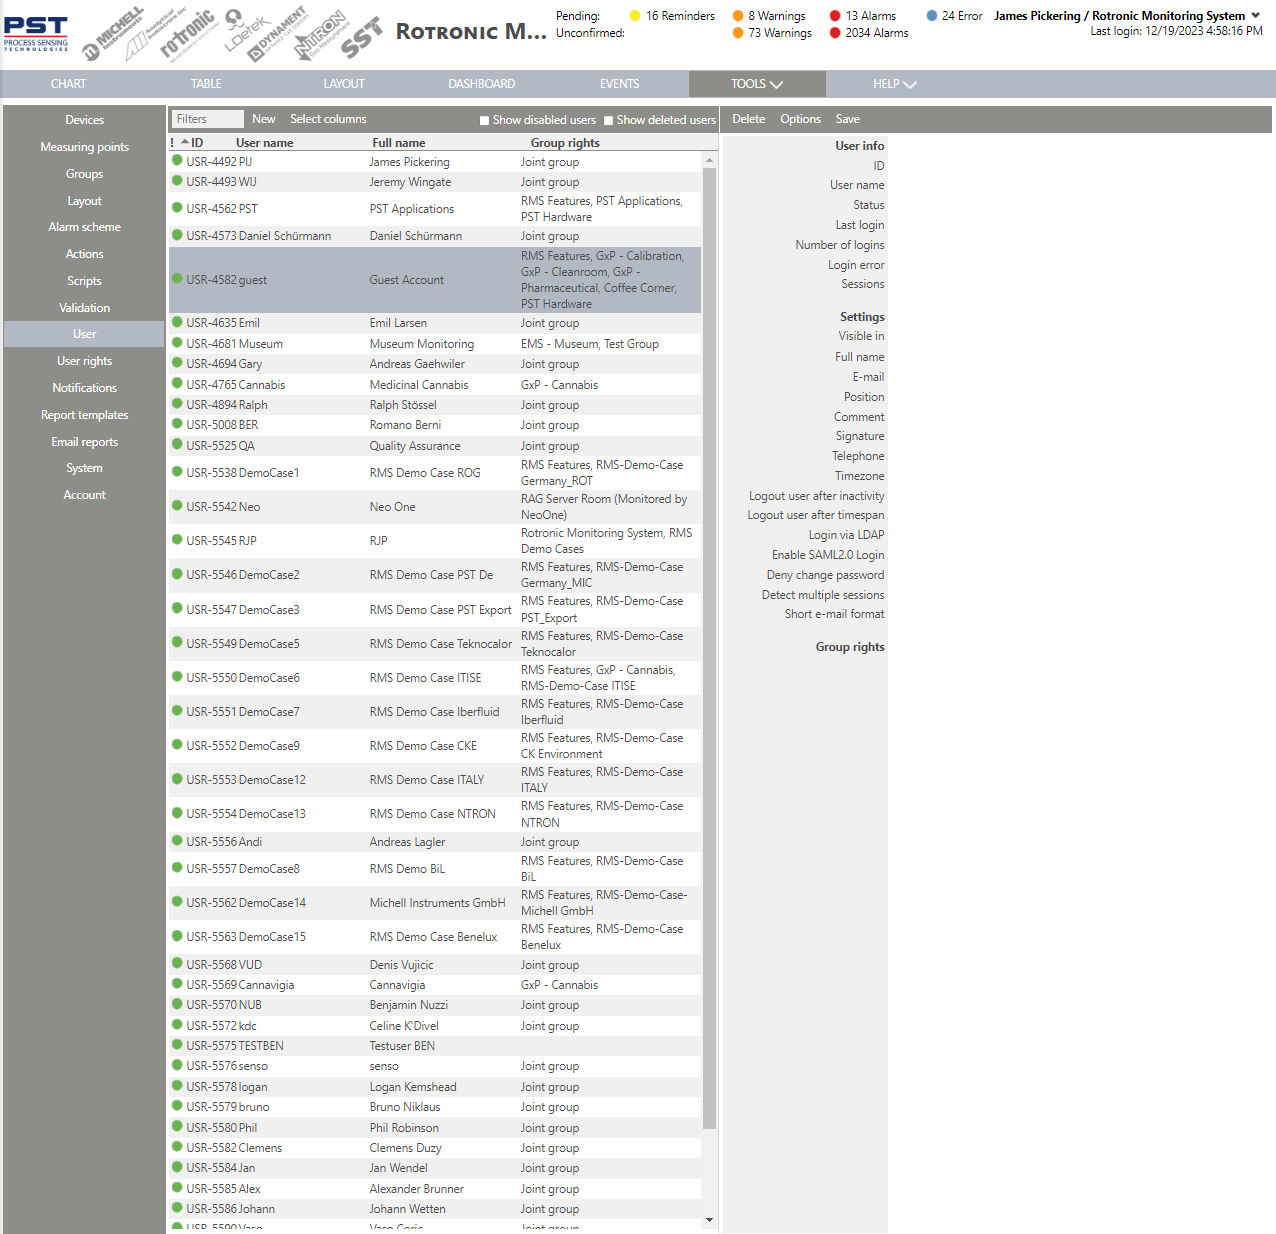
On the left side, select "User":  |
Step 3 |
User info: oID: the user's USR number. oUser name: the user's name. oStatus: shows if the user is enabled or disabled. The circle is green when enabled and black when disabled. oLast login: the time of the last login. oNumber of logins: the number of times that the user has logged in to the system. oLogin error: the number of times that the wrong password has been entered. |
Step 4 |
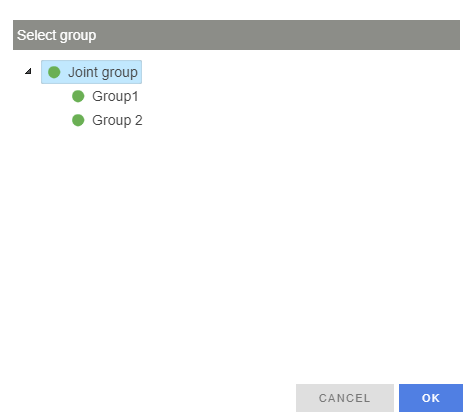
Settings: oVisible in: where the user is visible. Click on this button to select the correct group.  |
Step 5 |
Full nameUser's full name.
User's email.
PositionUser's position (free text).
CommentA comment (free text).
SignatureUser defined signature (free text or review, approval, responsibility or authorship). The signature appears next to the full user name as a signature in all documents and all audit trail events that the user has generated.
TelephoneThe user's telephone number. International format with the country calling code required.
TimezoneThe user's timezone. The user can choose between between the system timezone or a user defined time zone. oBrowser: The timezone shown in RMS will be based upon the user timezone. oReports: The timezone is shown in the report header. ▪If a user generates the report, then the user timezone is taken. ▪If the report is automated, then the timezone is defined in the creation of the automated E-Mail: Tools>Setup>E-Mail Reports Explained. oNotifications: E-Mails are sent using the users timezone. If multiple timezones are setup within a company, then when notifications are sent out, then there will be a "send E-Mail" event per timezone. oAudit trail: ▪The event start and end time are shown in the user timezone. ▪The event details are shown in the company timezone only. Deny password changeWhen selected, the user cannot request to change their password.
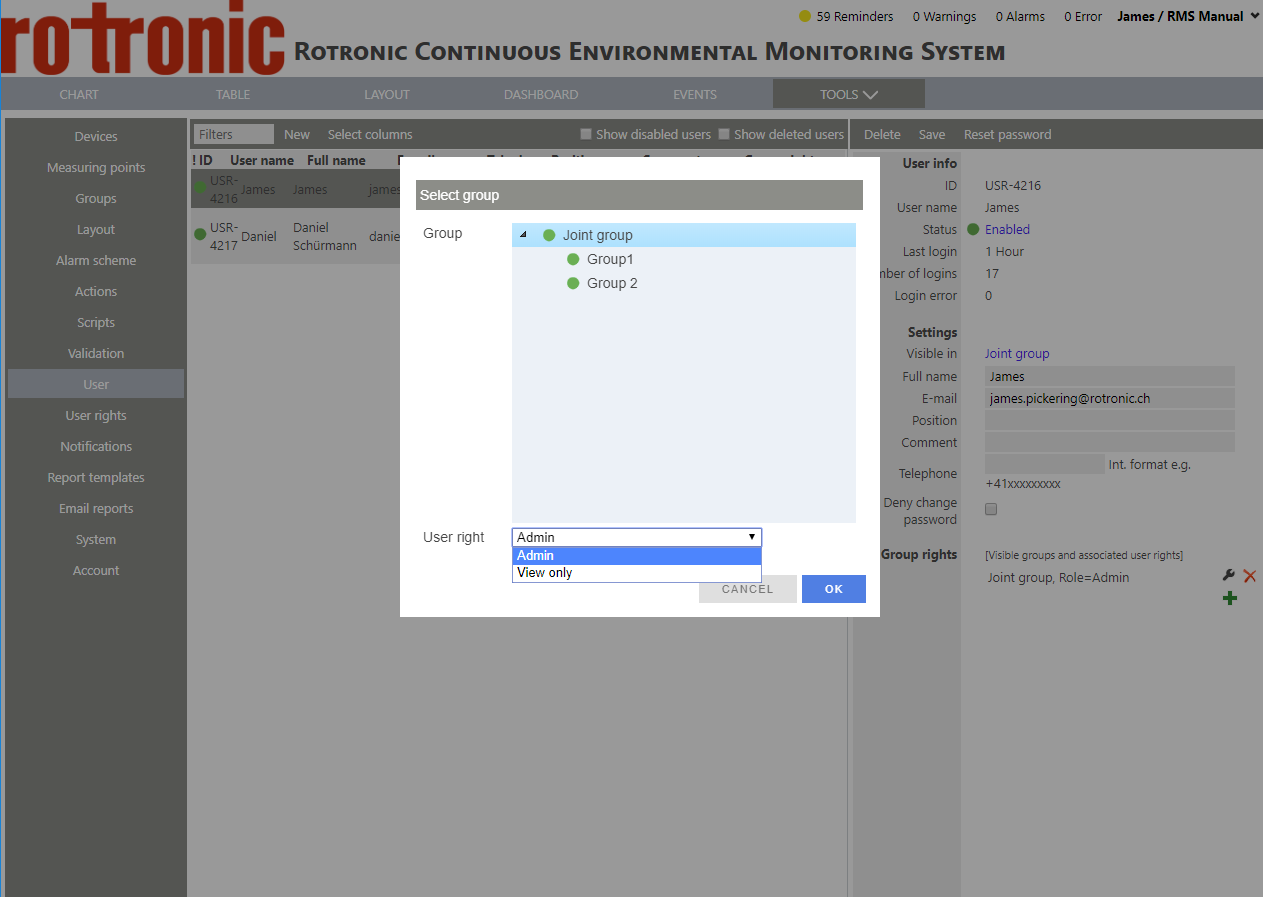
Group rightsDefine the user's rights in various groups. Click on the spanner to change an existing right or on the "+" to add a new right. Simply select the group and then the user right from the drop down menu for that group.
|
Step 6 |
 Click on "OK". |