Step 1 |
USB Communication Scheme
There are at least 6 USB plugs which needs to be connected to the PC: 1.Printer 1 (which prints the label for the transmitter) 2.Printer 2 (which prints the label for the packaging of the transmitter) 3.Bar code scanner (USB is only needed to charge the device) 4.Mouse 5.Key board 6.NFC Reader A USB Hub will be delivered additionally to the NFC Station to plug all 6 USB plugs to the PC.Plug the USB Hub to the PC, before using all other USB ports of the PC.If all USB ports of the PC has been used, plug the other USB ports into the USB Hub. |
Step 2 |
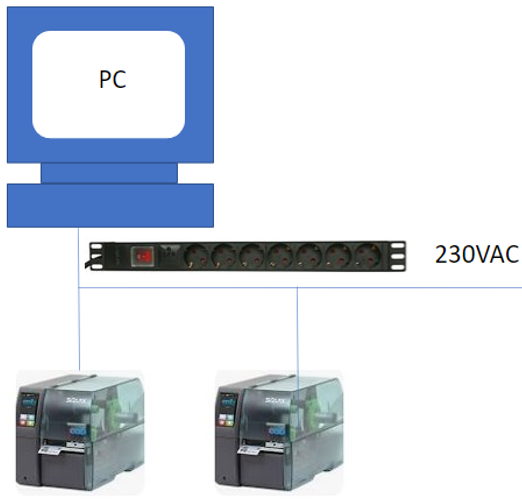
Power SupplyConnect the power supply cables of the PC, USB Hub, Printer 1 and 2 to the supplied power bar.
|
Step 3 |
Starting up the PCAfter starting up the PC, make sure everything is working and is properly connected to the PC. Log into the PC with your company's credentials.
Important: Connect the PC to the WiFi or over the ethernet cable to the internet. The PC needs be online to use the NFCStation.
Start up the NFCStation program, which is already install on the PC.
Click on the NFCStation logo: |