Step 1 |
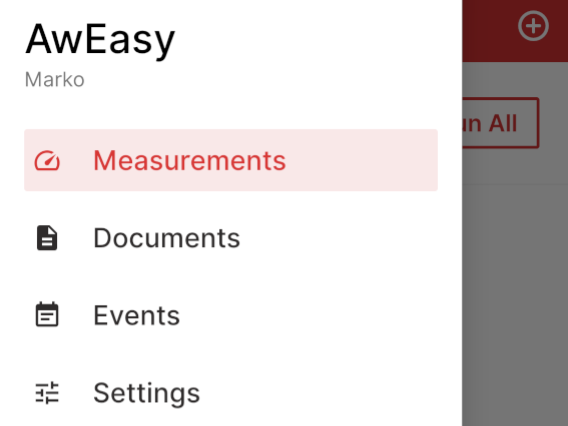
Setting up the file name and the batch No.Before starting measuring go to the main menu and select "Settings".
Select "File Name" to set up the PDF report file name.
And select "Batch Number" to set up the automatically generated batch number. This function is especially important for the standalone use (which needs to be set up).
|
|||||||||||||||
Step 2 |
Setup the measurement settingsTo start measuring go from the main menu into "measurements" then click on your AwEasy device. Click down below the button "Method" to set up your AwEasy measurement settings.
Fill out the "Measurement Name" and the "Batch Number" (in case it's not automatically generated).
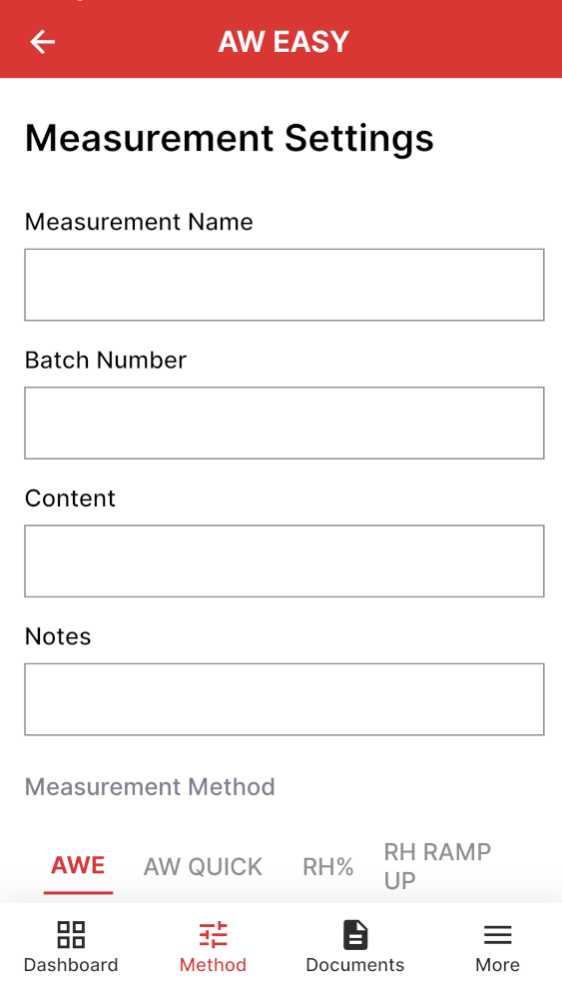
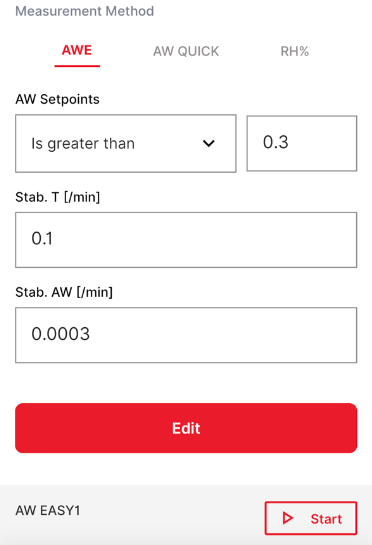
Then choose if you want to measure with AwQuick or the normal AWE:
AWE mode: The AwEasy waits for the full equilibration of the measured product and probe. For most products, this takes from 30 to 60 minutes. The AwEasy automatically detects equilibrium conditions (humidity and temperature) and ends the measurement at that time by showing in the measuring data a green OK.
AwQuick mode: The AwEasy uses an algorithm to accelerate the water activity measurement and provides a result in typically 5 minutes. The measurement ends automatically and it shows then a green OK in the measuring data. When temperature conditions are stable, the value measured with the AwQuick mode is generally within ± 0.005 Aw of the value that would be obtained by waiting for full equilibration of the product and probe.
Recommended values overview: Please note that this recommended values only applies for measurement in stable and air-conditioned rooms resp. laboratories (at 23°C ±5°C).
More information about the correct measurement see here: Measurement guidelines
*NOTE: During the measurement the climate condition needs to be stable. Unstable condition makes the measurement unnecessary longer (mostly for the AW Quick function) and inaccurate. |
|||||||||||||||
Step 3 |
Saving the measurement settings
After selecting the measurement method and setting up the measurement settings, click on "Save" or "Edit" to save the new measurement settings. This will then allow the measurement head to go into the standalone mode.
NOTE: To turn off the AwEasy, press and hold the touch button for at least 10 seconds. To check whether the AwEasy is really switched off, shake the measuring head. As long as the display and the light ring are off, the measuring head is off (since the measuring head would have switched on due to the motion sensor if it were still on). |
Measuring in the standalone mode
Step 1 |
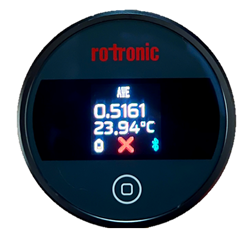
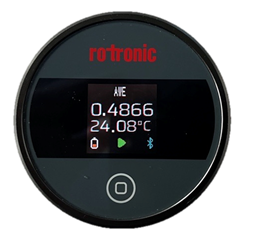
Starting the measurementIf everything was correctly set up a green play icon will appear in the display of the AwEasy. This means the measurement head is now ready for the standalone use and the measurement can be started over the touch button.
The measurement head will then show which measurement method is setup (AWE = Standard AW measurement / AWQ = AwQuick measurement / RH = Relative Humidity measurement).
To start the measurement double tap on the touch button. After that a red stop icon will appear, which means the AwEasy is measuring. In addition the light ring will start to blink blue or depending on the settings in a different color. |
Step 2 |
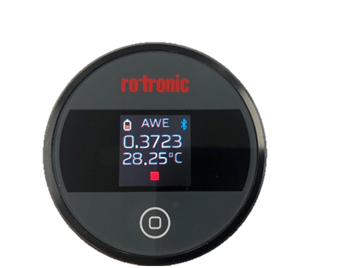
Stopping the measurementIn case the measurement needs to be stopped you can double tap on the touch button to stop immediately the measurement of the AwEasy. The light ring will then start to blink red.
NOTE: By stopping the measurement it will appear in the measurement documents as "Stopped". |
Step 3 |
Add a new measurementWhen the measurement is finished it will freeze the measurement result and show on top (depending if the the setpoint setup) if the setpoint is reached or not. It will show the result in green (it reached the setpoint) or in red (it didn't reach the setpoint). Additionally the led light ring will blink in green (it reached the setpoint) or ind red (it didn't reach the setpoint).
A plus icon will appear when the measurement is finished or stopped by the user.
By double tapping on the touch button a new measurement will then be ready to start and a green play ican (like in step 1) will appear to start the new measurement.
NOTE: By double tapping on the touch button the result will then unfreeze and a new measurement with the same measurement settings is now ready. To change the measurement settings take your Smartphone and change the settings over the AwEasy App. |

Measurement Stop / Memory fullIn rare cases, the internal memory of the AwEasy may become full during standalone operation. This can happen at most with between 50-100 measurements. In order not to overwrite the data, the AwEasy stops the measurement in standalone mode and indicates this with a red X on the display. The AwEasy is now blocked until the user synchronizes the data with the smartphone and the AwEasy app. Synchronization takes place automatically as soon as the smartphone and the AwEasy app are connected to the AwEasy.
NOTE: Rotronic recommends the user to regurarly reconnect the smartphone and the App with the AwEasy measurement head to prevent a measurement stop. It's important to synchronize the AwEasy with the smartphone after 10 to 20 measurements by reconnecting the measurement head with the AwEasy App. |