The Windows LDAP setup is done in "Active directory Users and Computers".
The connection to the LDAP is done in secure mode: https://learn.microsoft.com/en-us/dotnet/api/system.directoryservices.authenticationtypes?view=dotnet-plat-ext-6.0#system-directoryservices-authenticationtypes-secure.
RMS requests secure authentication. When this flag is set, the WinNT provider uses NTLM to authenticate the client. Active Directory Domain Services uses Kerberos, and possibly NTLM, to authenticate the client. When the user name and password are a null reference, ADSI binds to the object using the security context of the calling thread, which is either the security context of the user account under which the application is running or of the client user account that the calling thread is impersonating.
Groups and roles |
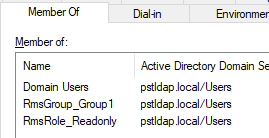
•Roles uses the Prefix “RmsRole_” and then the Role name from Configure your User Rights. •Group uses the Prefix “RmsGroup_” and then the Group name from Add a Group (Caution: The group name must be unique in RMS). •As an alternative, Groups can be defined by using the Group ID: Prefix “RmsGroupId_” and then the Group id number (GRP-XXX) for example: “RmsGroupId_12”. |
||||||||||||
Defining users |
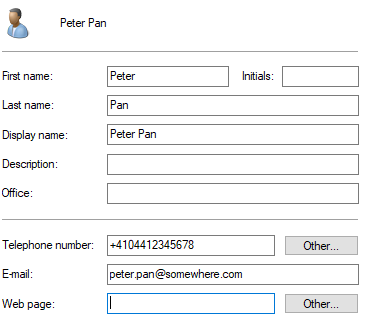
•The telephone and E-Mail can be synchronized to RMS. •The initials, display name, description, office and web page will be ignored.
•The user logon name must be the RMS User name (not the full name).
Role and Group must be added in “Member Of”. If no RmsGroup is defined, the user has the rights to “All Groups” |
||||||||||||
Used LDAP settings in RMS |
|
||||||||||||
Testing LDAP |
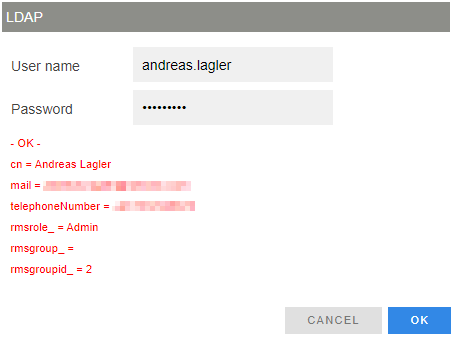
Press the button “Test” in the System setup and enter User name and Password.
LDAP settings from the server or an error message is displayed in red. |


