The layout setup tool is a function to add pictures and details to the group layout.
Important feature: The mouse-over/mouse hover function can be used to view more details about the measuring points shown within the layout. A switch/button can directly be triggered from the layout.
Print Screen 1 |
The user can select what to do: •Click here to load a background picture. •Background picture: add or remove a background picture. •Add label: add a label. •Save: Save the configuration. 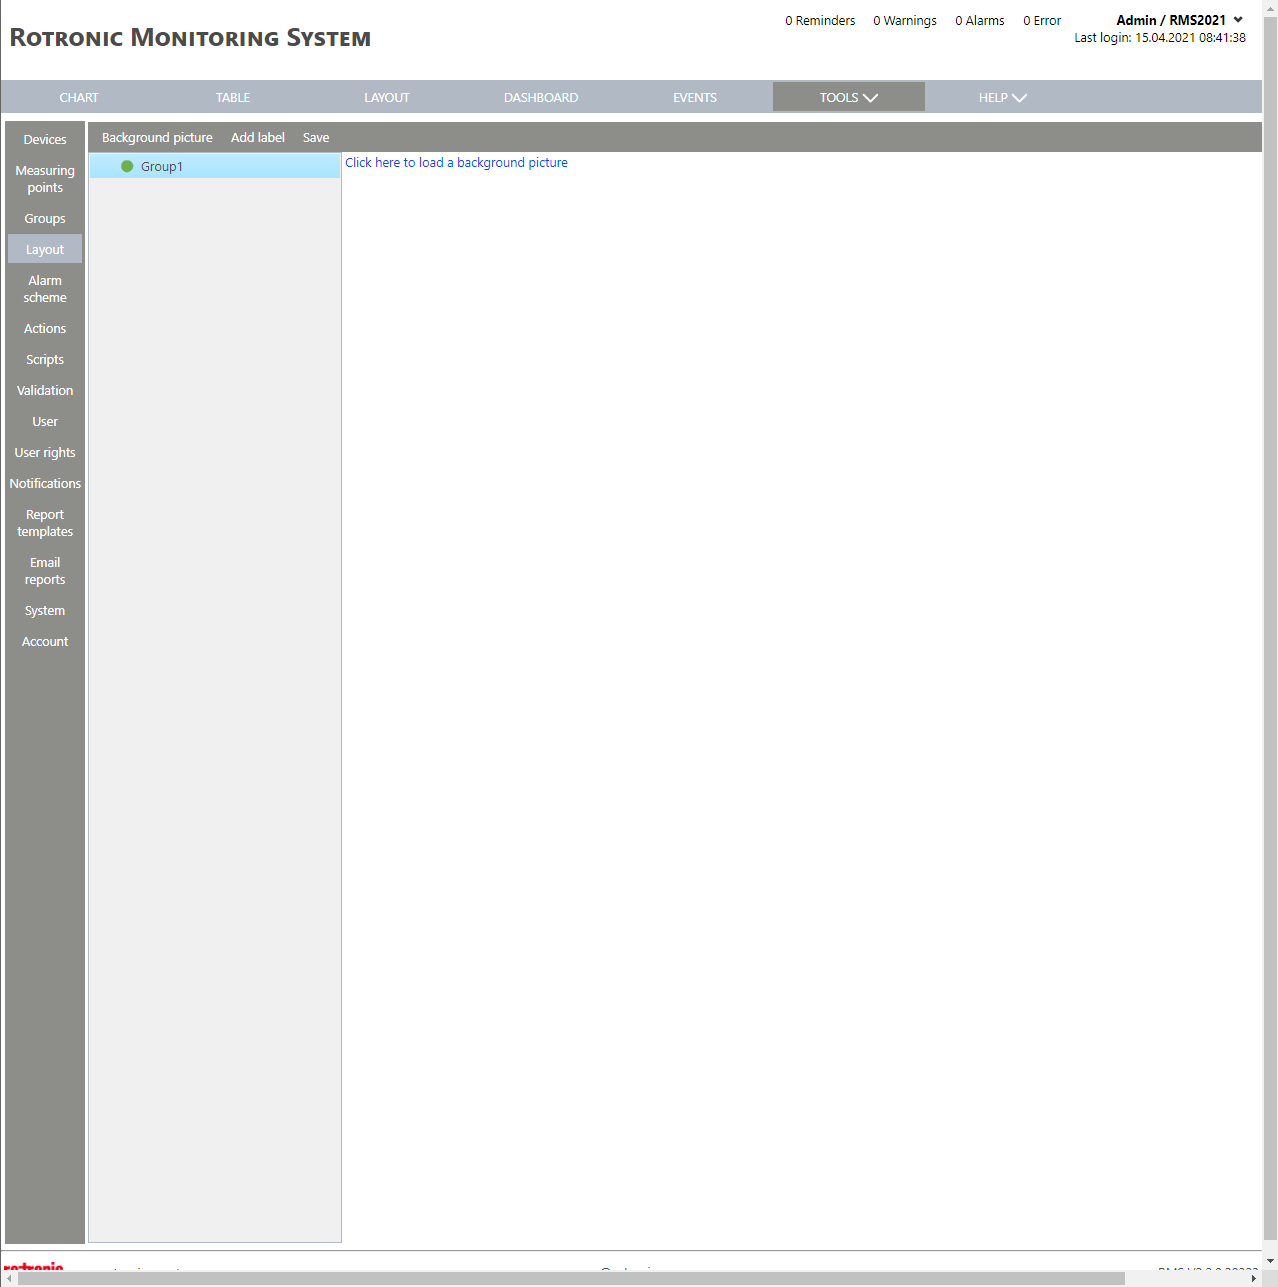
|
Print Screen 2 |
When the user selects background picture, an image can be loaded or removed.

|
Print Screen 3 |
When the user load, a new explorer window opens where the image can be selected. |
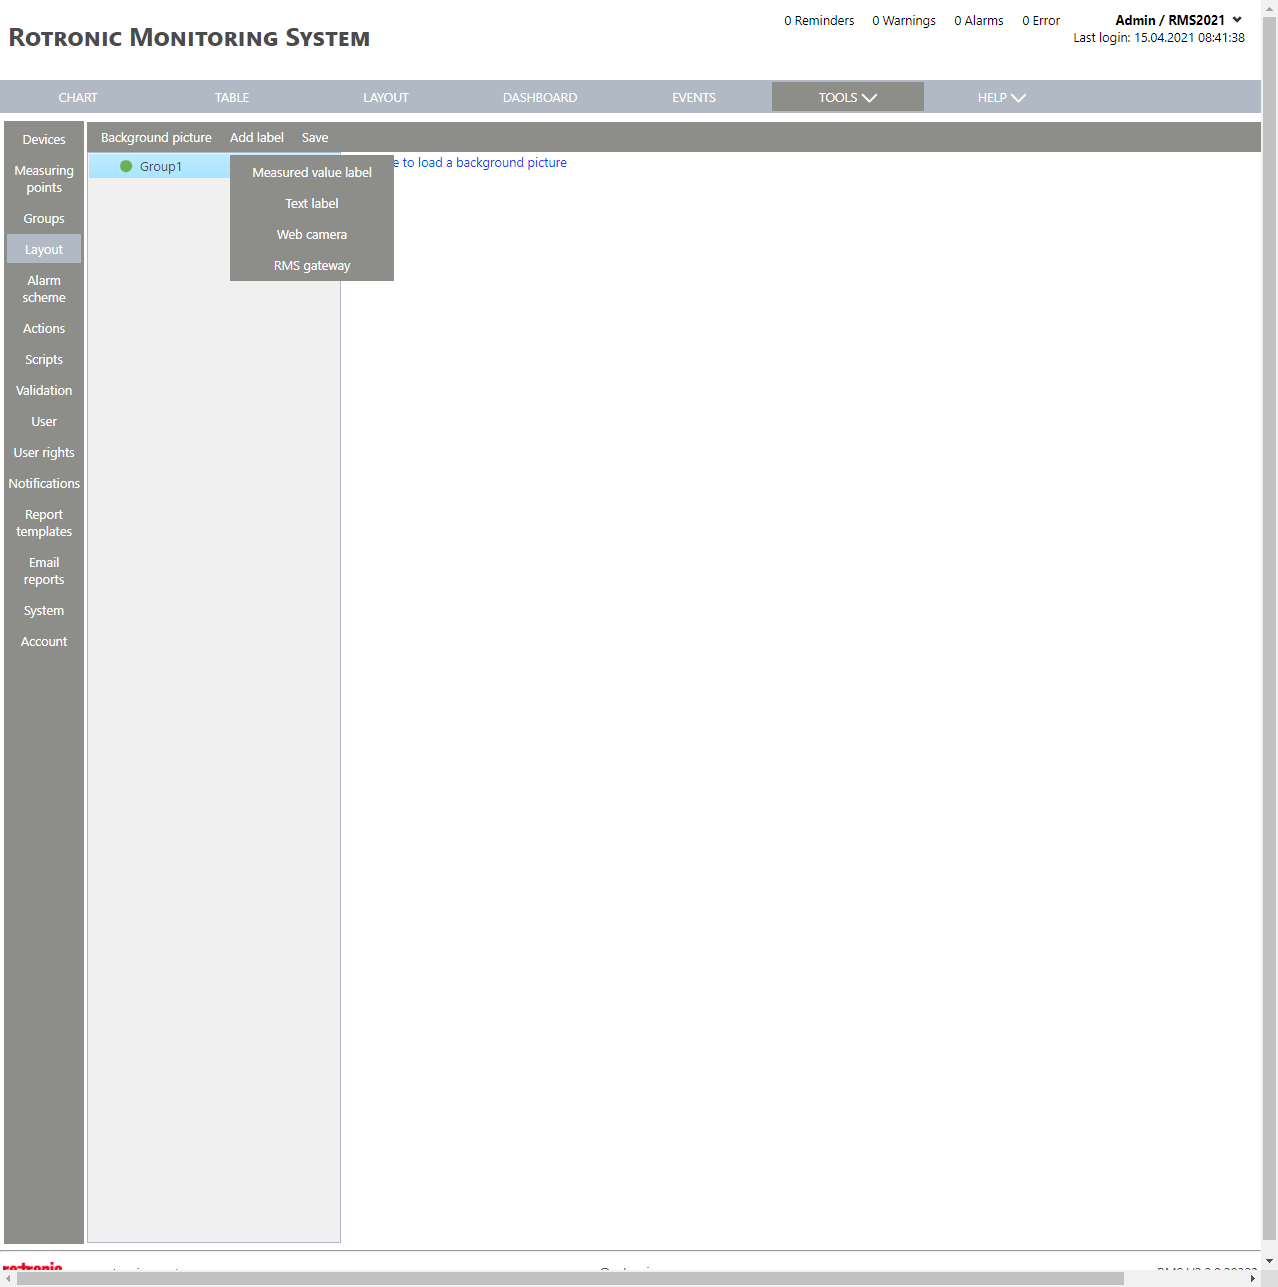
Print Screen 4 |
When the user selects add label, there are various options: •Measured value label. •Text label. •Web camera. •RMS gateway. |
Print Screen 5 |
When the user selects measured value label, the user can then select the group where the desired measuring point is located.  |
Print Screen 6 |
When the user selects text label and clicks on the text label, a window will open where the various label settings can be made. 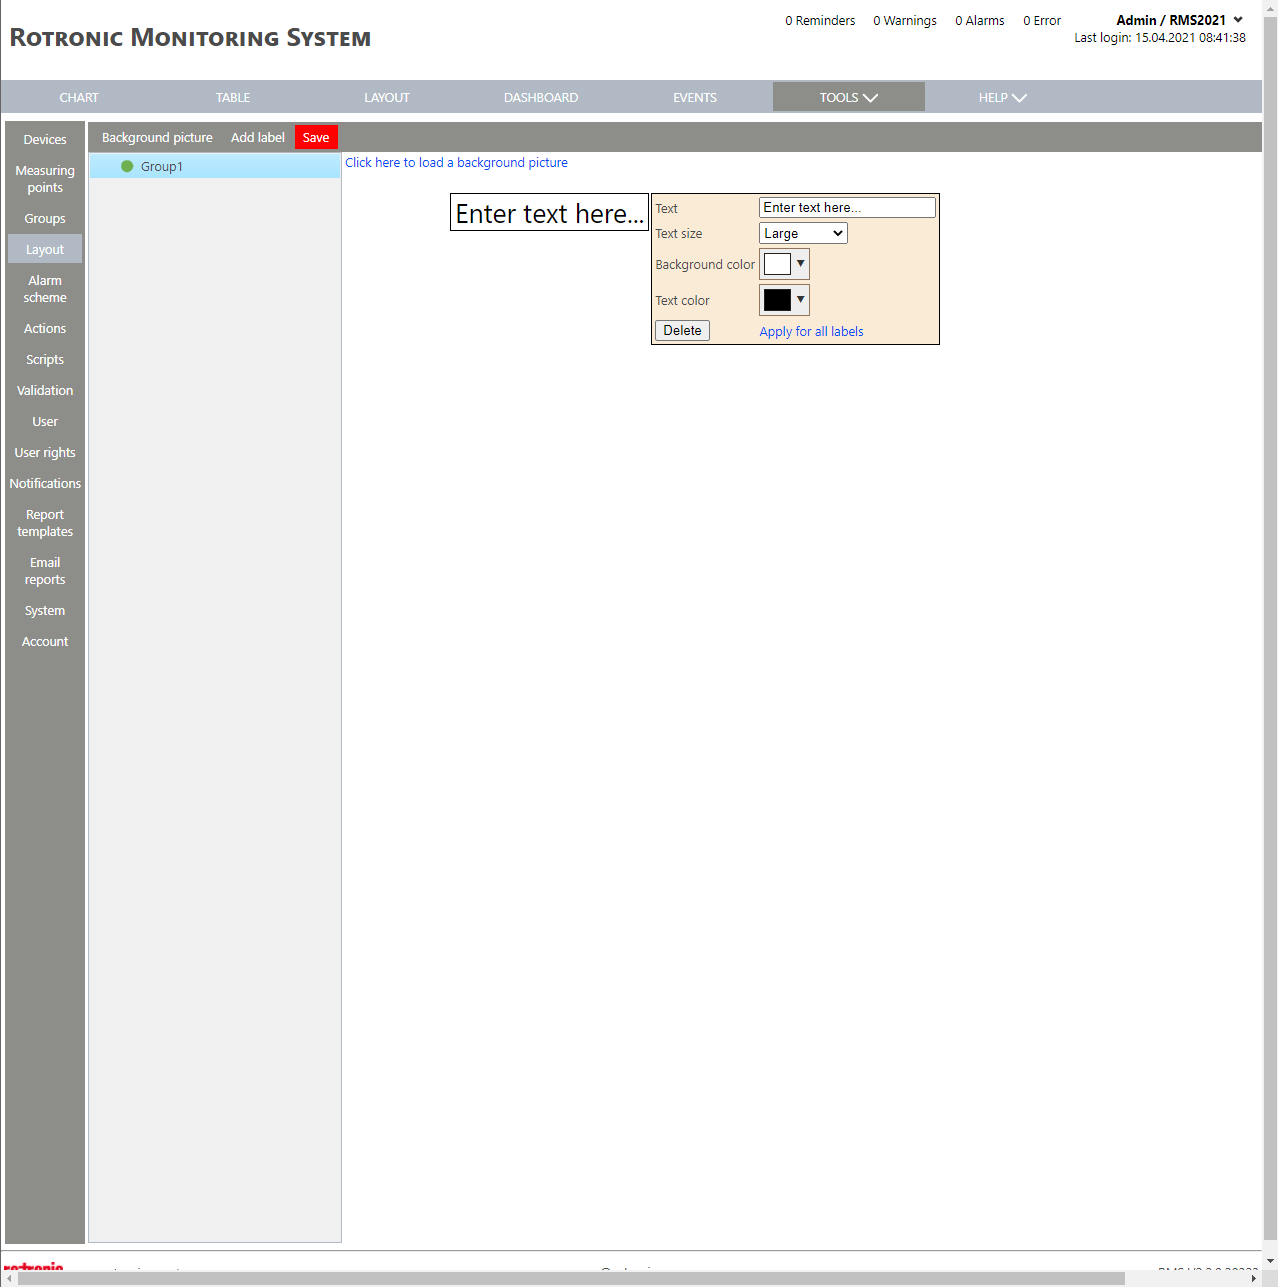 |
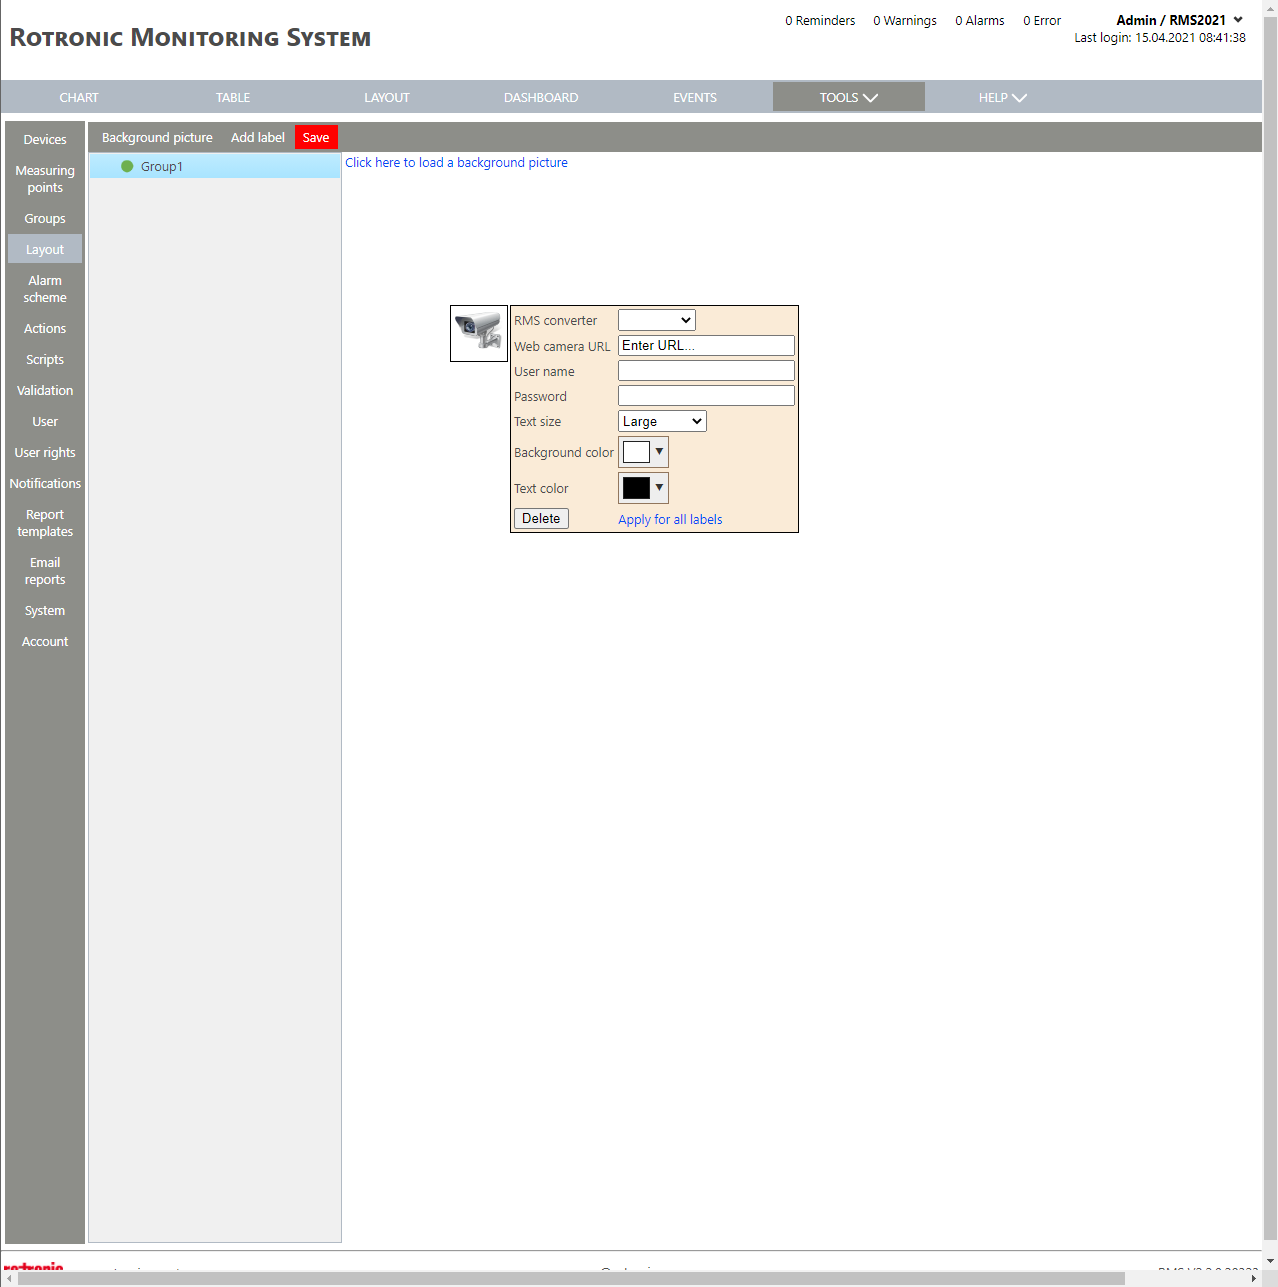
Print Screen 7 |
When the user selects web camera and clicks on the text label, a window will open where the various label settings can be made. |
Print Screen 8 |
When the user selects gateway label, the user can then select the group where the desired gateway is located. |