Step 1 |
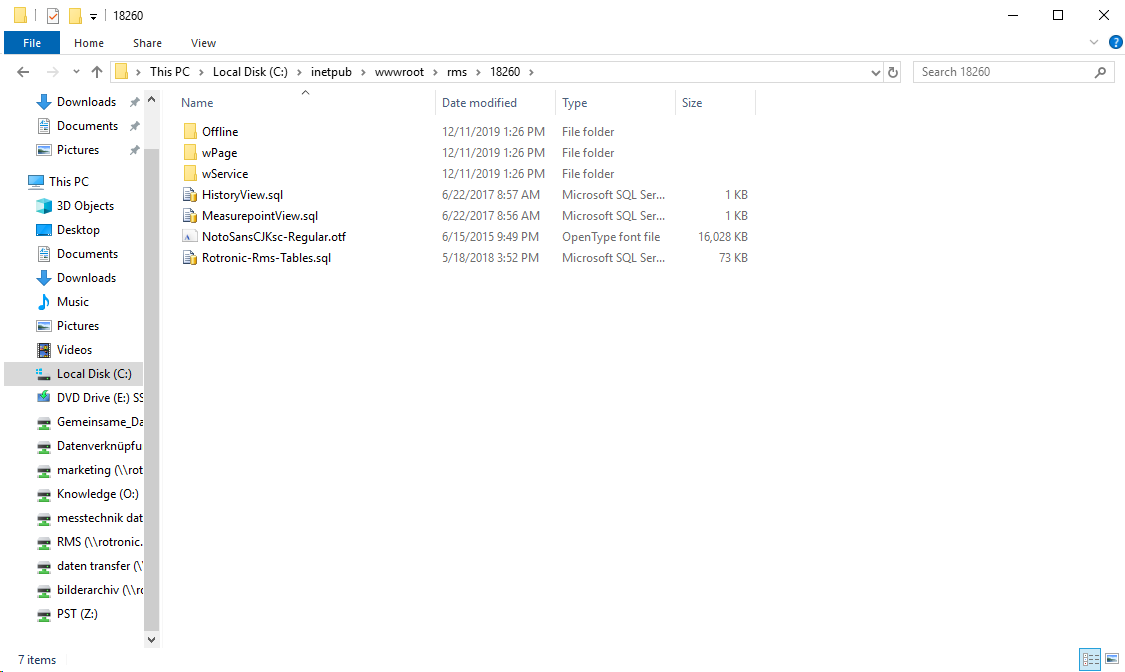
Move the extracted .ZIP file from the Desktop and save the folder to the following path on the server: C:\\inetpub\wwwroot\rms\{Version}.

|
|---|---|
Step 2 |
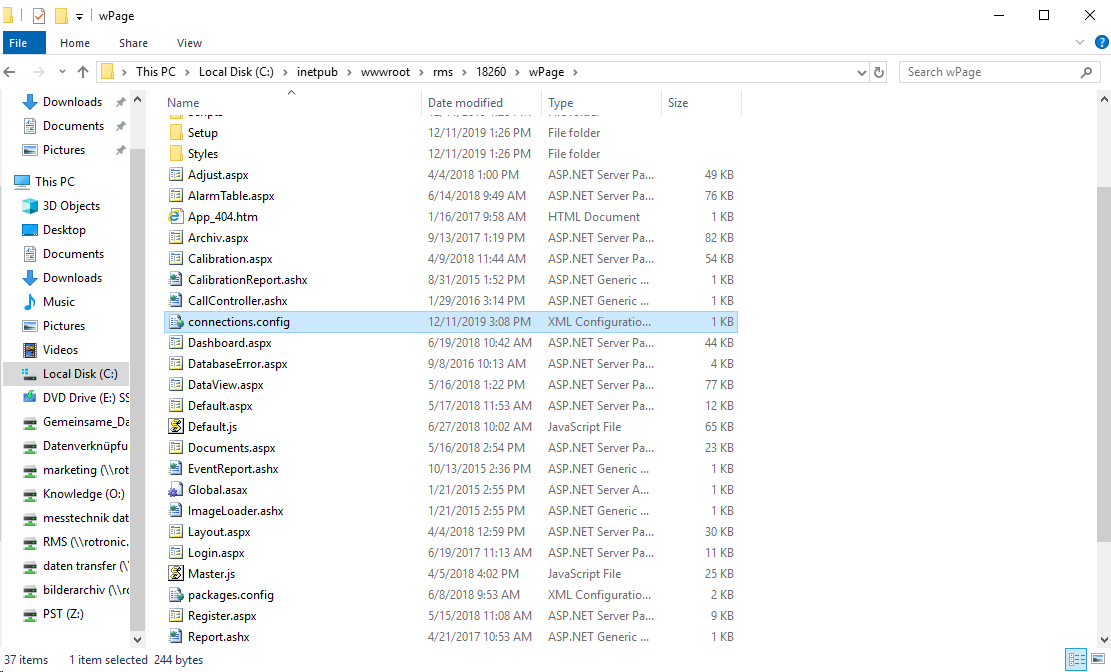
Open the "C:\inetpub\wwwroot\rms\18260\wPage" file.

|
Step 3 |
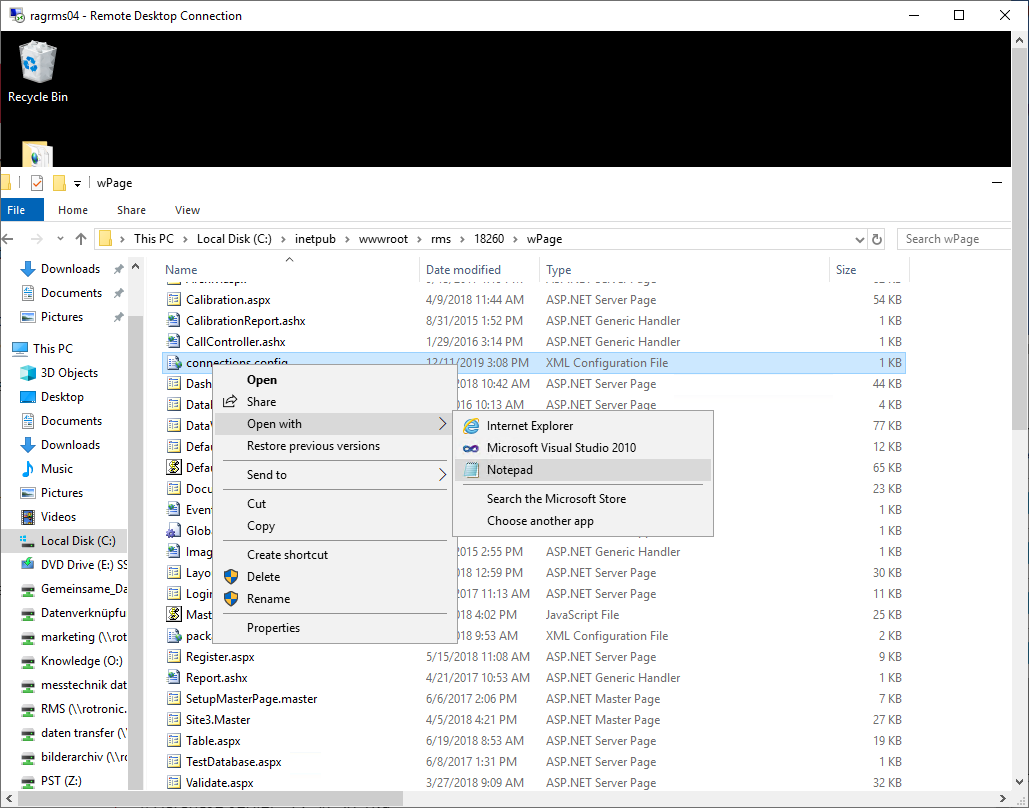
Open the "XML Configuration" File: connections.config with wordpad/editor.

|
Step 4 |
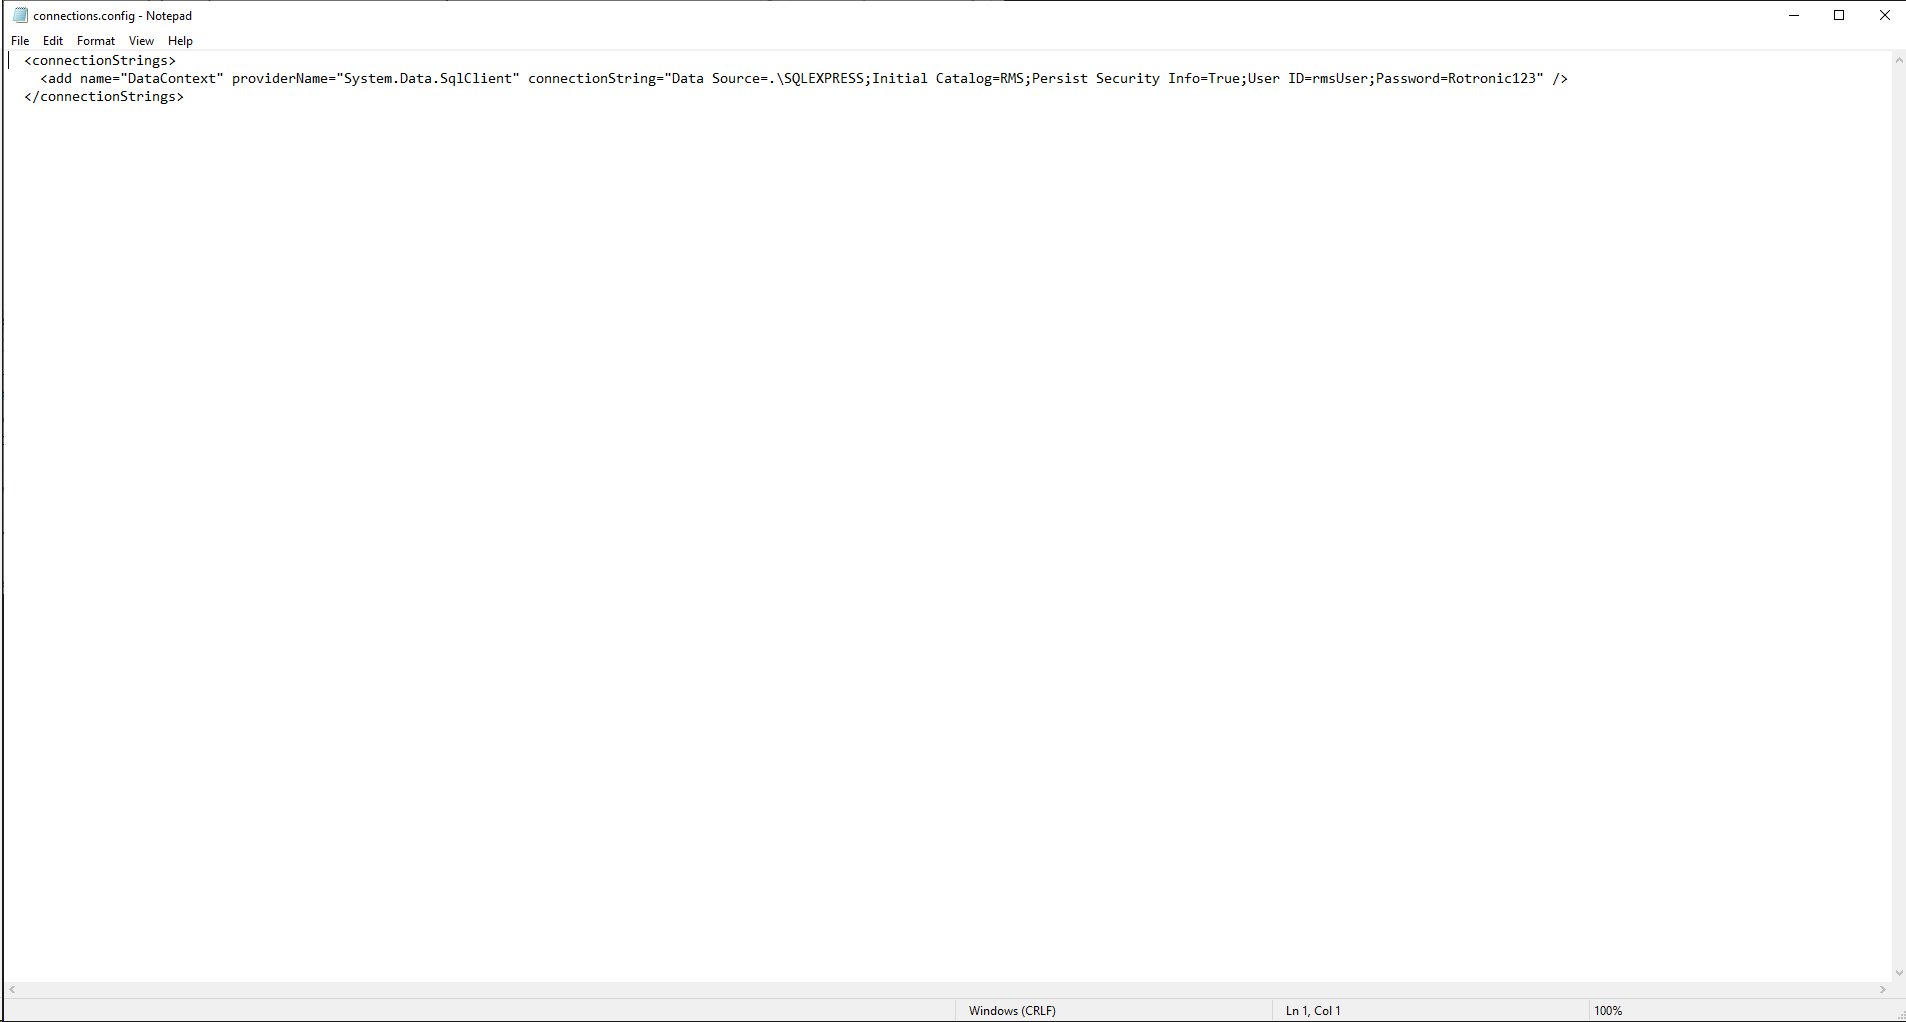
The following information in the connection string must be modified based upon the settings added to creation of database and the database instance:
The following information in the connection string must be modified:
<add name="DataContext" providerName="System.Data.SqlClient" connectionString="Data Source=.\xxx;Initial Catalog=xxx;Persist Security Info=True;User ID=xxx;Password=xxx" />
1.Data source is the database instance. SQLEXPRESS as used here: Installation and Configuration of the SQL Server Express. This must be adapted, when external SQL database is used. For example: oDatabase instance name: InstanzName oDatabase server: 12.34.56.789 oData source = 12.34.56.789\InstanzName
2.Initial catalog:
3.ID
4.Password
If every step has been done based upon this manual, simply copy and past the following string: <connectionStrings> <add name="DataContext" providerName="System.Data.SqlClient" connectionString="Data Source=.\SQLRMS;Initial Catalog=RMS;Persist Security Info=True;User ID=rmsUser;Password=Rotronic123" /> </connectionStrings>.

|