The creation of a new database instance that will interact with the RMS software.
Step 1 |
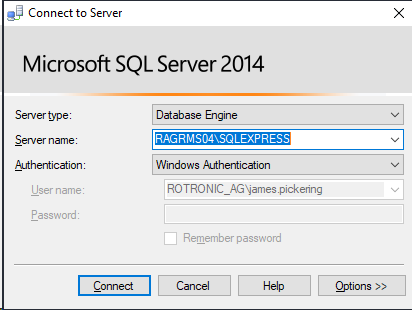
Using the Windows search function open the SQL Server Management Studio. Click "Connect".
|
|---|---|
Step 2 |
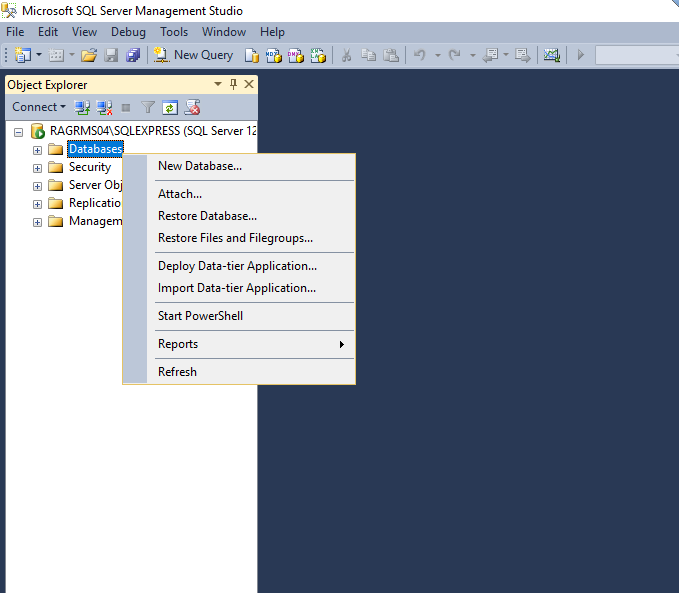
Create the RMS database. Right click on "Databases" and select "New database".
|
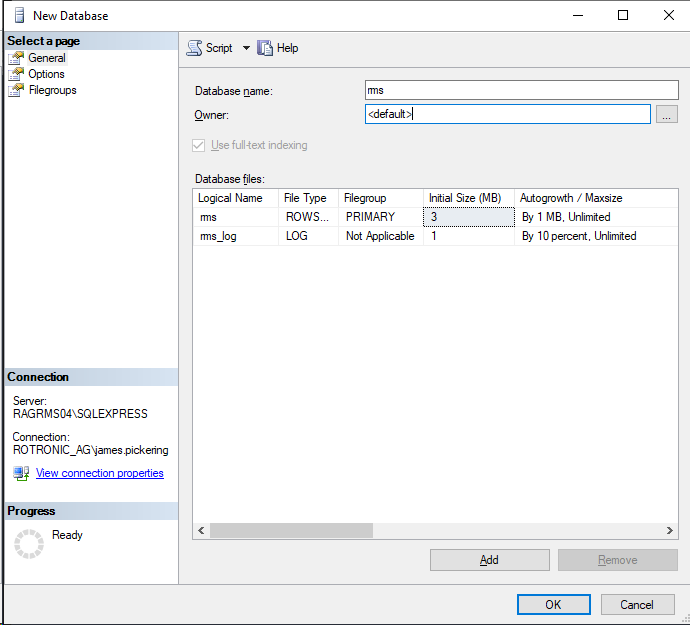
Step 3 |
Add the database name: rms.
No other settings require updating. Click on "OK".
|
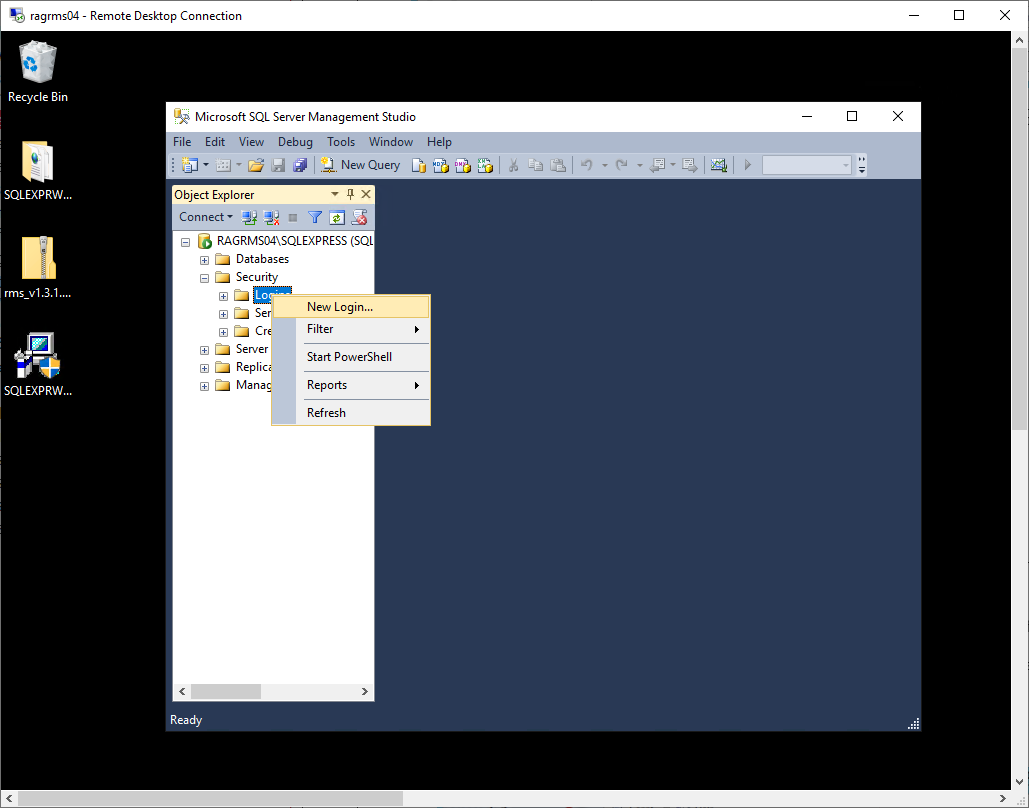
Step 4 |
Create a user for the database login. Got to "Security" and expand. Right click on "Logins" and select a "New login".
|
Step 5 |
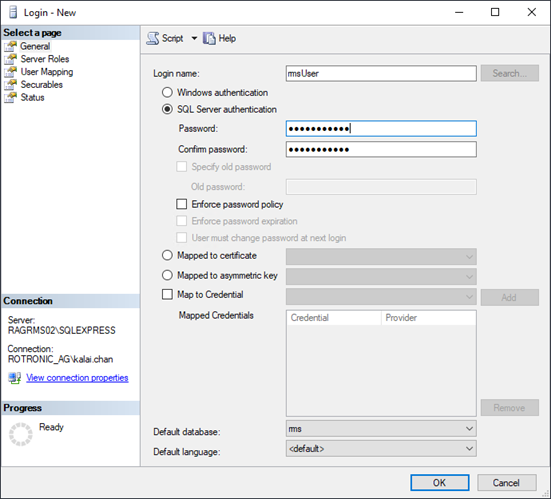
General: Add the login data for the SQL database user.
Remove the enforce password policy.
Recommendation: •Login name: rmsUser •SQL Server authentication password: Rotronic123
IMPORTANT: •This user login must be specified later for the WebService so that the RMS server software can access the database. •Use only letters and numbers for the password. The password will be used when installing the server software. Special characters could create a conflict. •Default database: rms
Click "Server Roles".
|
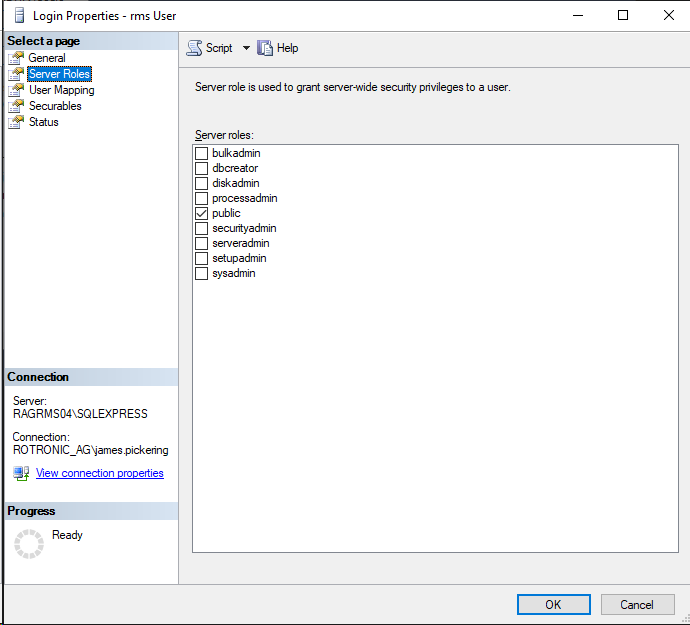
Step 6 |
Server Roles: Select the "Public" role. Click "User Mapping".
|
Step 7 |
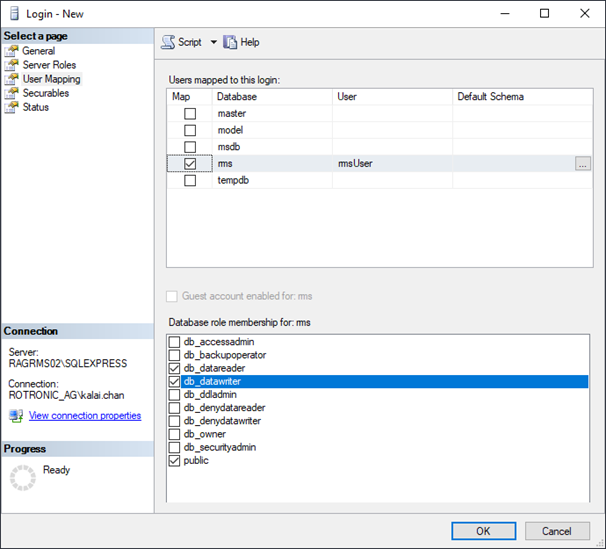
User Mapping: Select "rms" in users mapped to this login.
Select "db_datareader" and "db_datawriter" as well as "Public" from the database role membership for: rms. Click "OK".
Configuration of the database is finished.
|