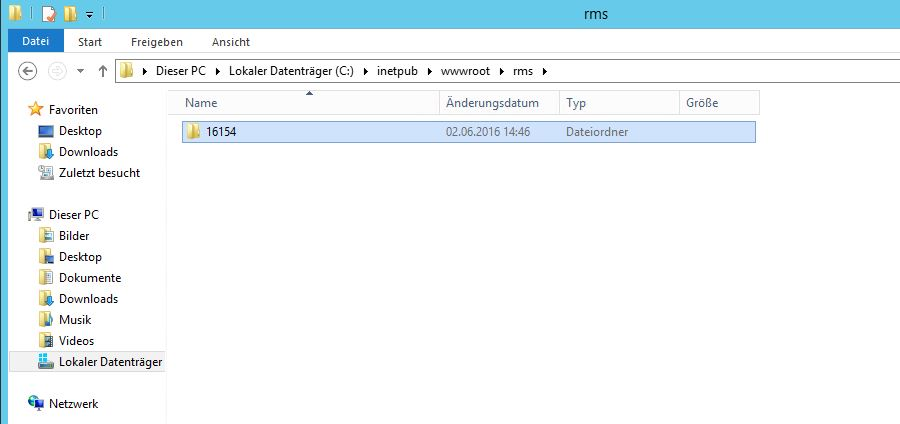
Extract the ZIP file and save the folder to the following path on the server: C:\\inetpub\wwwroot\rms\{Version}

Setup connection configuration for wPage
In the extracted sub-directory wPage, open the file connections.config. Path: C:\\inetpub\wwwroot\rms\{Version}\wPage
The following information in the connection string must be modified.
oData source:
Is the database instance. SQLEXPRESS as used above. This must be adapted, when external SQL database is used. For example:
oDatabase instance name: InstanzName
oDatabase server: 12.34.56.789
Data source = 12.34.56.789\InstanzName
oInitial catalog
Name of the database. "RMS" as used above
oID
User ID for database access of the software. "rmsUser" as used above.
oPassword
Password for database access of the software.
Example:
<connectionStrings>
<add name="DataContext" providerName="System.Data.SqlClient" connectionString="Data Source=.\SQLEXPRESS;Initial Catalog=RMS;Persist Security Info=True;User ID=rmsUser;Password=xxxxxxxx" />
</connectionStrings>
Setup connection configuration for wService
Repeat the setup above for also for wService, or just copy the connection.config file to this folder.
SQL with Windows authentication only
If SQL authentication is not allowed, then use SQL with Windows authentication.
Application Pool Identity
oOpen "IIS Manager"
oSelect your Application Pool
oSelect "Advanced Settings"
oUnder "Identity", select "Custom Account" and provide a User and Password for an account with access to SQL Server
Connection String
oEdit the RMS connection string in the file "Connections.config" (Use your server and database name):
<add name="DataContext" providerName="System.Data.SqlClient" connectionString="Data Source=.\SQLEXPRESS;Initial Catalog=RMS;Integrated Security=True"/>
The RMS Server Service is now connected to the database.