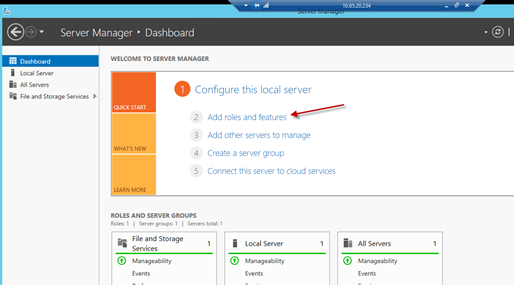
Step 1 |
In the Server Manager Dashboard, start "Add Roles and Features Wizard"
|
|
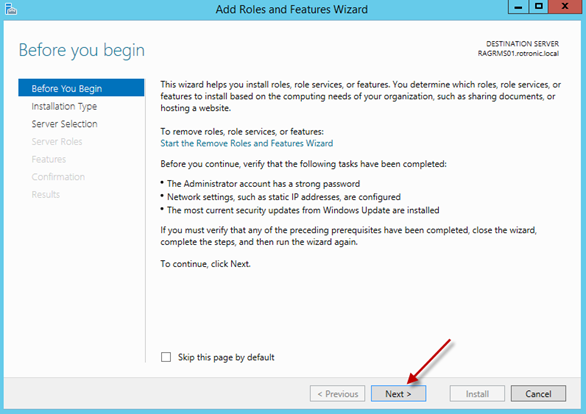
Step 2 |
There are no special settings needed for "Before you begin", "Installation Type" and "Server Selection" |
No special settings needed in this screen
|
Selection of the installation type

|
||
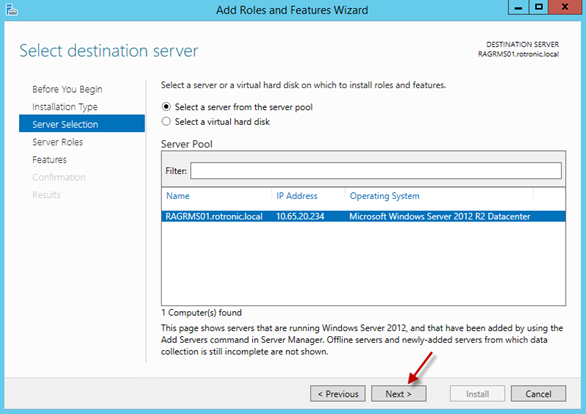
Selection of server
|
||
Enable IIS Web Server. Click "Add feature" to install IIS

|
||
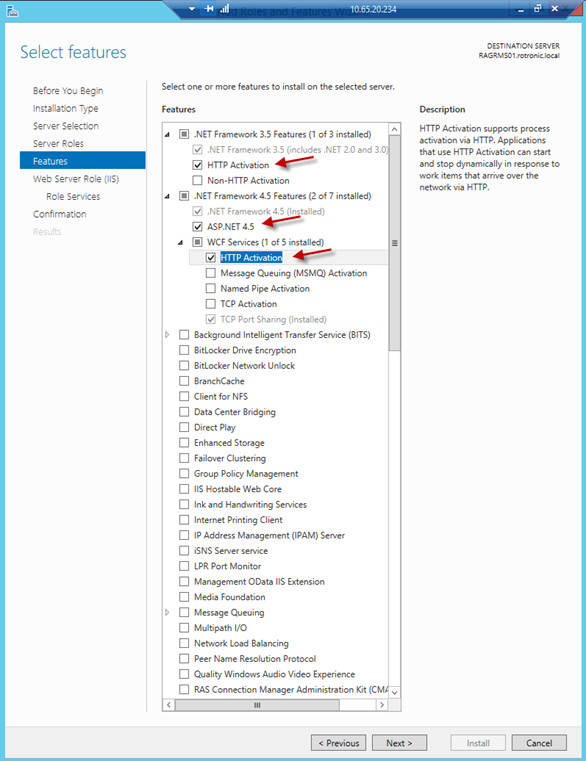
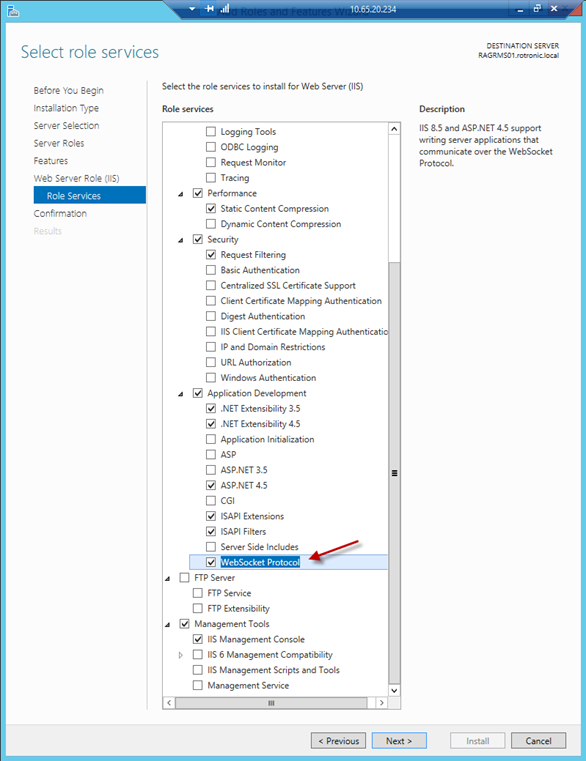
➢Configure the IIS web service as shown below.
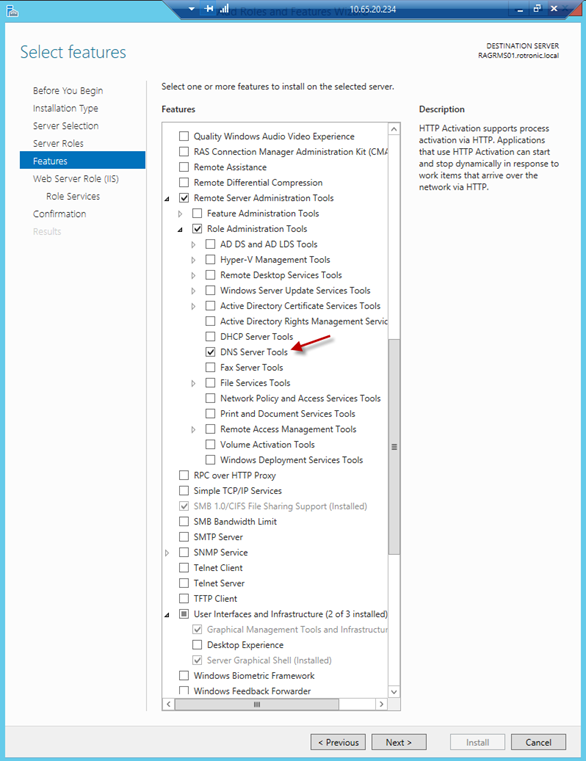
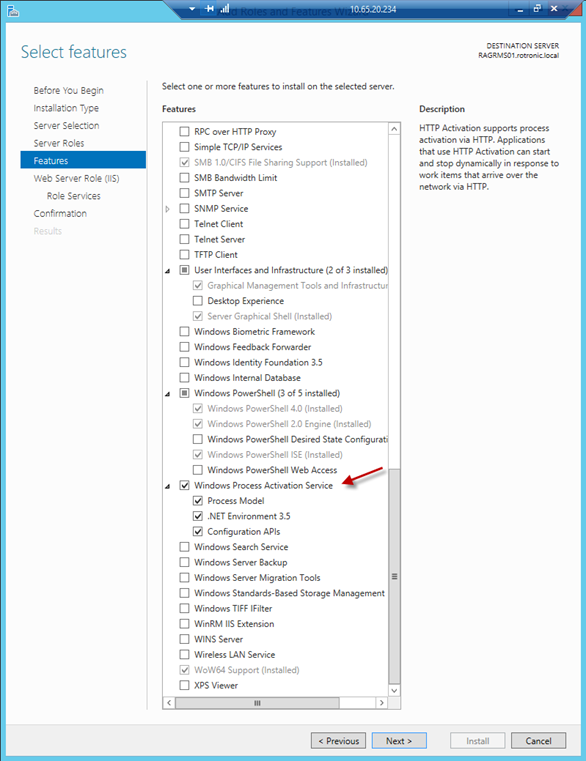
Note: The settings in following figures represent mostly the standard settings. For RMS installation, the following settings are important: oServer roles: IIS web server activated oApplication development ▪ASP.NET 4.5: activated ▪WebSocket protocol: activated |
Step 1 |
Configuration of features and IIS web service, part 1
|
Step 2 |
Configuration of features and IIS web service, part 2
|
Step 3 |
Configuration of features and IIS web service, part 3
|
Step 4 |
Configuration of features and IIS web service, part 4
|