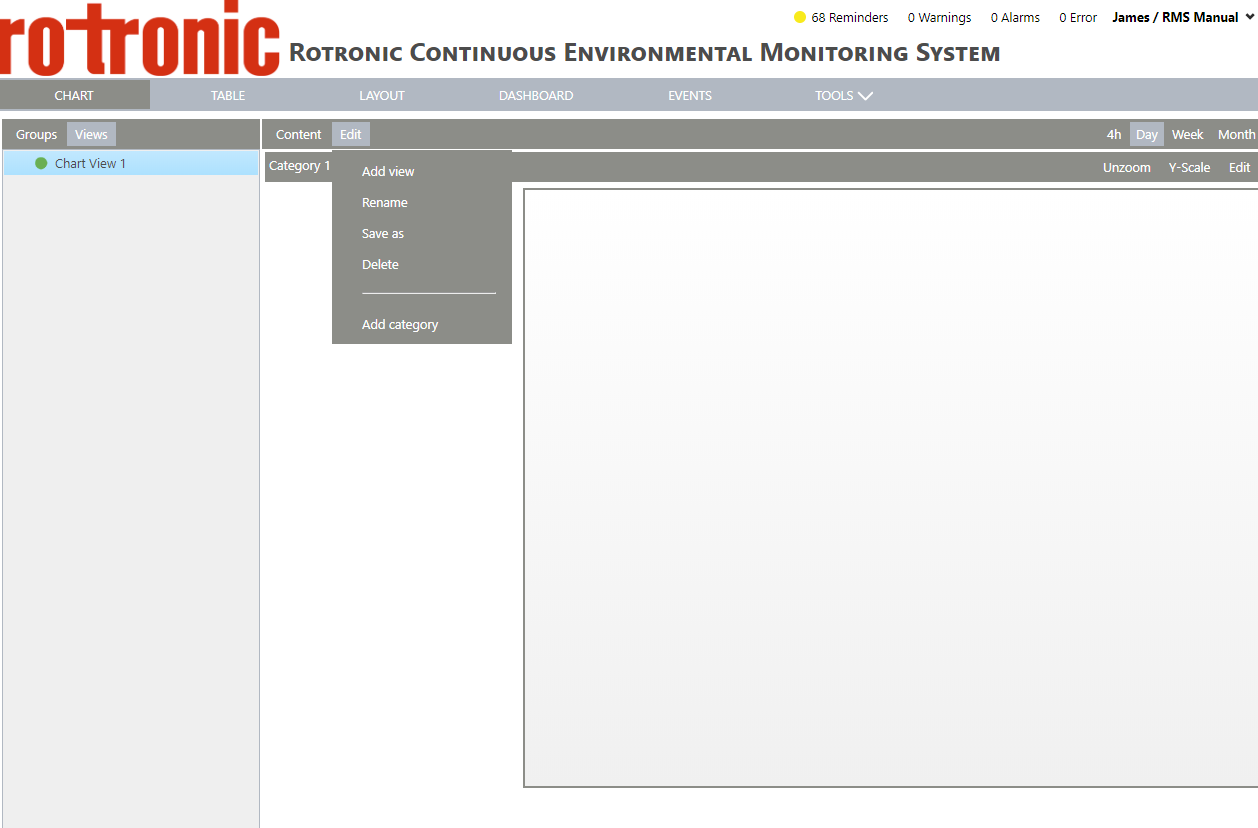
Configure your Views

<< Click to Display Table of Contents >>

Navigation:  Software Overview > RMS Monitoring Software > Working with the RMS Software > Configure RMS > Configure your Chart View > Configure your Views >

Configure your Views

Step 1

Within "Views", you first have to setup a view via the "Edit" drop down menu. Click on "Edit" > "Add view":


configure your chart view 4


Step 2

Enter a name for the view and click on "OK":
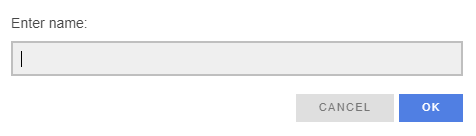
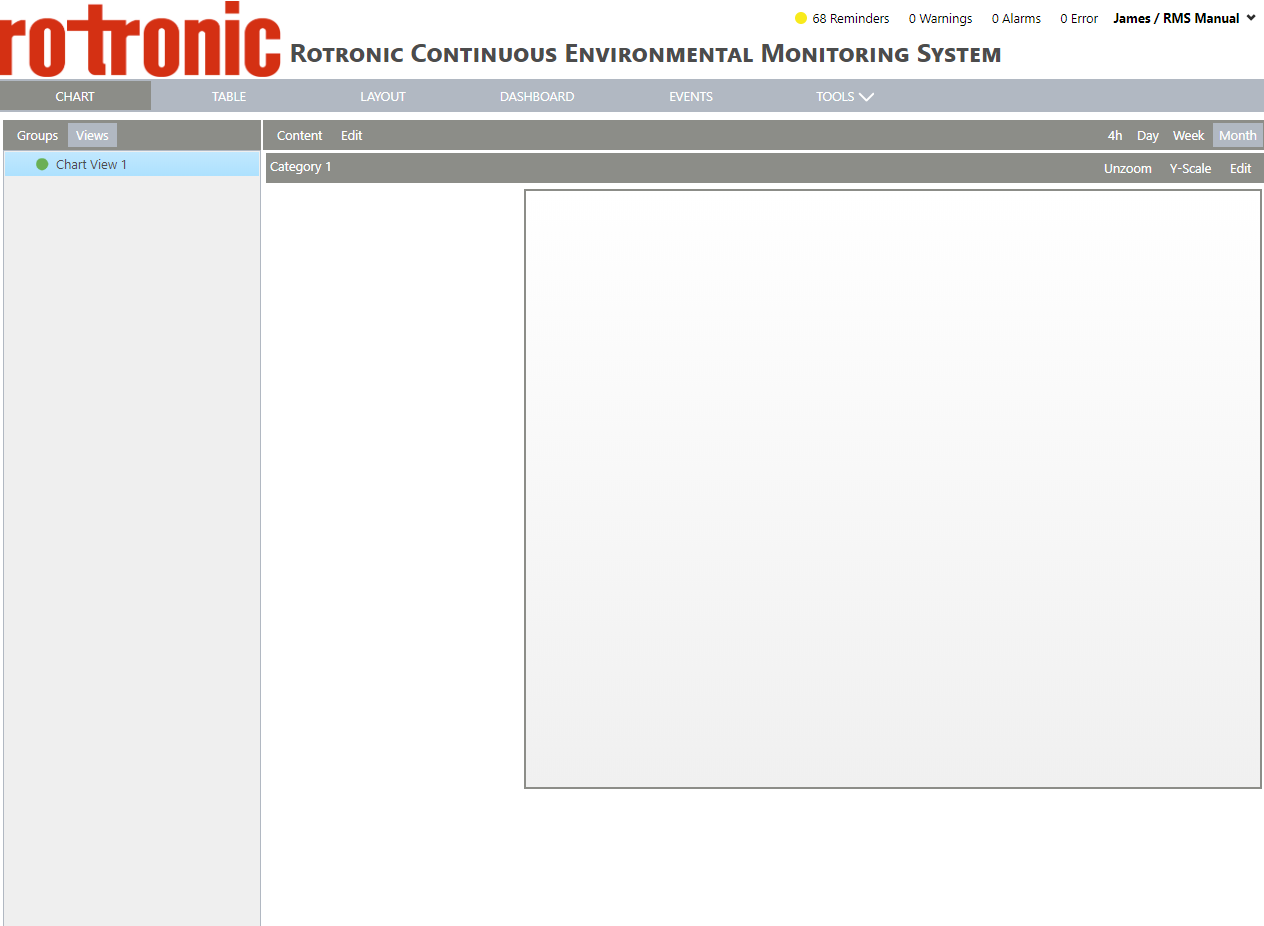
configure your chart view 5


Step 3

A new view is created with category 1 already added:


configure your chart view 7


Various different possibilities exist, via the "Edit" button:

oAdd view

oRename

oSave as

oDelete

configure your views 1