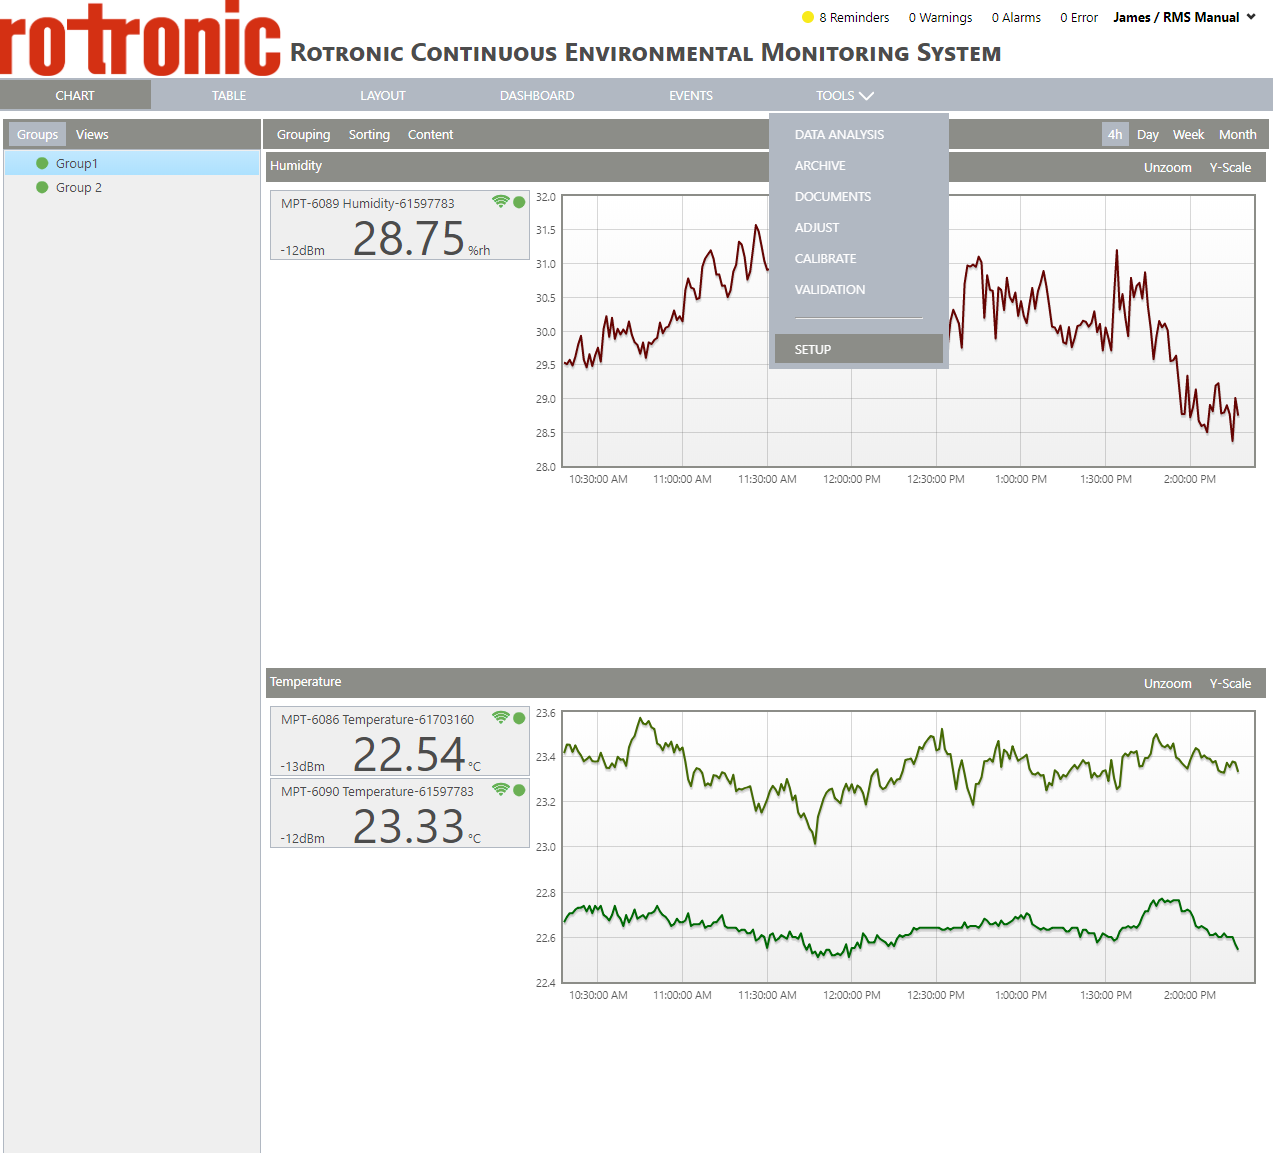
Step 1 |
From the start page, click on "Tools" > "Setup":
|
Step 2 |
On the left side, select "System":

|
Step 3 |
Under "LDAP", it is possible to configure your LDAP settings: oServer path: LDAP server address. If credentials are required to access the LDAP server: Ask your system administrator for access permission for the identity of the IIS Application Pool. The user name in RMS needs to be the same as in the operation system (e.g. Windows). |
Step 4 |
Click on "Save" to save the settings. |
On the Server side, RMS requires a port to be specified in the LDAP connection string, as well as the LDAP:// prefix. This needs to be carried out by the local IT team.
1.Set the path to your LDAP server in the System Tools:
a.Add LDAP://:636 if interfacing to LDAP server using TLS/SSL.
b.Add LDAP://:389 if interfacing to LDAP server (no TLS/SSL).
2.If your LDAP server requires authentication, you must customize the application pool settings:
a.Open IIS Manager.
b.Select your Application Pool.
c.Select "Advanced Settings".
d.Under "Identity", select "Custom Account" and provide a User and Password for an account with access to LDAP Server.
3.In RMS, recreate users with the same user name and email address that are found in the active directory.
a.In the user’s parameters, make sure to click the checkbox “Connect via LDAP”.
Please see the Windows LDAP Setup details.
Update V2.8.0:
RMS supports multiple LDAP servers.
Tools > Setup > System > LDAP
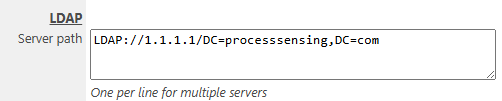
Several servers can be added here.
Updated: 13.09.2025