Step 1 |
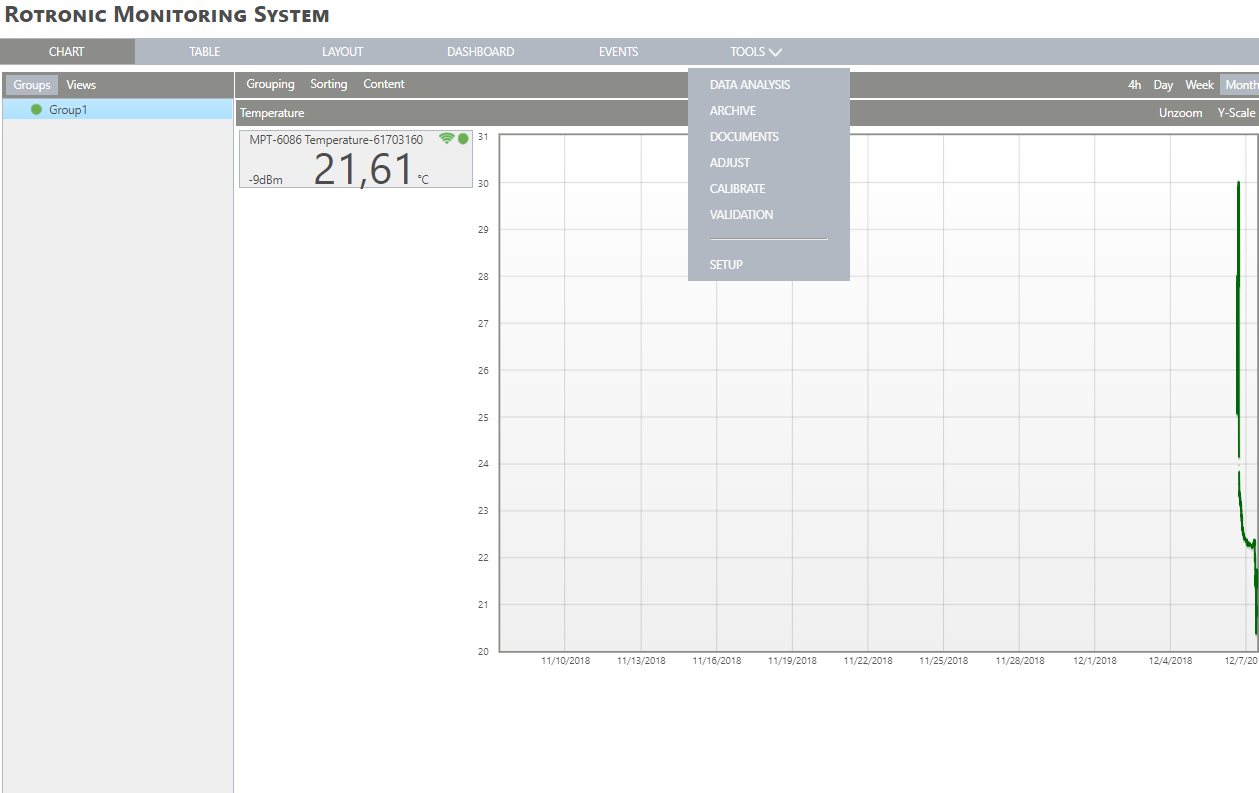
From the start page, click on "Tools" > "Setup":
|
Step 2 |
Select "User": 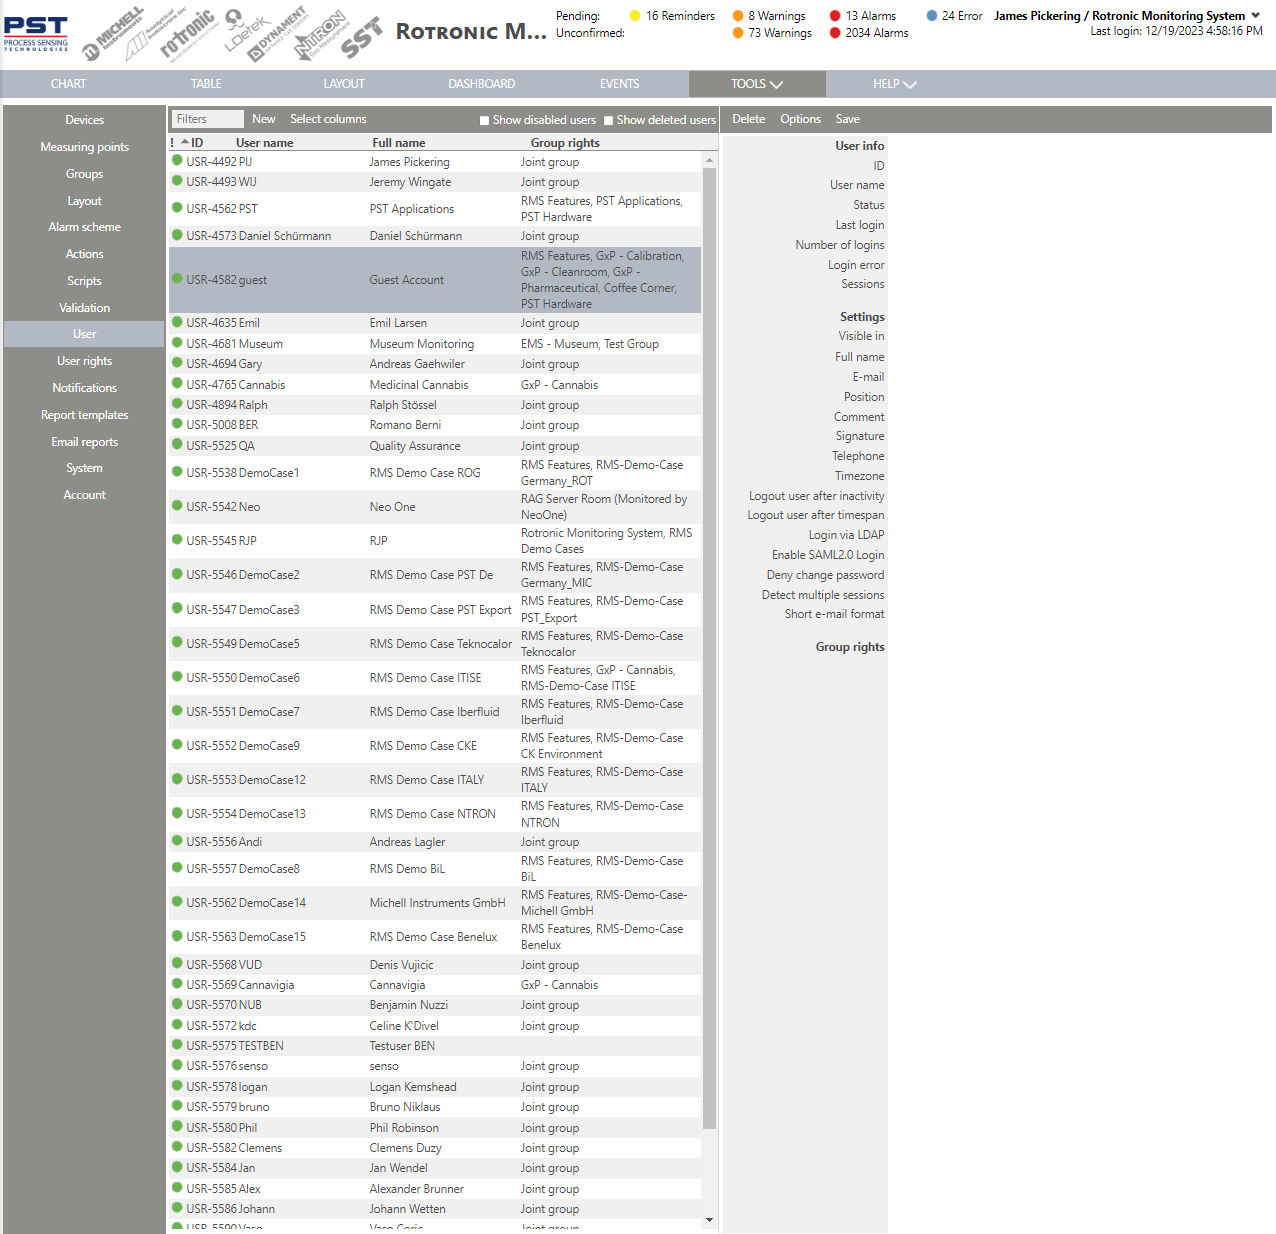
|
Step 3 |
Select "New": 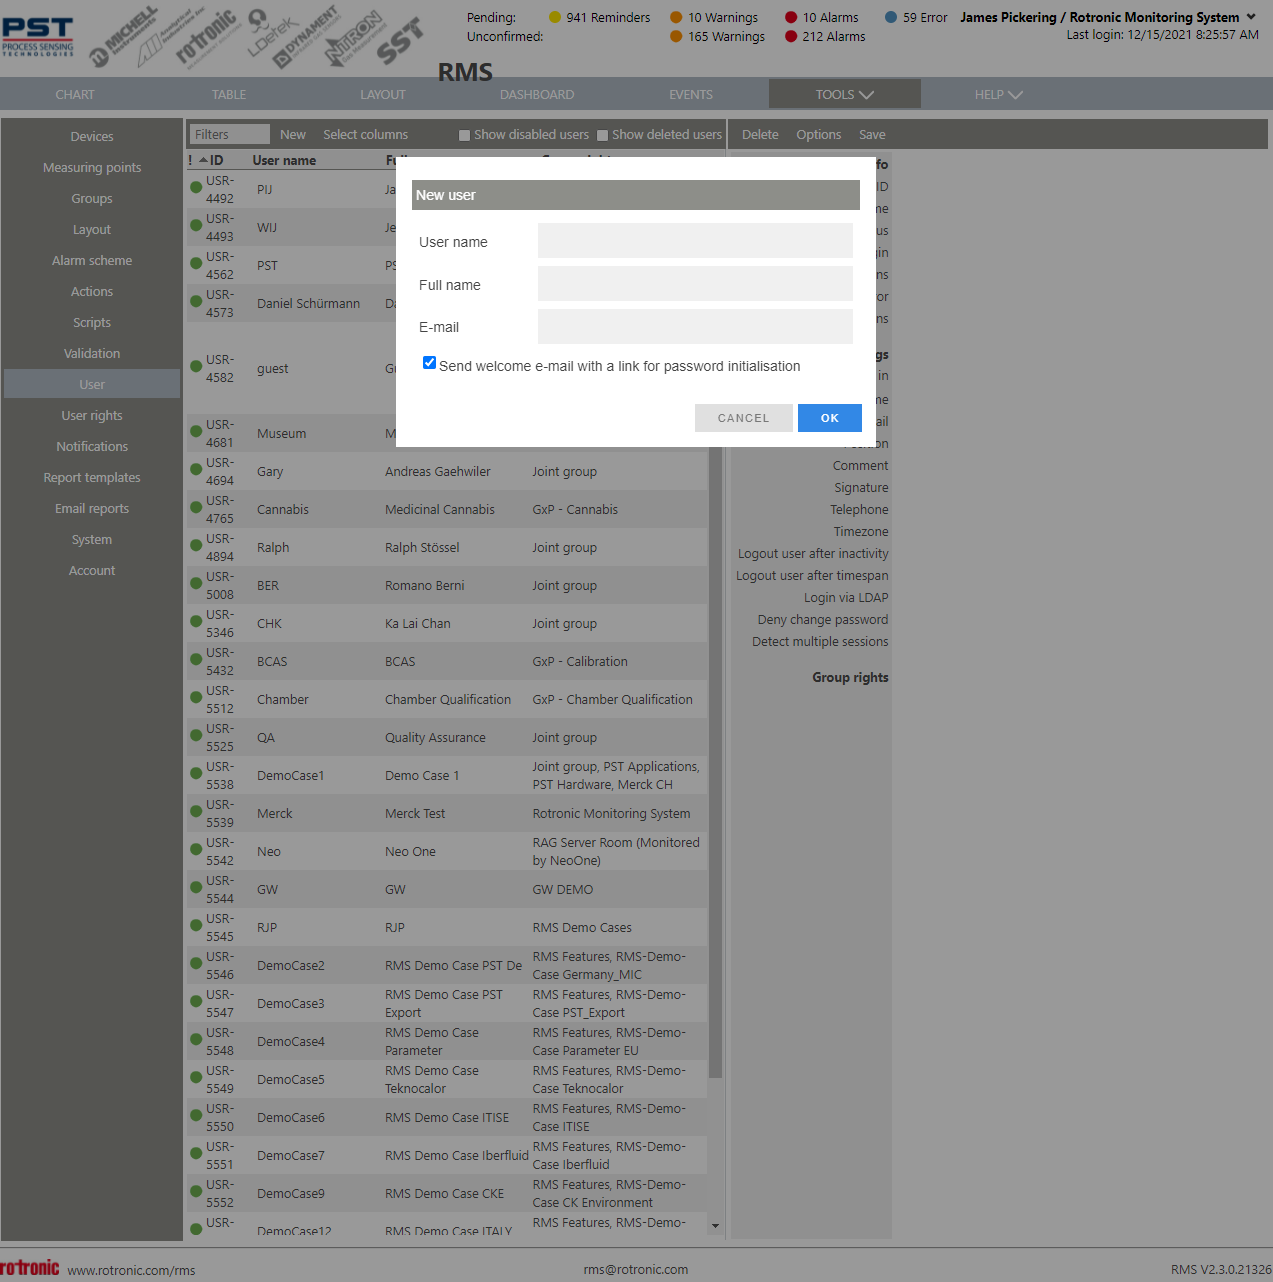 |
Step 4 |
User name Choose a name that is used to log in to the system.
Full name Choose a name that is shown when the user is logged in to the system and in the audit trail.
Choose the user's email address.
Click on "OK" to generate a new user: |
Step 5 |
On the right side, complete the setup of the user:
Visible in Choose in what group the user is visible in.
Full name The user's full name.
The user's email.
Position Choose the user's position.
Comment Choose a comment for the user.
Signature Choose a signature for the user.
Telephone Choose a telephone number for the user (using the international format) for SMS and telephone notifications.
Timezone Choose a timezone for the user.
Logout user after inactivity Select an inactivity time frame.
Logout user after timespan Select a timespan.
Login via LDAP Select if the user should login via LDAP.
Deny change password Select if the user can change their password.
Detect multiple sessions Select if multiple sessions are detected.
Group rights Choose in each group, what rights the user has.
|
Step 6 |
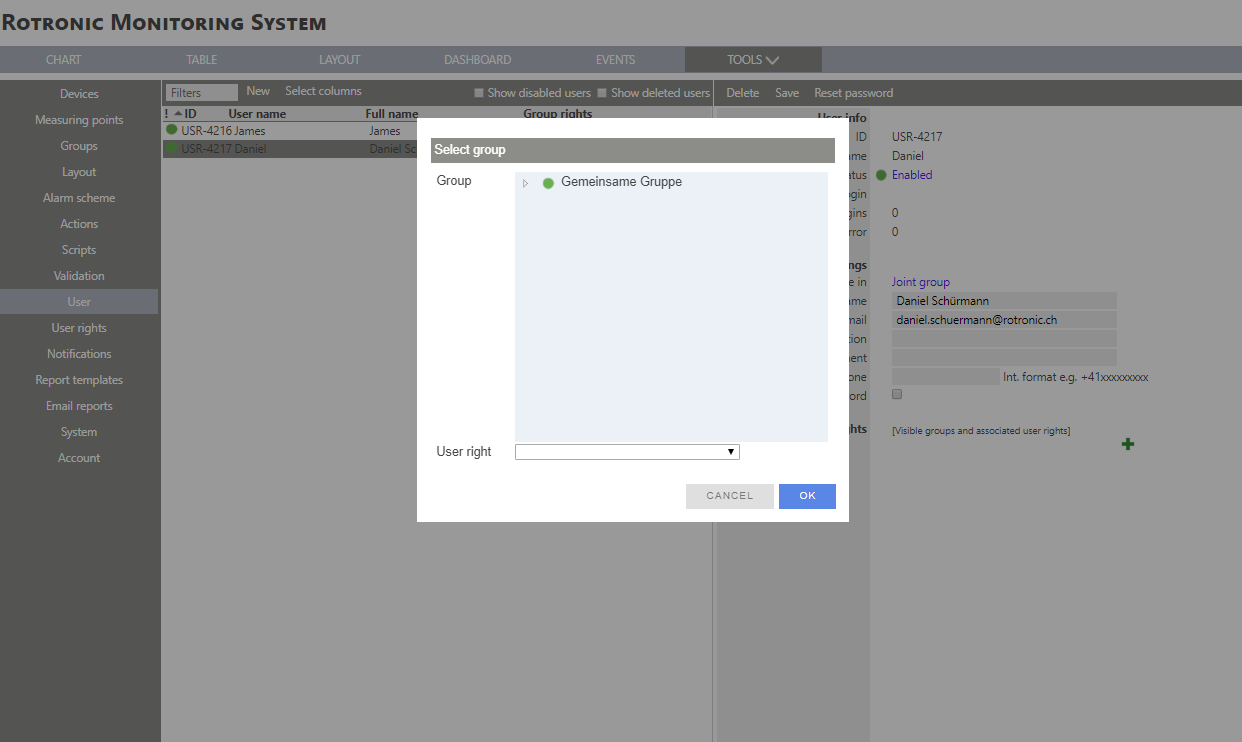
Group Open the drop down menu and select a group.
User right Open the drop down menu and select a user right. It is possible to add various group rights if necessary.
Click on "OK": 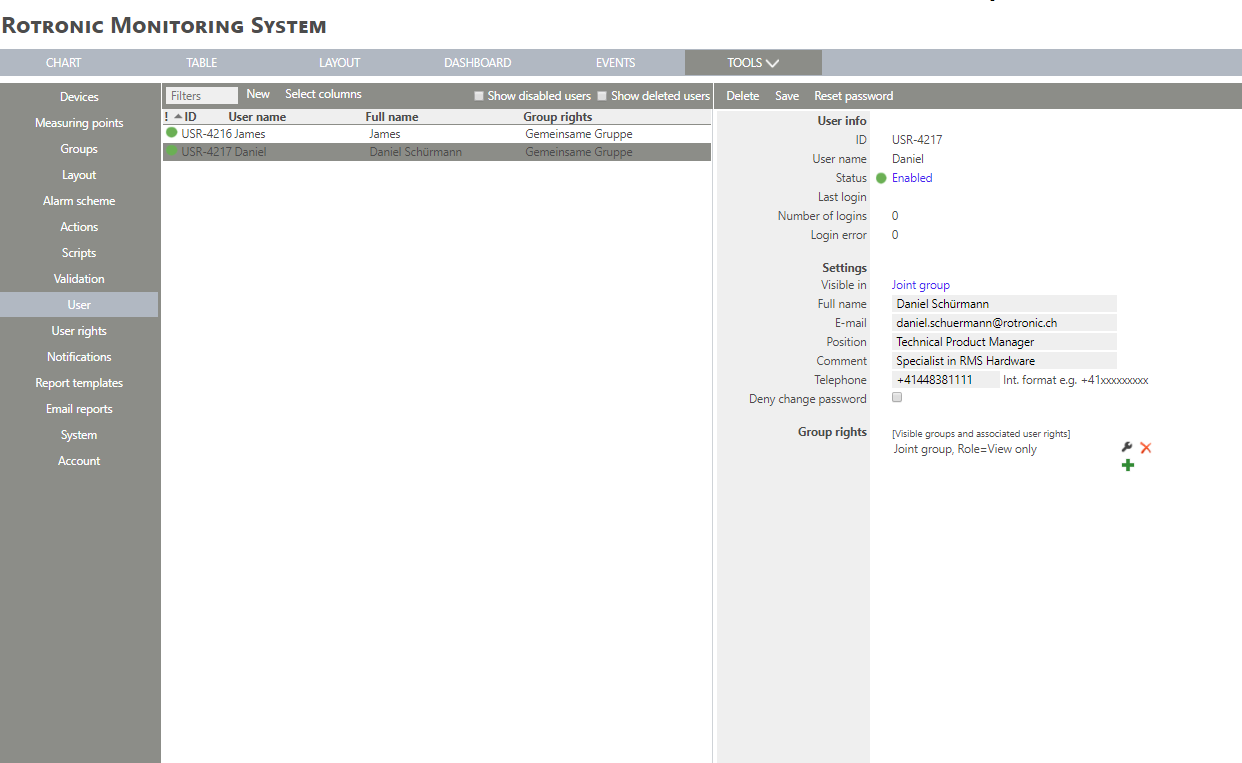
|
Step 7 |
The user is added. |
Step 8 |
Useful link: Tools>Setup>User Explained. |