Important: An RMS-Converter is required to add a Webcam to RMS. |
Step 1 |
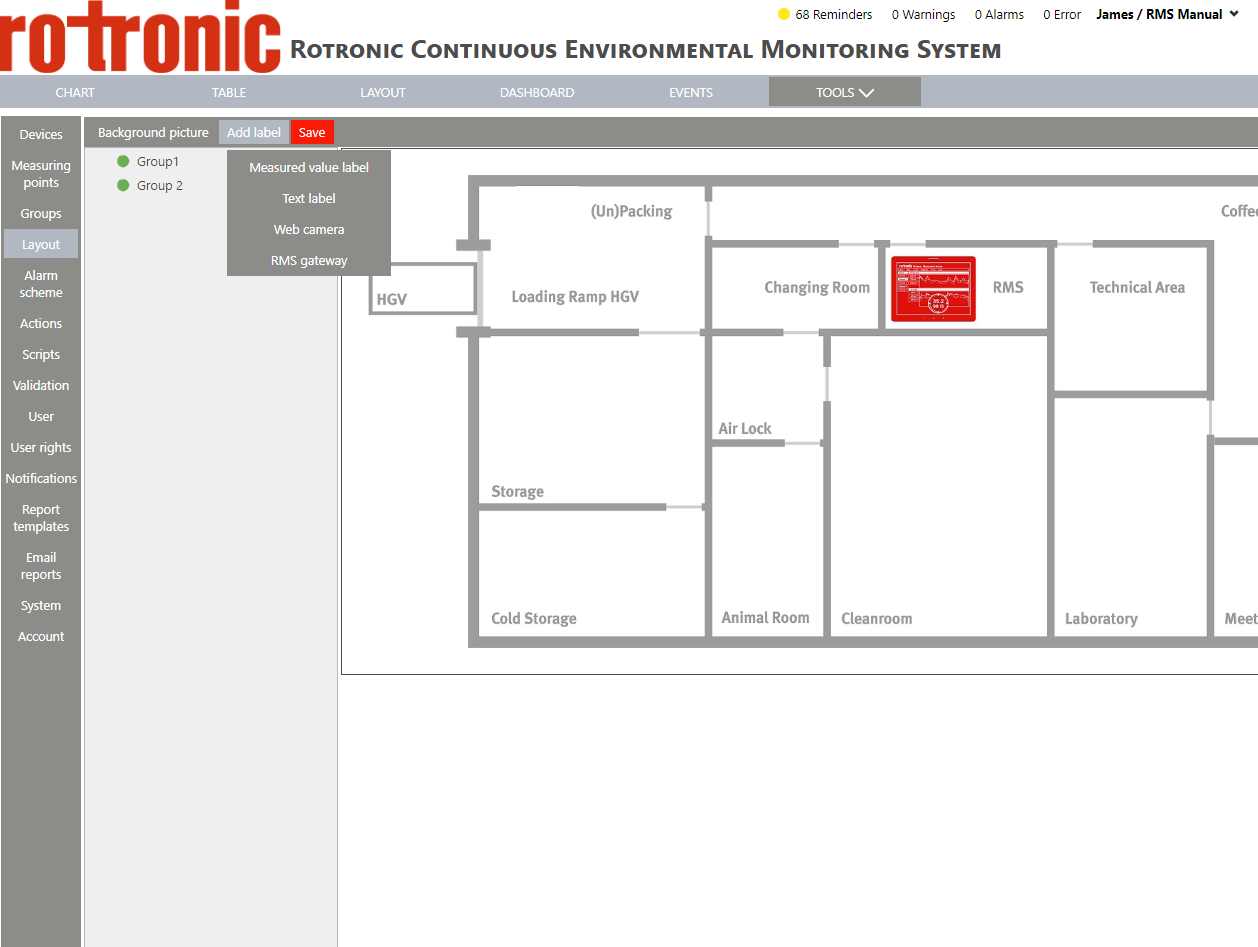
Add a Webcam label by selecting "Add label" > "Webcam":
|
Step 2 |
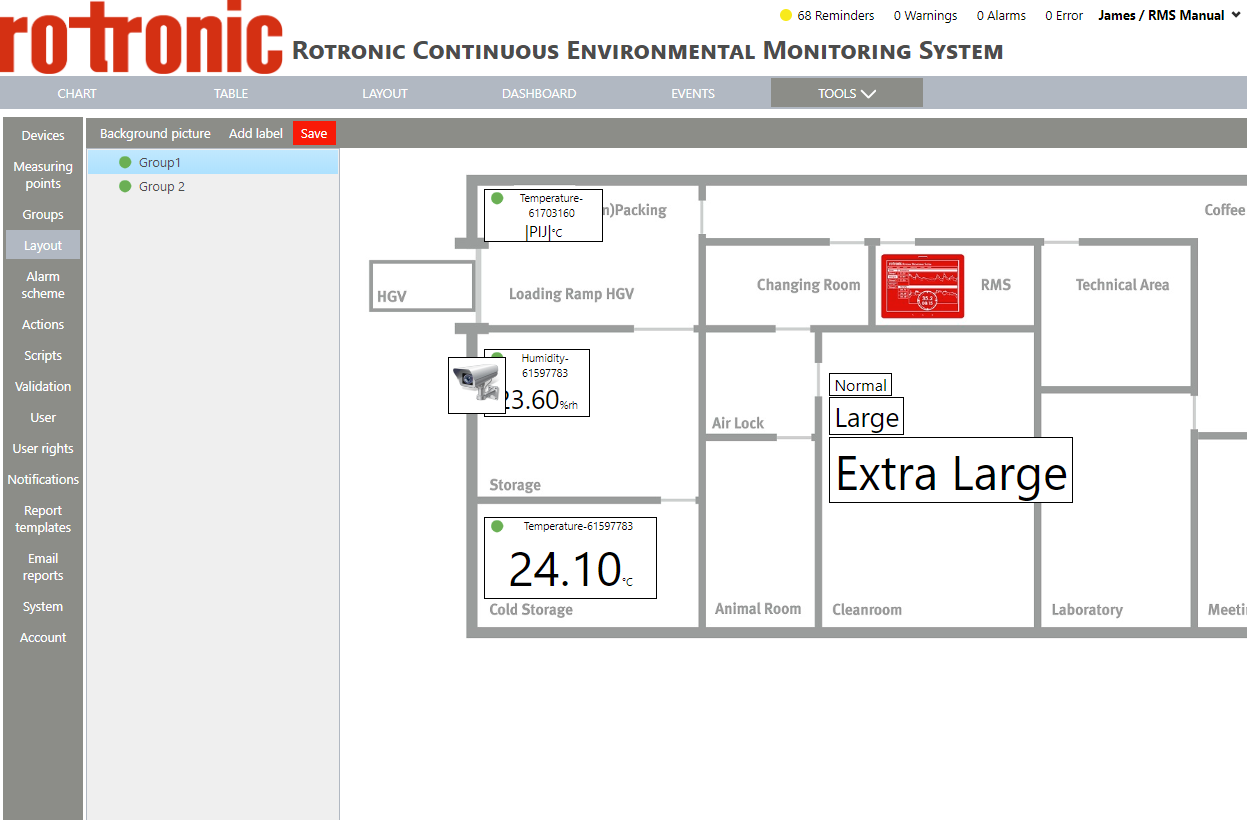
The label appears on the background:
|
Step 3 |
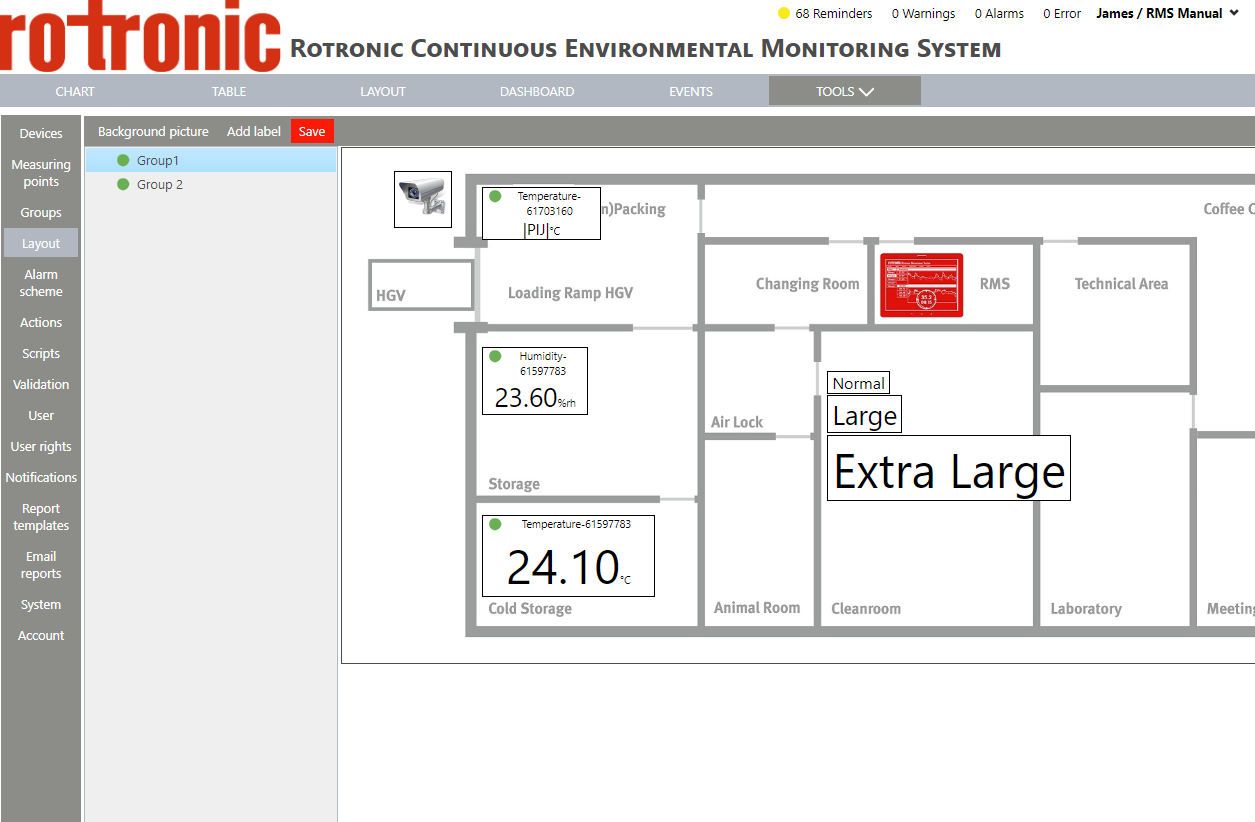
Using the mouse, click on the measuring point box and drag and drop the box to the desired location:
|
Step 4 |
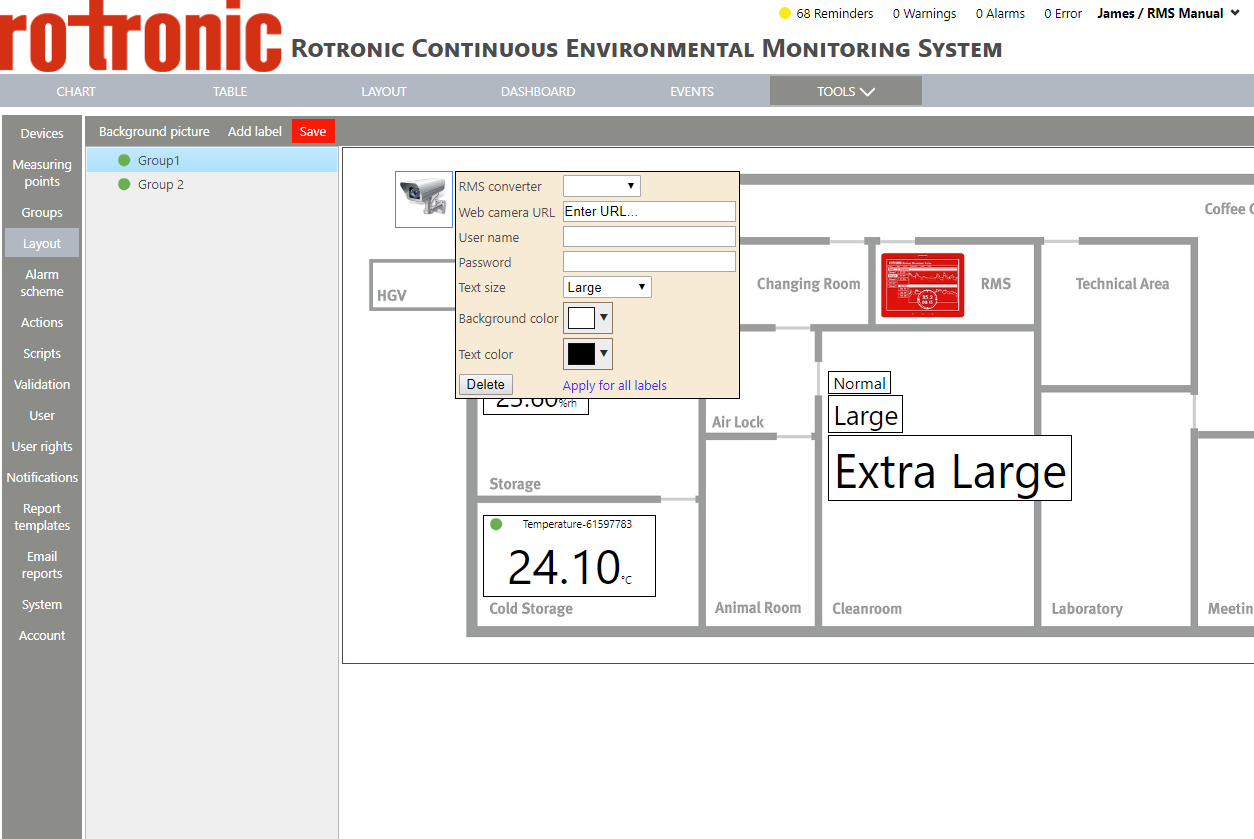
Click on the Webcam to open up the label's menu:
|
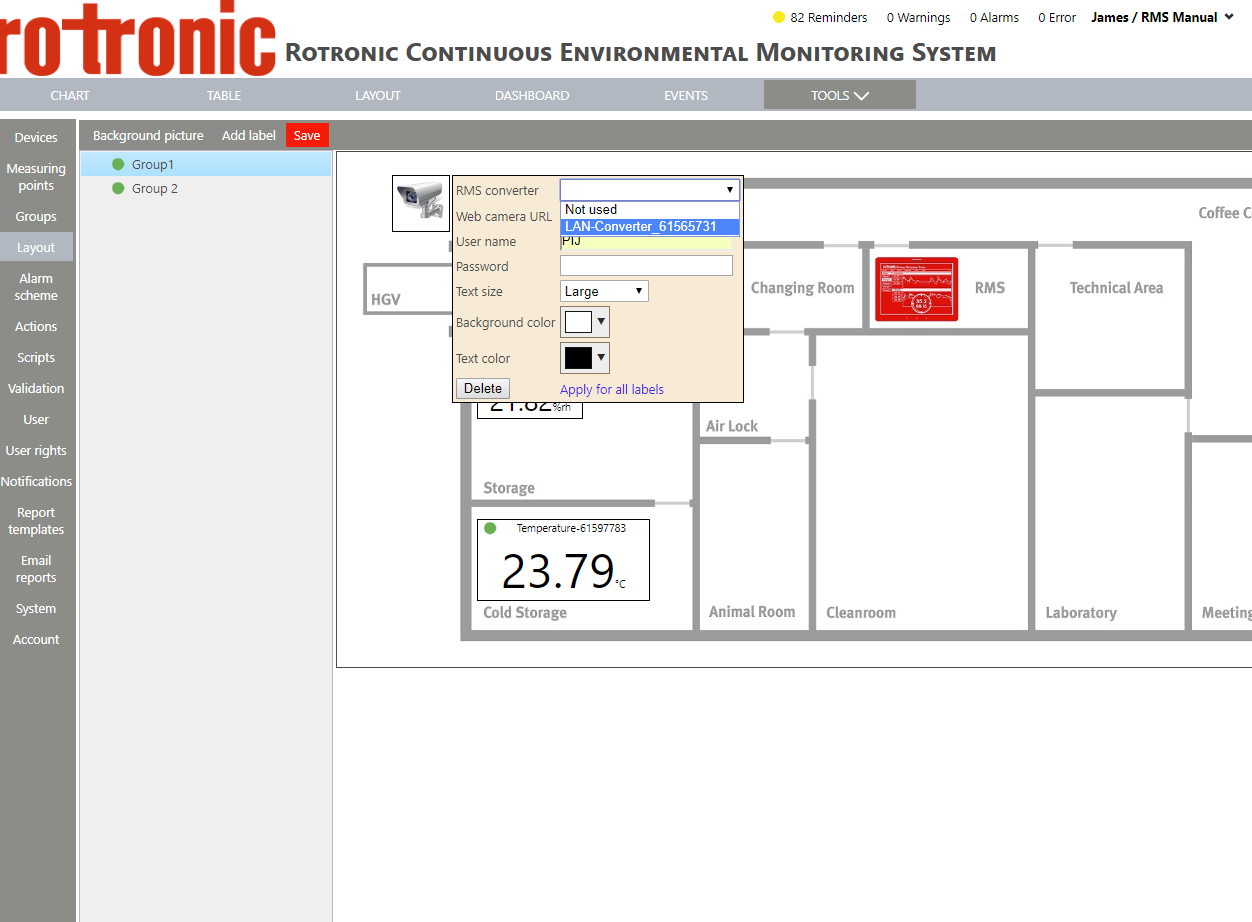
Step 5 |
Click on RMS-Converter to add the RMS-Converter used.
|
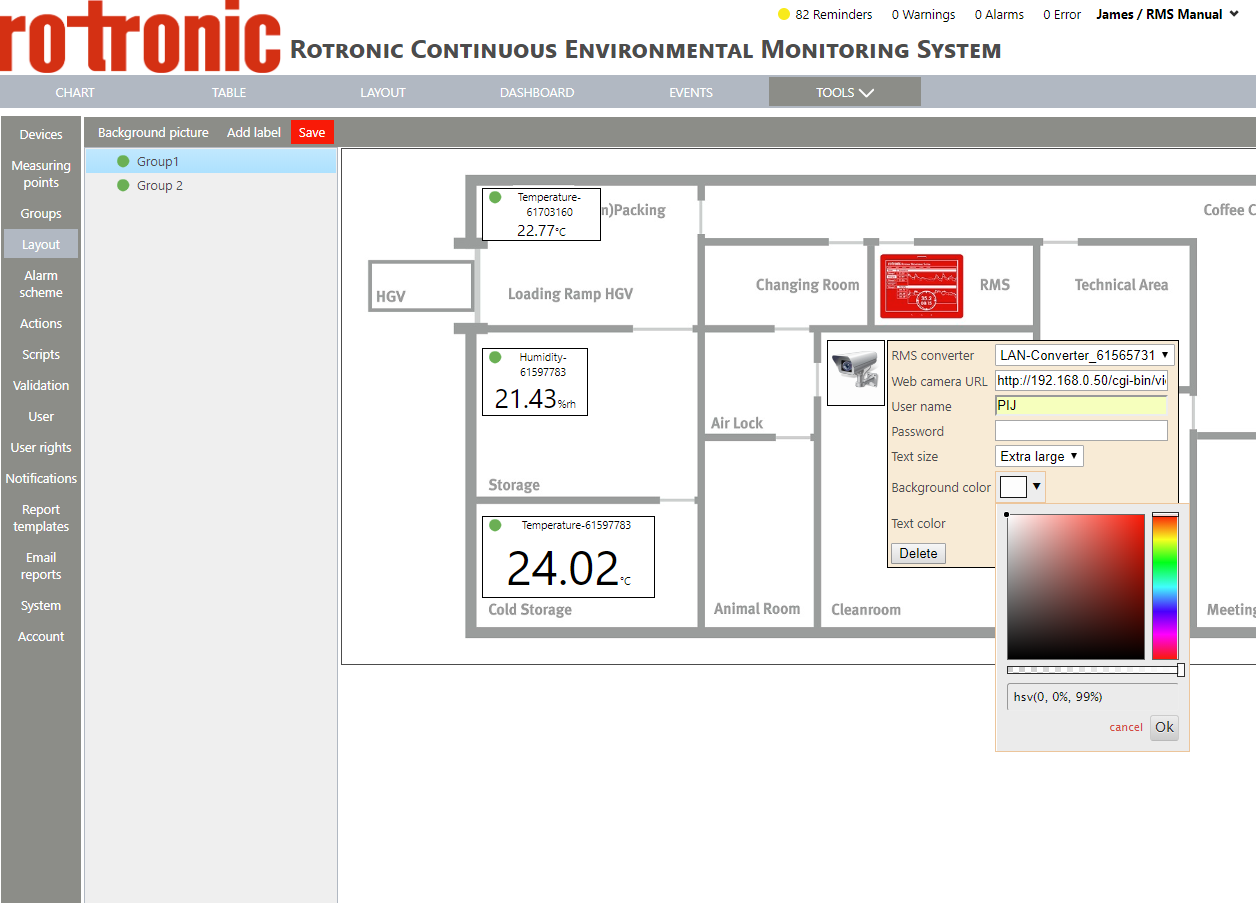
Step 6 |
Webcam's URL: add the Webcam's URL here. User name: add the user name used to access the Webcam. Password: add the password used to access the Webcam. |
Step 7 |
Text size: the text size has no function on the Webcam. |
Step 8 |
Background color: select a color for the background and click on "OK"
|
Step 9 |
Text color: the text color has no function on the Webcam. |
Step 10 |
Delete: click on "Delete" to delete the Webcam label. |
Step 11 |
Apply for all labels: click on "Apply for all labels" to apply the settings for all labels. |
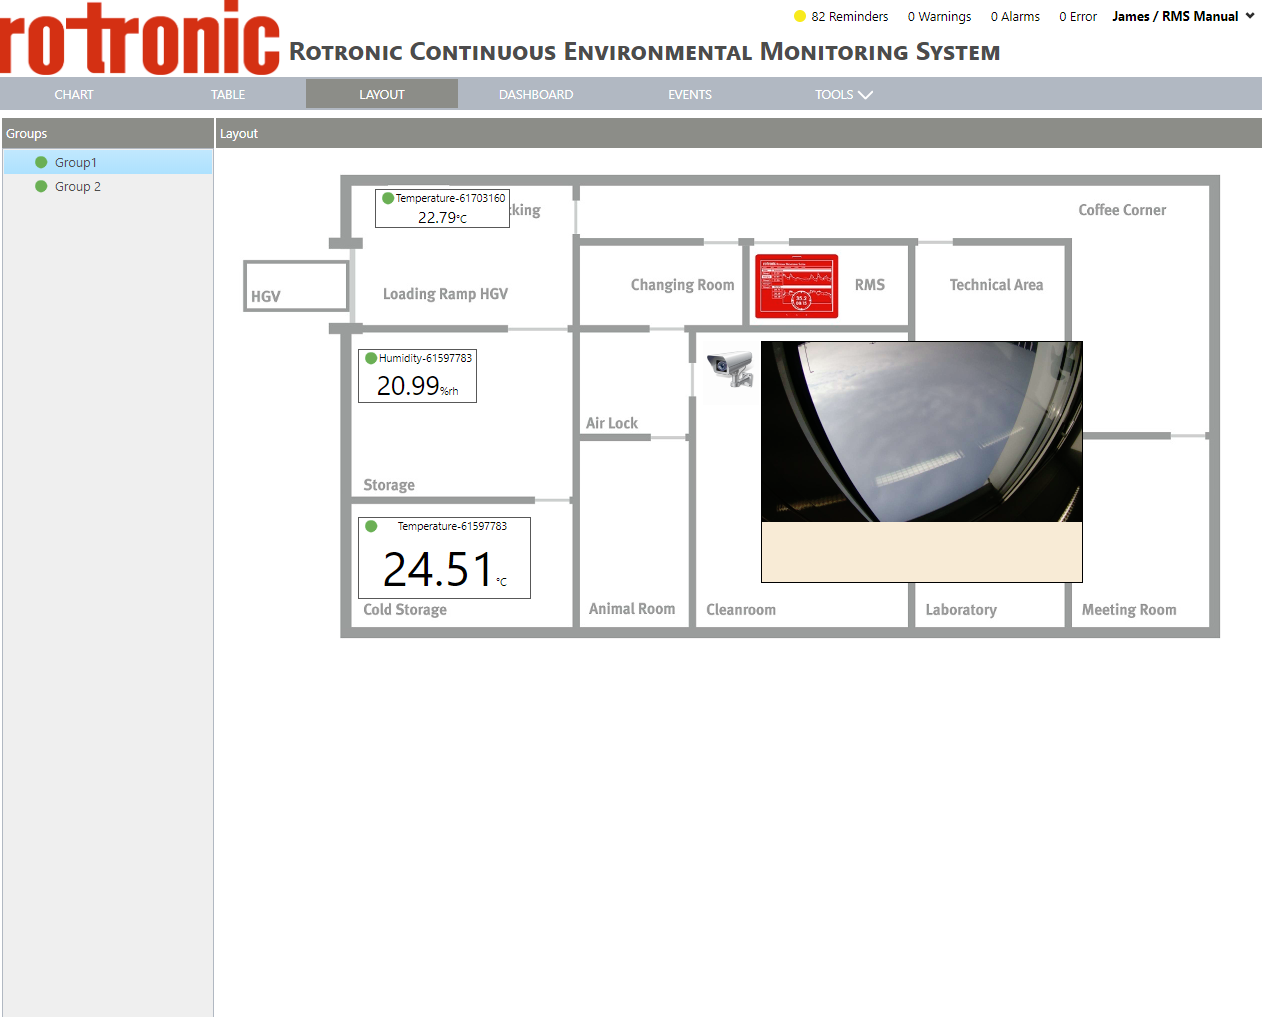
Step 12 |
Visualization of the layout: Using the mouse, hoover over the Webcam label and a snapshot appears.
|