Before starting measuring
Step 1 |
Charging the AwEasyBefore using the AwEasy the first time please make sure that the device is fully charged. To do that please take the inductive charging plate, the USB-A to USB-C cable and the power supply with the correct country adapter. Plug the USB-C connector into the inductive charging plate and the USB-A connector to the power supply. The Rotronic Logo of the inductive charging plate should be congruent to the Rotronic Logo on top of AwEasy.
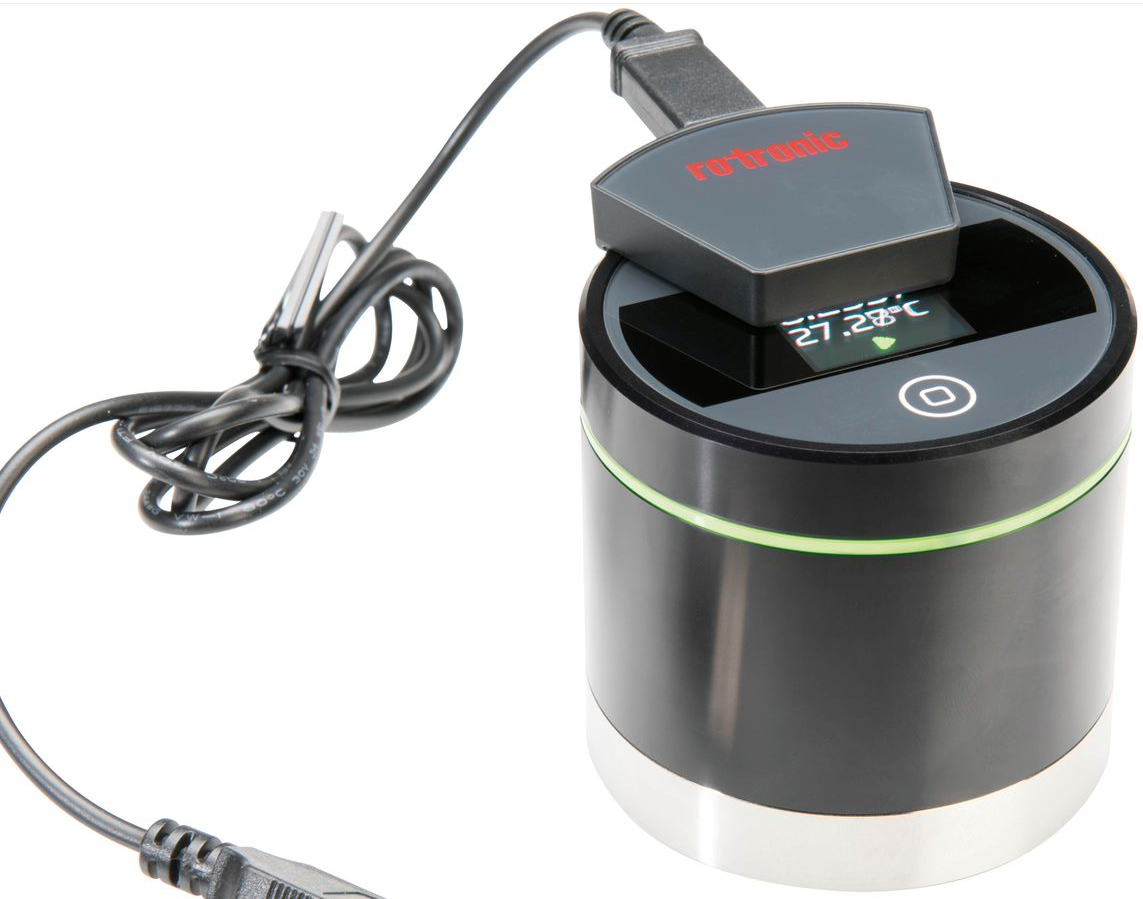
NOTE: Rotronic recommends to wait at least 1-2 hour after charging the AwEasy before starting a measurement. During the charging process the battery gets hot and can therefore affect the accuracy of the measurement. |
|||||||||||||||
Step 2 |
Download the AwEasy AppAfter the AwEasy is fully charged, go to the AppStore (for iOS) or to the Google PlayStore (for Android) and download the free AwEasy App.
IMPORTANT Android User Note: To enable Bluetooth connectivity on Android, the AwEasy App requires permission to access your location. This is a standard requirement for Bluetooth functionality on Android devices and ensures reliable communication between the App and your AwEasy device.

NOTE: To turn off the AwEasy, press and hold the touch button for at least 10 seconds. To check whether the AwEasy is really switched off, shake the measuring head. As long as the display and the light ring are off, the measuring head is off (since the measuring head would have switched on due to the motion sensor if it were still on). |
|||||||||||||||
Step 3 |
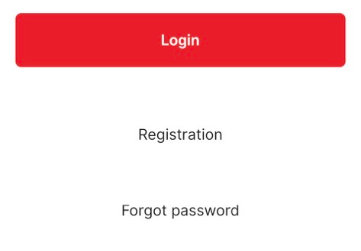
RegistrationWhen starting up the AwEasy App for the first time set up a new user by clicking on "Registration". |
|||||||||||||||
Step 4 |
Connecting the AwEasy with the SmartphoneBefore starting, make sure that Bluetooth is activated on your Smartphone.
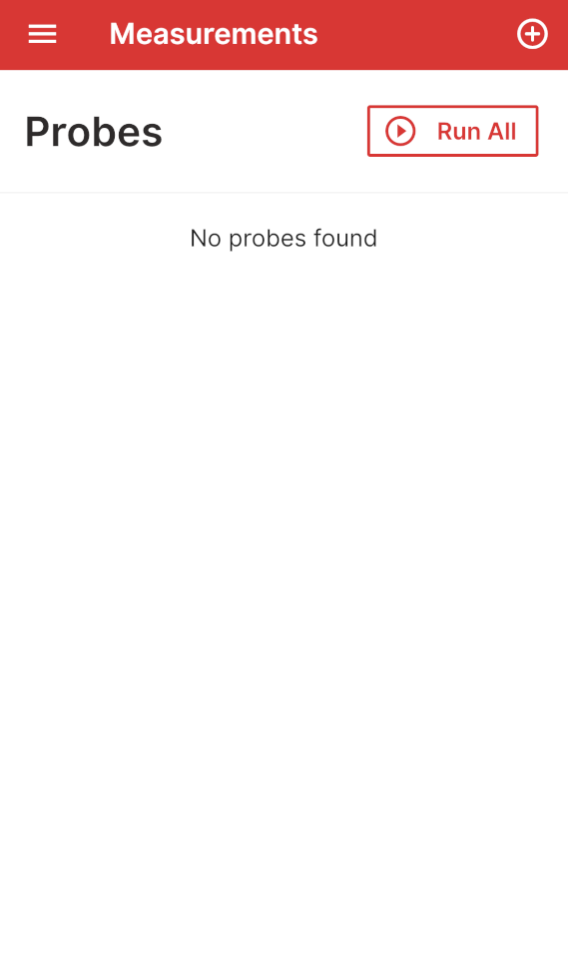
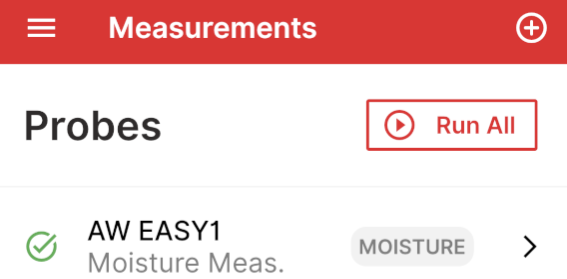
After that start the AwEasy App and go to "Measurements" where the probes overview will open up.
Click on the top right corner the "+" symbol to add a new device.
A device with the name AwEasy will appear which as on the right side a button "connect". Click on it to "connect" with the device. 
After the AwEasy is connected properly a green arrow will appear to show that the AwEasy is connected with the App.
NOTE: In case of a problem please check if the AwEasy is fully charged and if Bluetooth is activated on the Smartphone. |
|||||||||||||||
Step 5 |
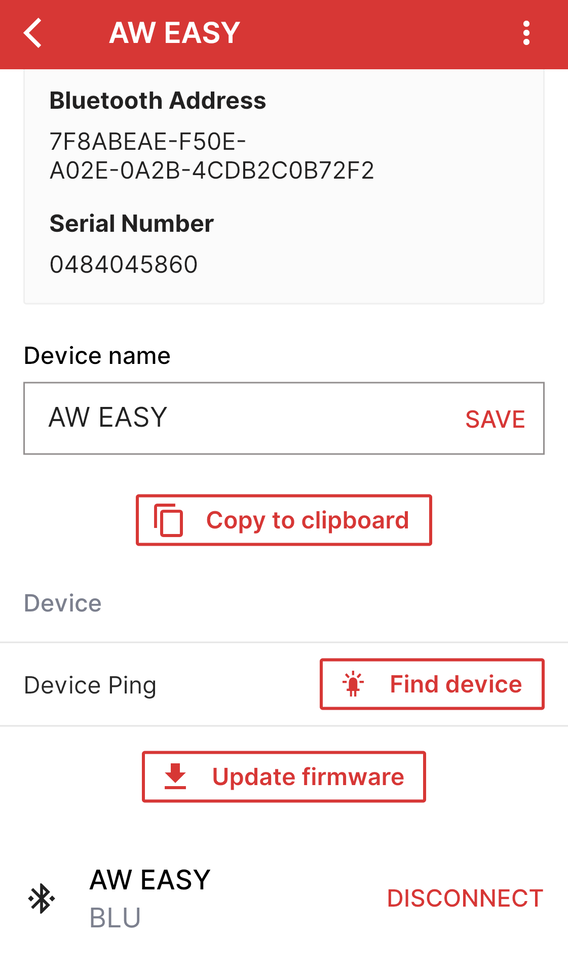
Checking out for the newest firmware version
For the AwEasy to work most efficiently, it is very important to always have the newest firmware version.
NOTE: Normally the App will update automatically to the newest firmware version after starting up the App. Please do not close the app while the firmware is being updated.
NOTE: In order to install the latest firmware, please ensure that you always have the latest App version installed on your device. If possible, use the automatic App update function on your Smartphone or Tablet. |
|||||||||||||||
Step 6 |
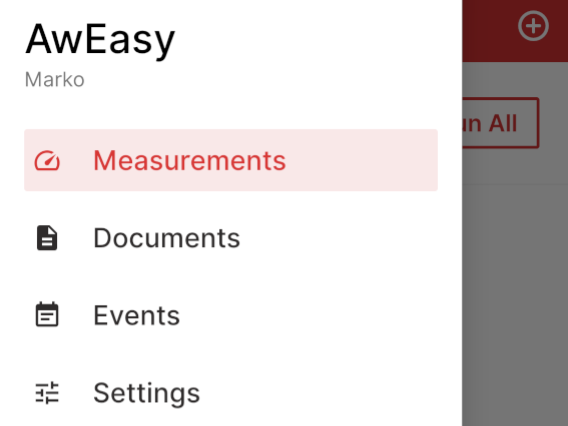
Setting up the file name and the batch No.Before starting measuring go to the main menu and select "Settings".
Select "File Name" to set up the PDF report file name.
And select "Batch Number" to set up the automatically generated batch number. This function is especially important for the standalone use (which needs to be set up).
 |
|||||||||||||||
Step 7 |
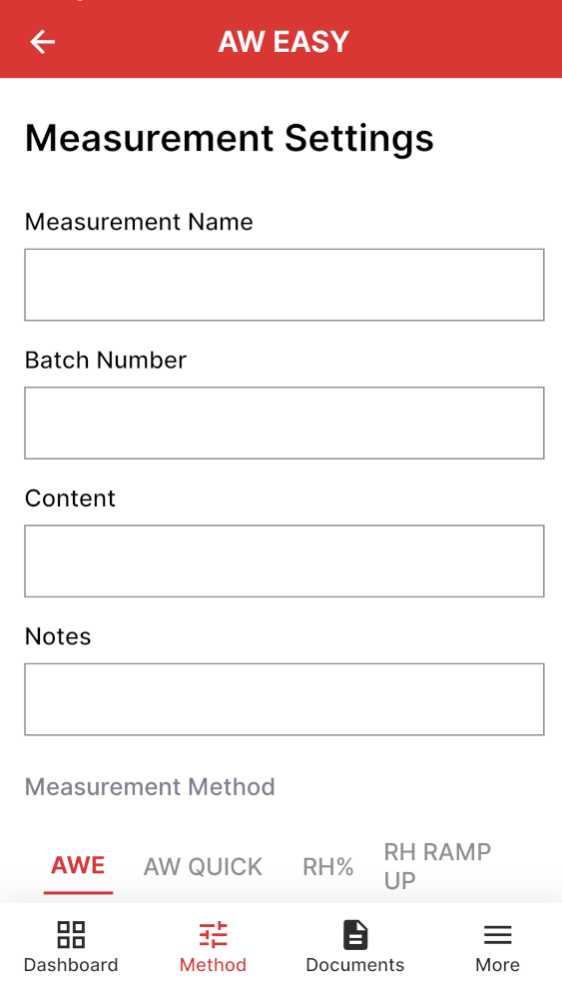
Start measuringTo start measuring go from the main menu into "measurements" then click on your AwEasy device. Click down below the button "Method" to set up your AwEasy measurement settings.
Fill out the "Measurement Name" and the "Batch Number" (in case it's not automatically generated).
Then choose if you want to measure with AwQuick or the normal AWE:
AWE mode: The AwEasy waits for the full equilibration of the measured product and probe. For most products, this takes from 30 to 60 minutes. The AwEasy automatically detects equilibrium conditions (humidity and temperature) and ends the measurement at that time by showing in the measuring data a green OK.
AwQuick mode: The AwEasy uses an algorithm to accelerate the water activity measurement and provides a result in typically 5 minutes. The measurement ends automatically and it shows then a green OK in the measuring data. When temperature conditions are stable, the value measured with the AwQuick mode is generally within ± 0.005 Aw of the value that would be obtained by waiting for full equilibration of the product and probe.
Recommended values overview: Please note that this recommended values only applies for measurement in stable and air-conditioned rooms resp. laboratories (at 23°C ±5°C).
More information about the correct measurement see here: Measuring water activity
NOTE: During the measurement the climate condition needs to be stable. Unstable condition makes the measurement unnecessary longer (mostly for the AW Quick function) and inaccurate. |