For the temperature measurement the location of the transmitter is extremely important, since in order to measure it precisely, the probe and sensors must be exactly on the temperature level of the environment to be measured. The installation site can therefore have a significant influence on the performance of the device. Follow the guidelines below to ensure optimum performance:
•Representative Site: Install the probe at a location where the temperature accurately reflects the environment being measured.
•Air Movement: Ensure sufficient airflow of at least 1 m/s to allow for faster and more accurate temperature adjustment.
•Avoid: Do not place the probe too close to heat sources, cooling coils, cold or hot surfaces, or in direct sunlight.
The following instructions provide a step-by-step guide for installing the transmitter.
Step 1 |
|
 |
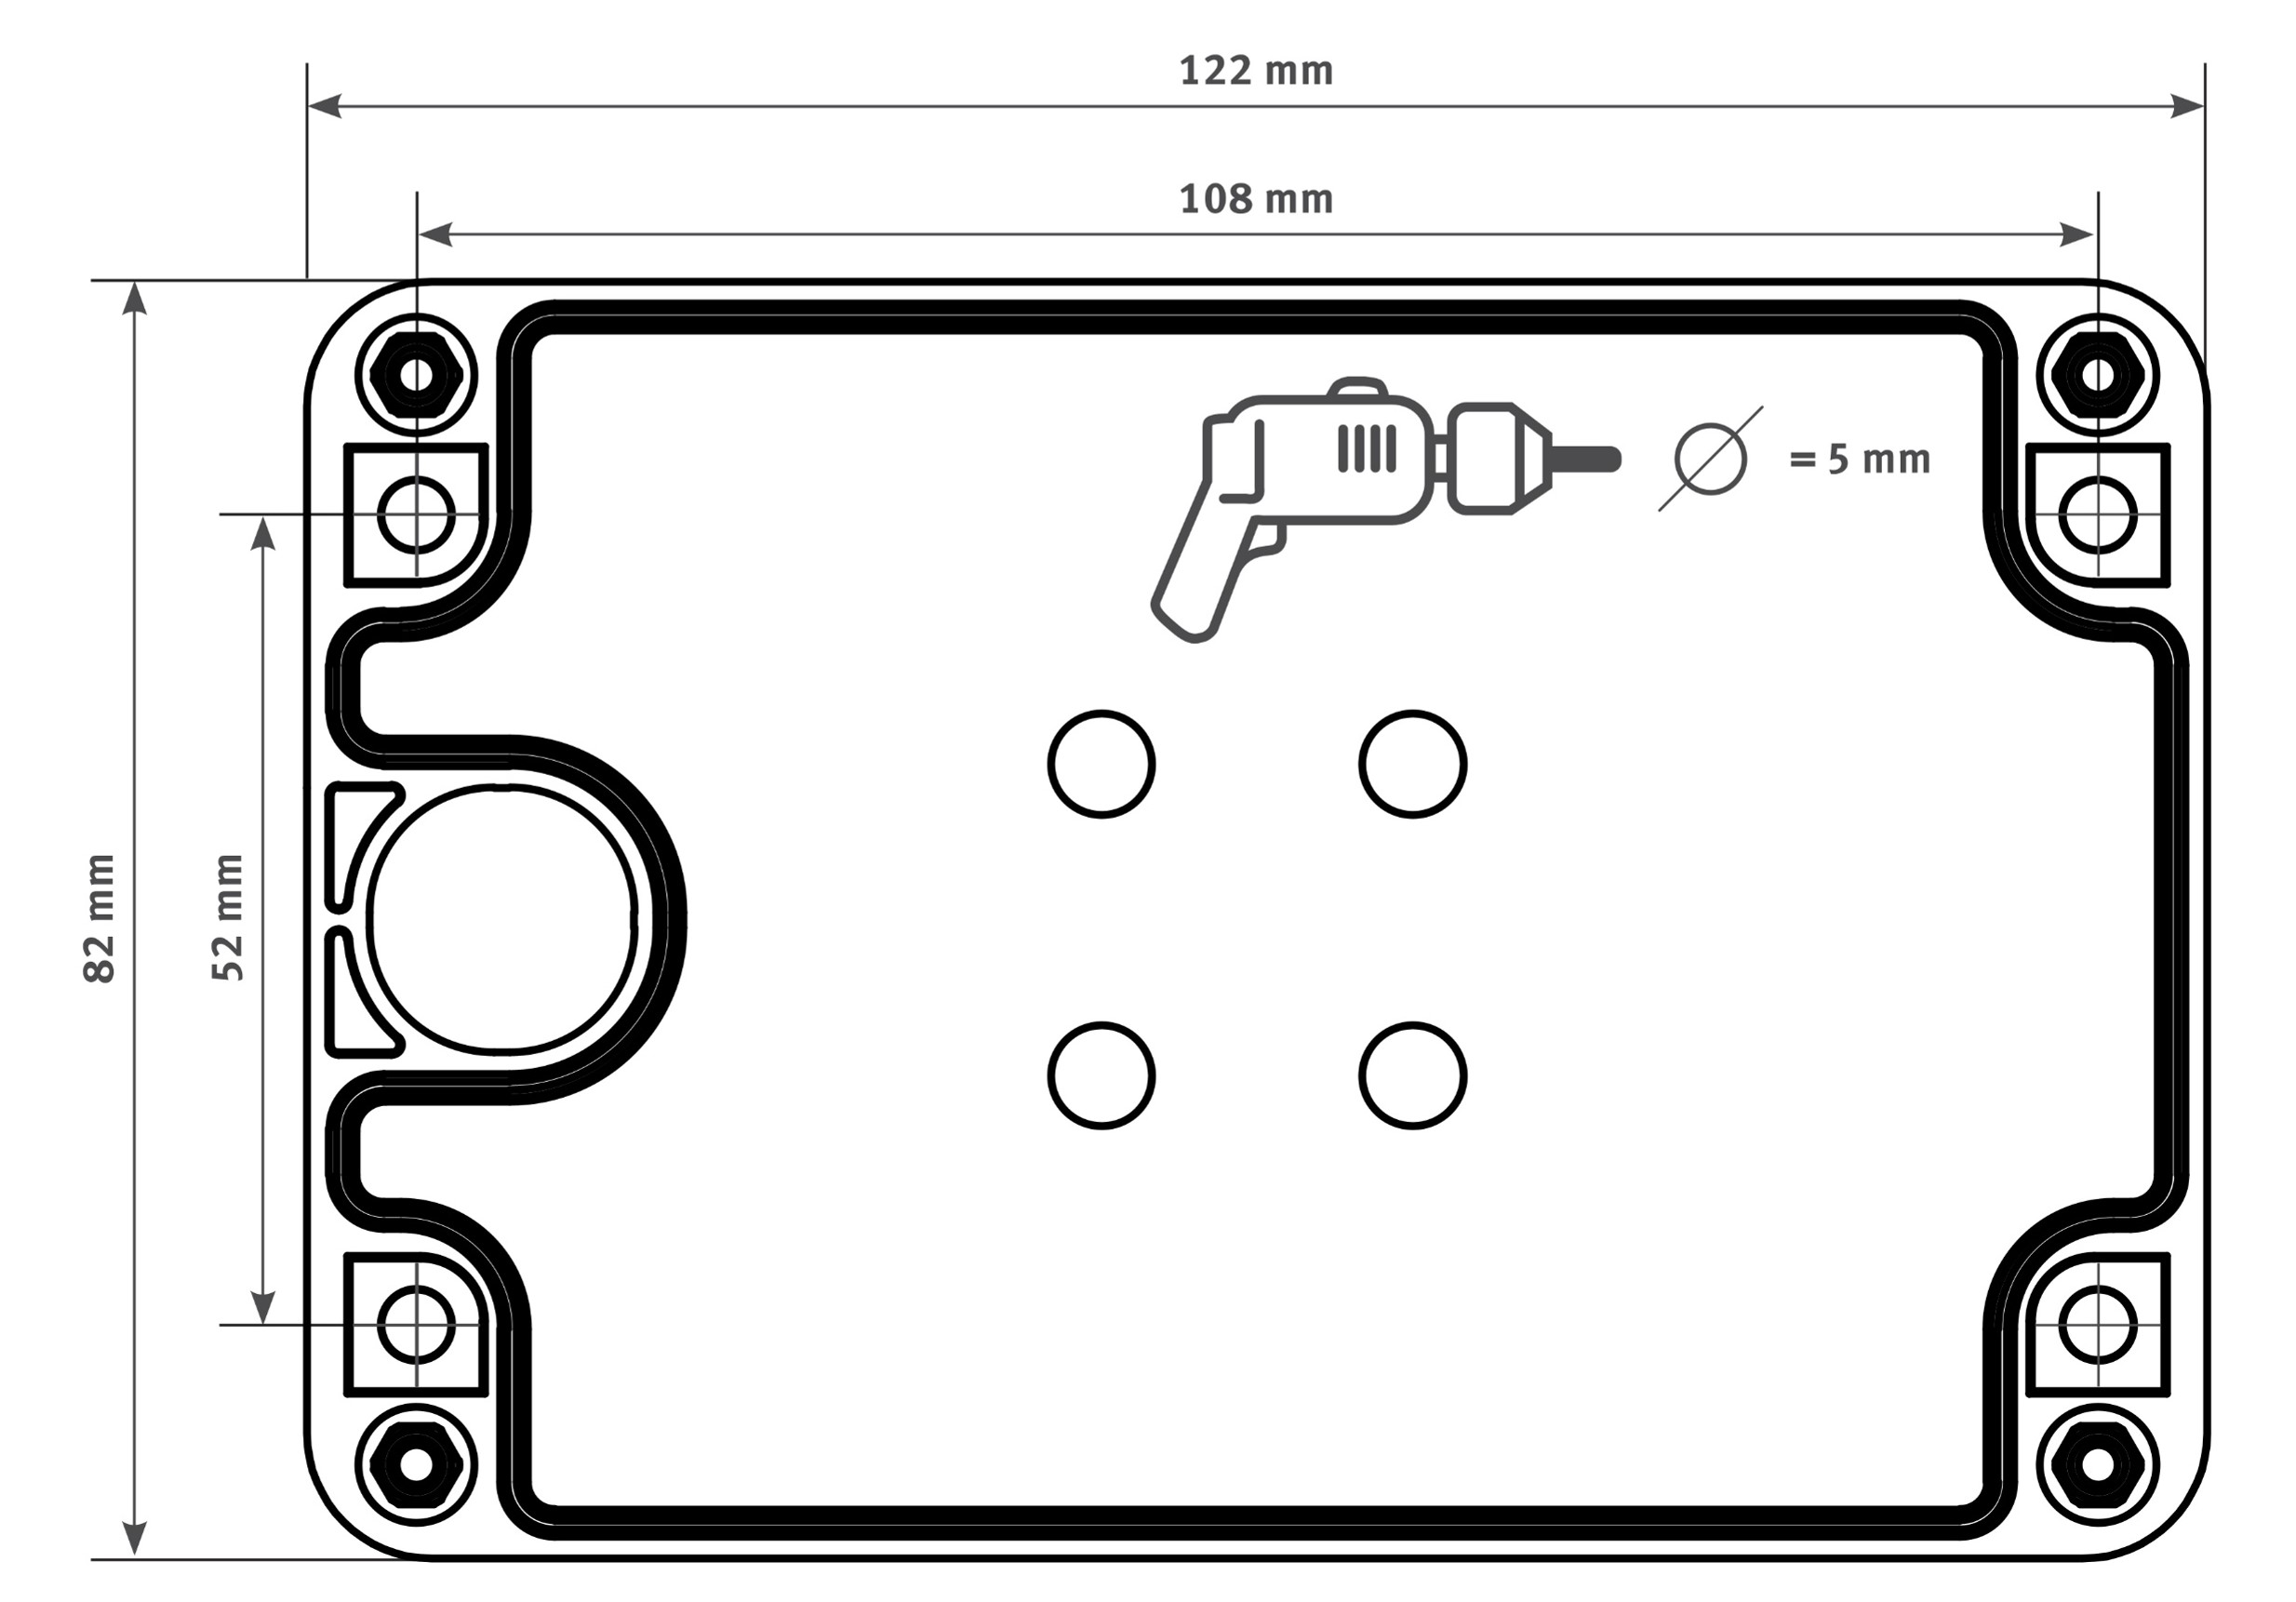
The delivery package includes screws, and dowels for a easy wall fixings installation.
The drilling template displayed on the left can be obtained from here. Once the holes are prepared, the bottom section of the box can be securely mounted to the wall. |
Step 2 |
|
 |
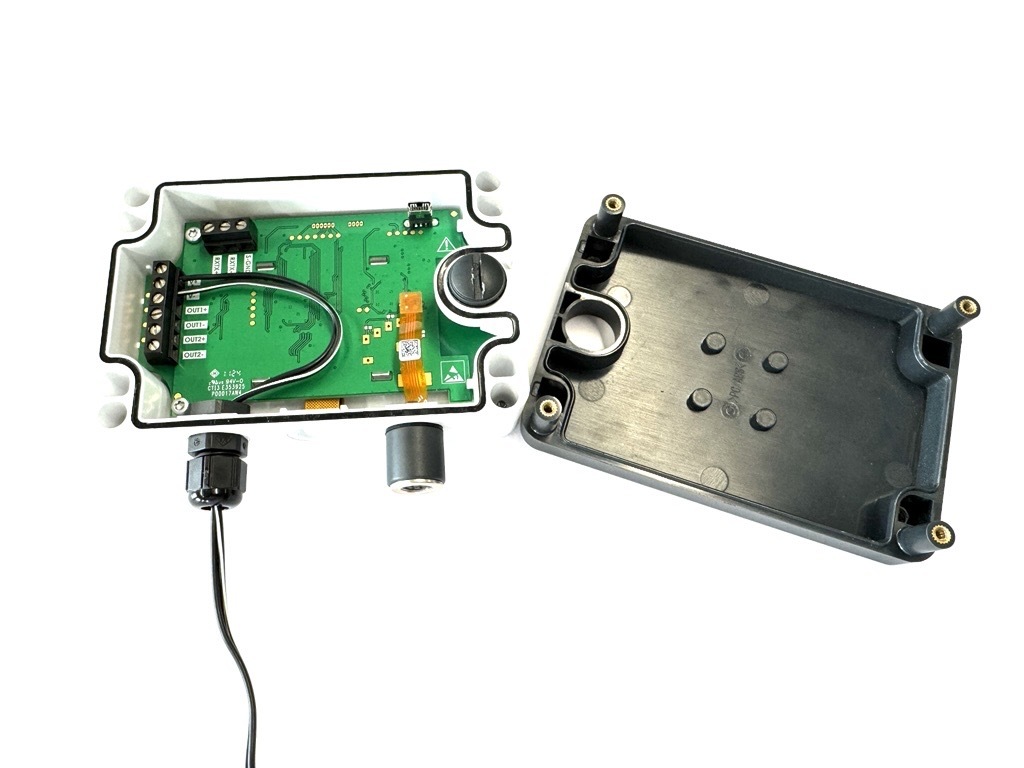
After the bottom section is installed, the electrical installation of the power supply can be carried out. For more information please consult the section Electrical Connections
Note: The M12 cable strain relief ensures a proper seal only when using a cable with the specified number of wires and correct diameter. If individual wires are used, the seal's effectiveness cannot be guaranteed. |
Step 3 |
|
 |
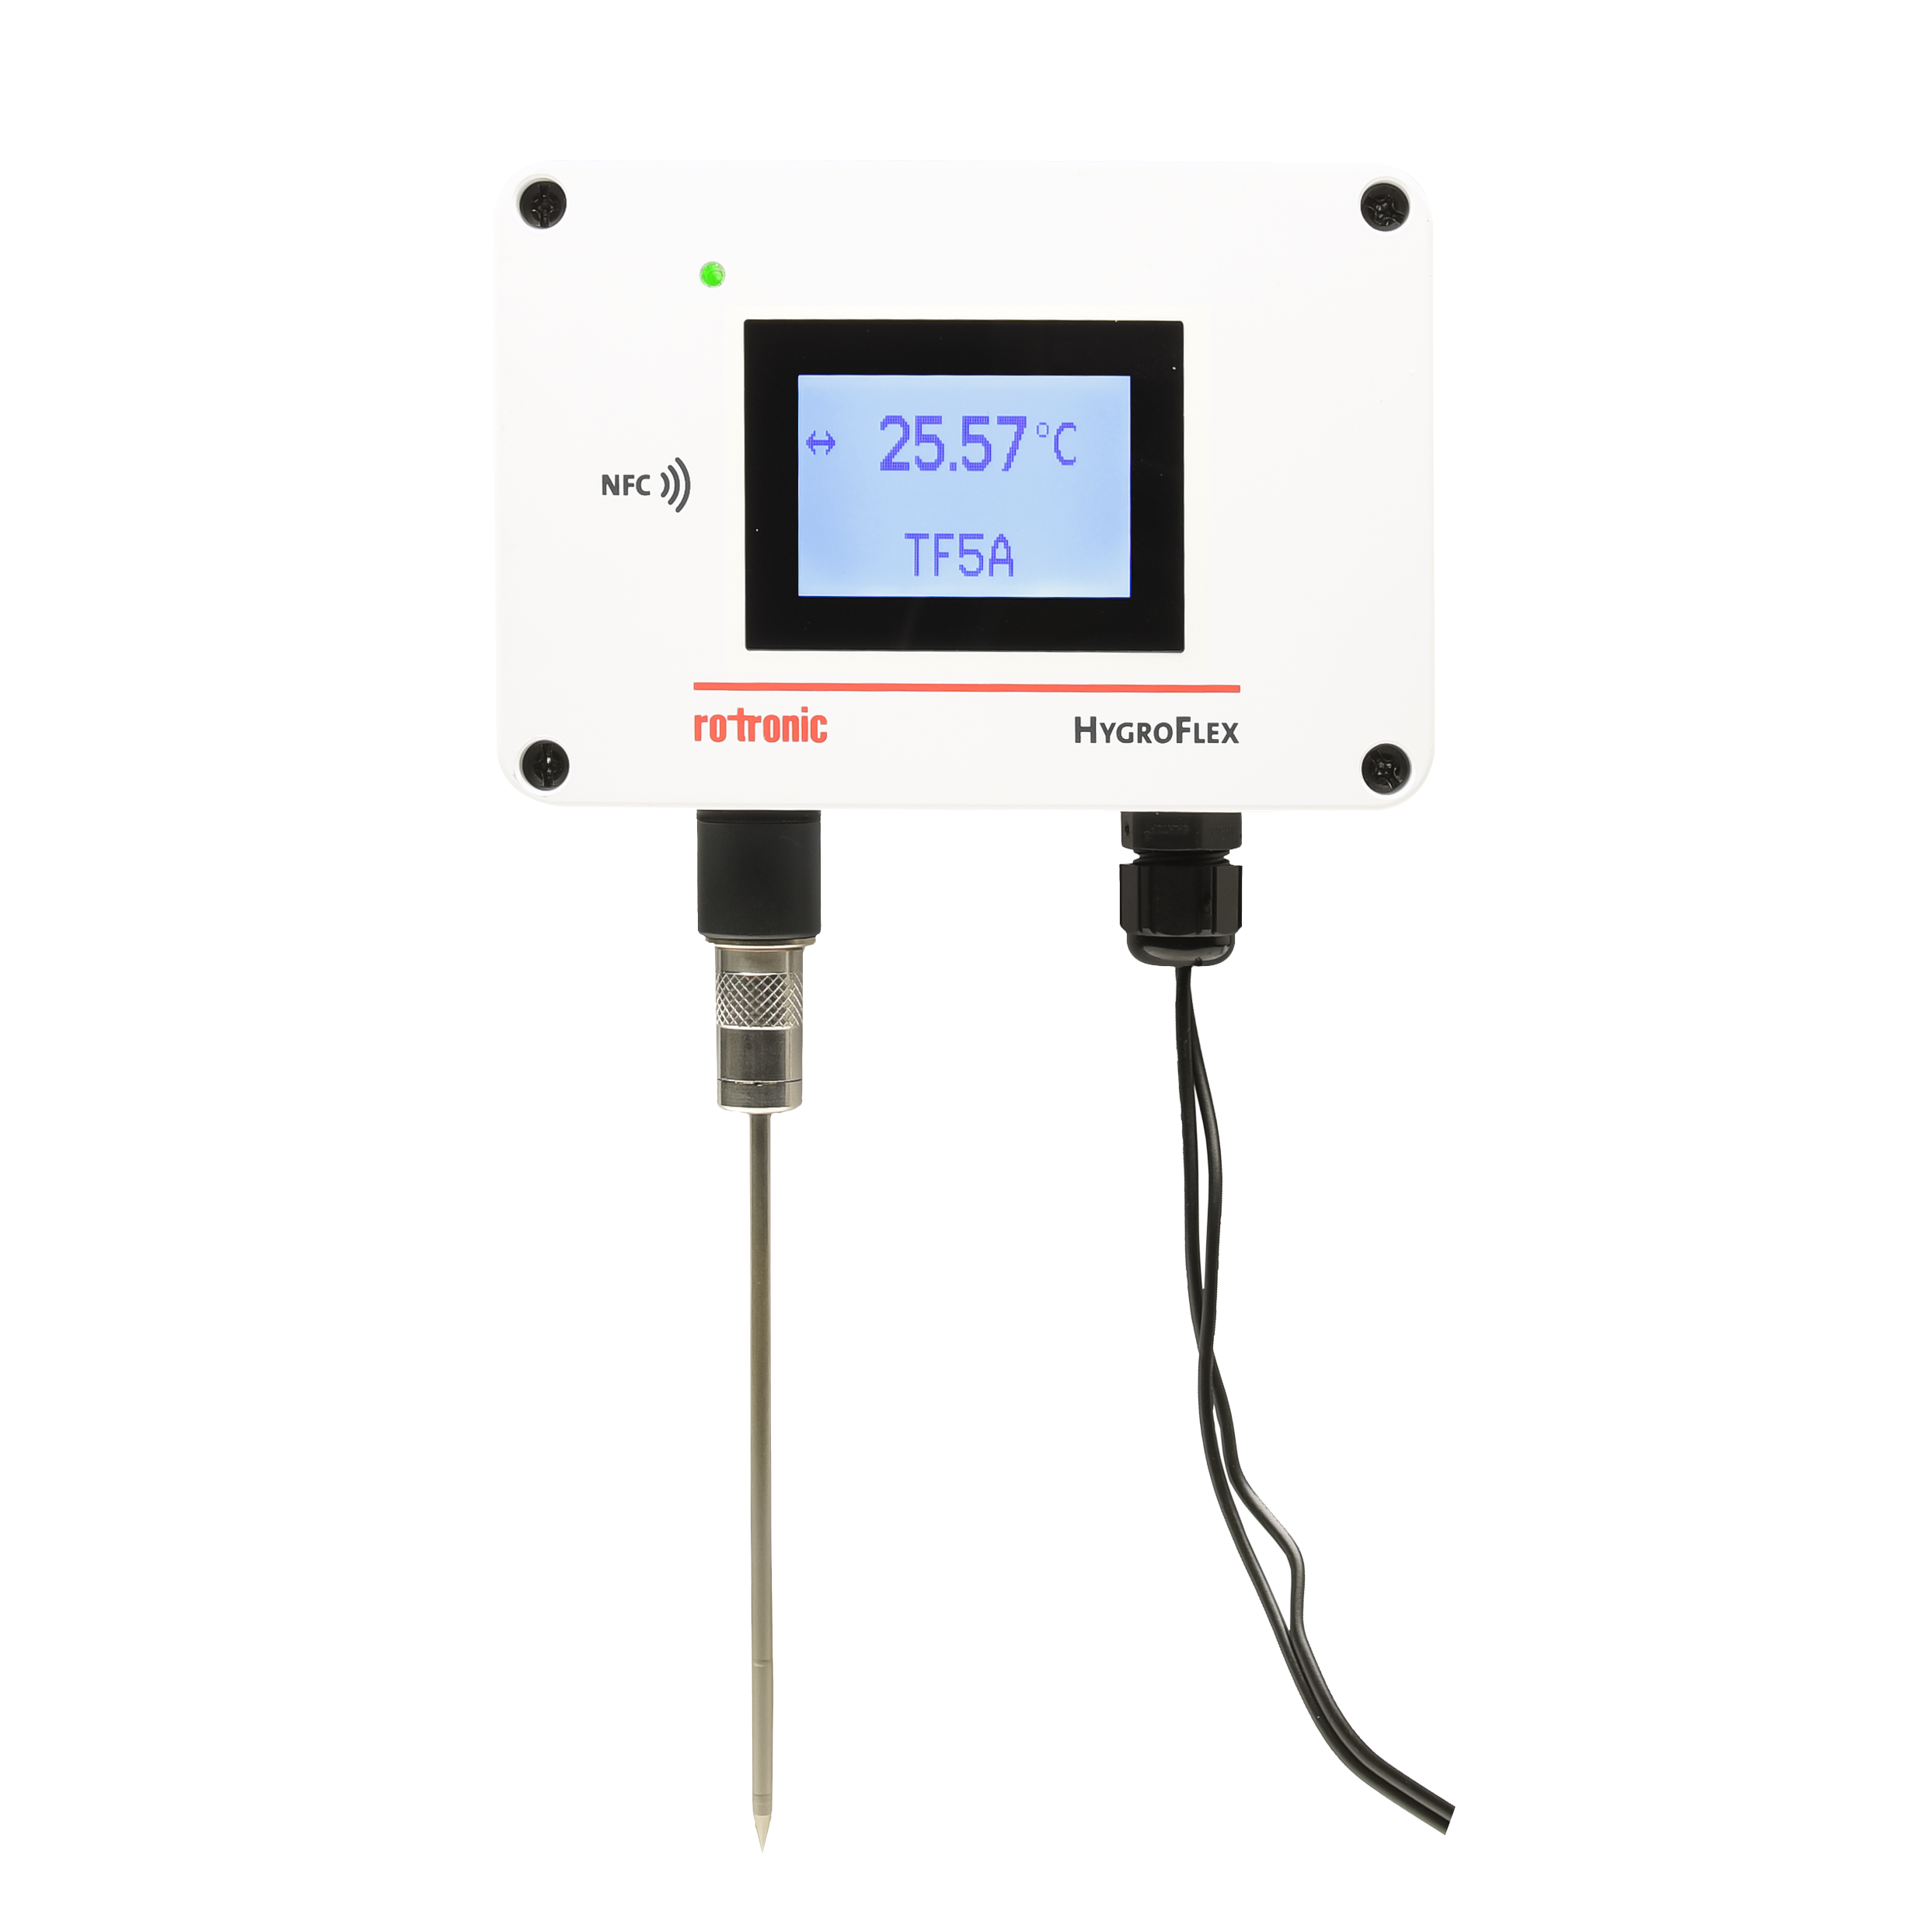
Close the device and securely tighten the screws. Align the connector and manually attach the PT100 probe (sold separately), ensuring the nut is firmly tightened.
Note: Screws can be tightened with a maximum torque of 0.8 Nm.
|