The calibrate tool is a function to calibrate measuring points in RMS based upon the GAMP Good Practice Guide: A Risk-Based Approach to Calibration Management (Second Edition). When calibrating measuring points within RMS, the equipment identification (measuring point name, serial number and ID), calibration dates, the individual performing each calibration, and the next calibration date are all documented following FDA 21 CFR Part 11/EU Annex 11 requirements.
Important feature: When carrying out a calibration or a firmware update of a wireless device, Rotronic recommend putting the device into calibration mode (updating the measurement interval to 60s for 1 hour).
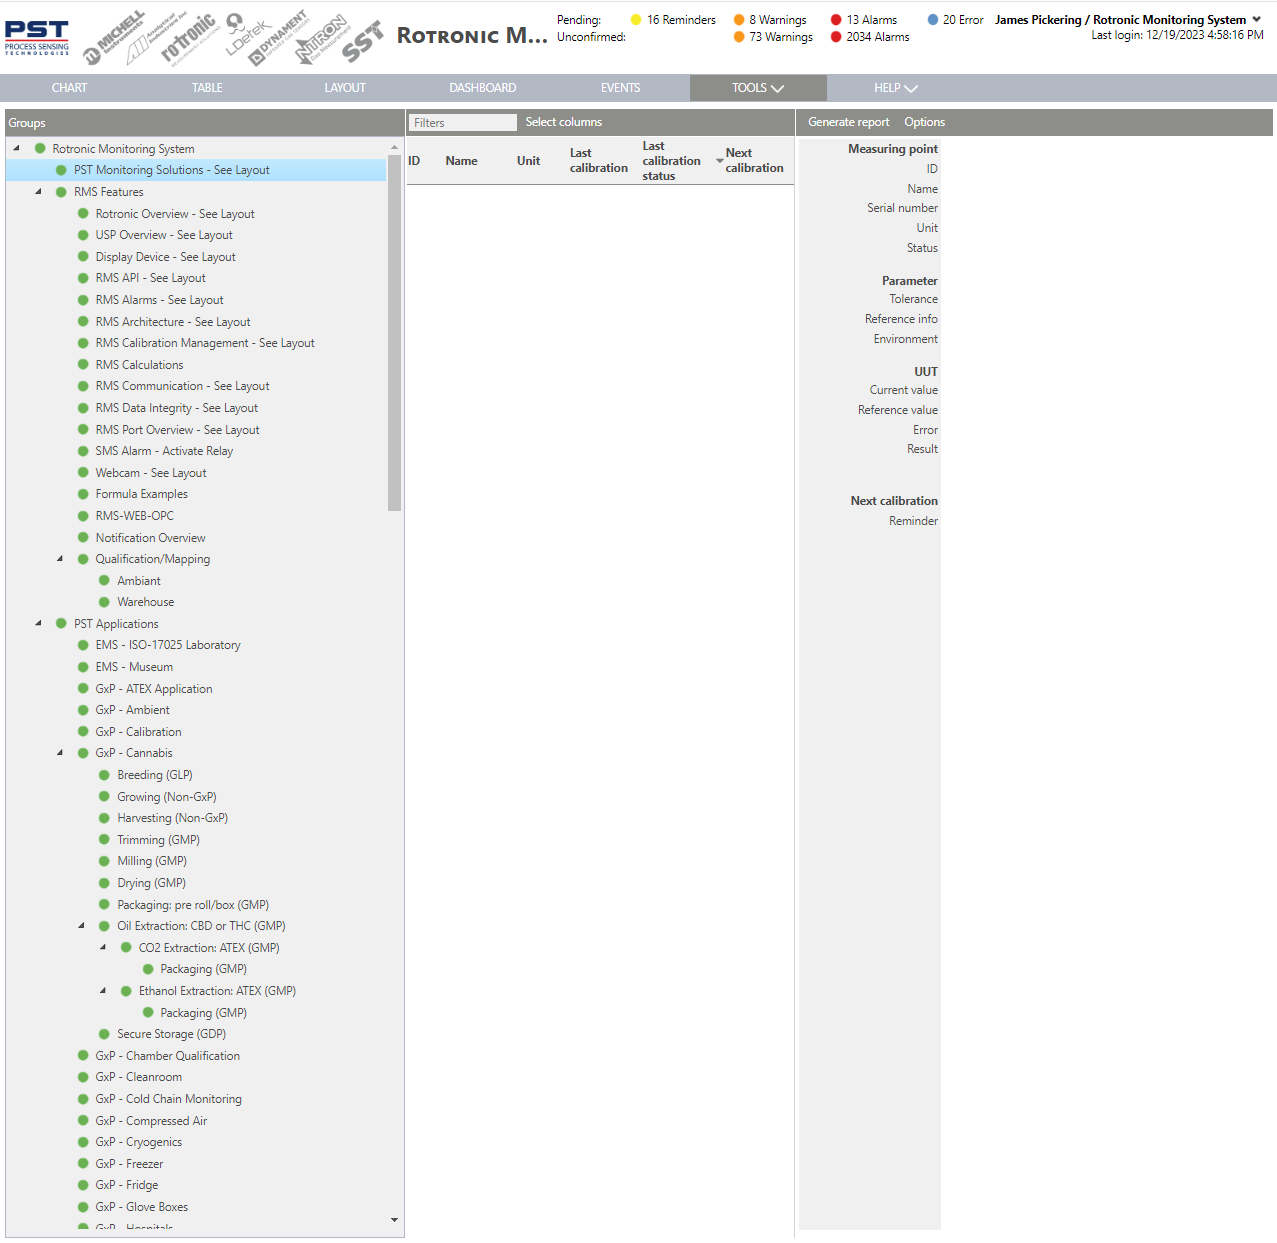
Print Screen 1 |
Under Groups, the user can select the group where the measuring point is located. The measuring points will then appear in the window.
By clicking on the desired measuring point the page will populate with the necessary details. Using the Ctrl or Shift button, multiple measuring points can be selected.
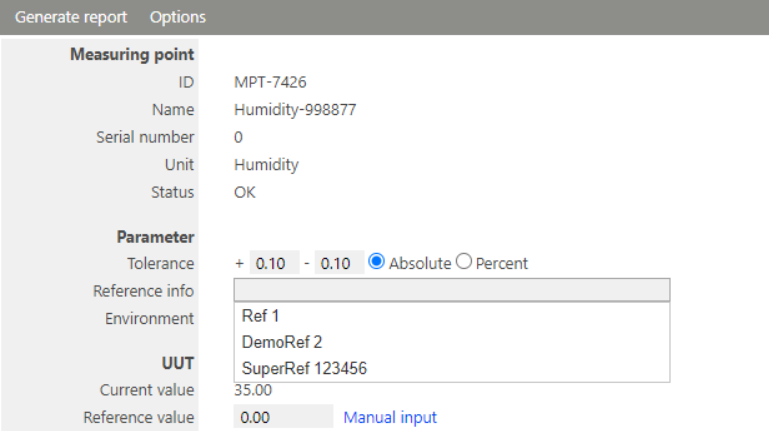
Tolerance: the tolerance can be defined in absolute or percent values. Reference info: the reference information can be added and will be integrated into the calibration report. Environment: the environment where the calibration was carried out can be added and will also be integrated into the calibration report.
As found: Initial calibration as found value. As left: As left calibration value after adjustment. Reference: Reference unit (device/probe) value. UUT: Unit (device/probe) under test (calibration). Error: Difference between the reference value and UUT value. Result: Result of the calibration either OK (Pass) or Error (Fail).
 |
Print Screen 2 |
The columns shown in the measuring point overview can also be selected. 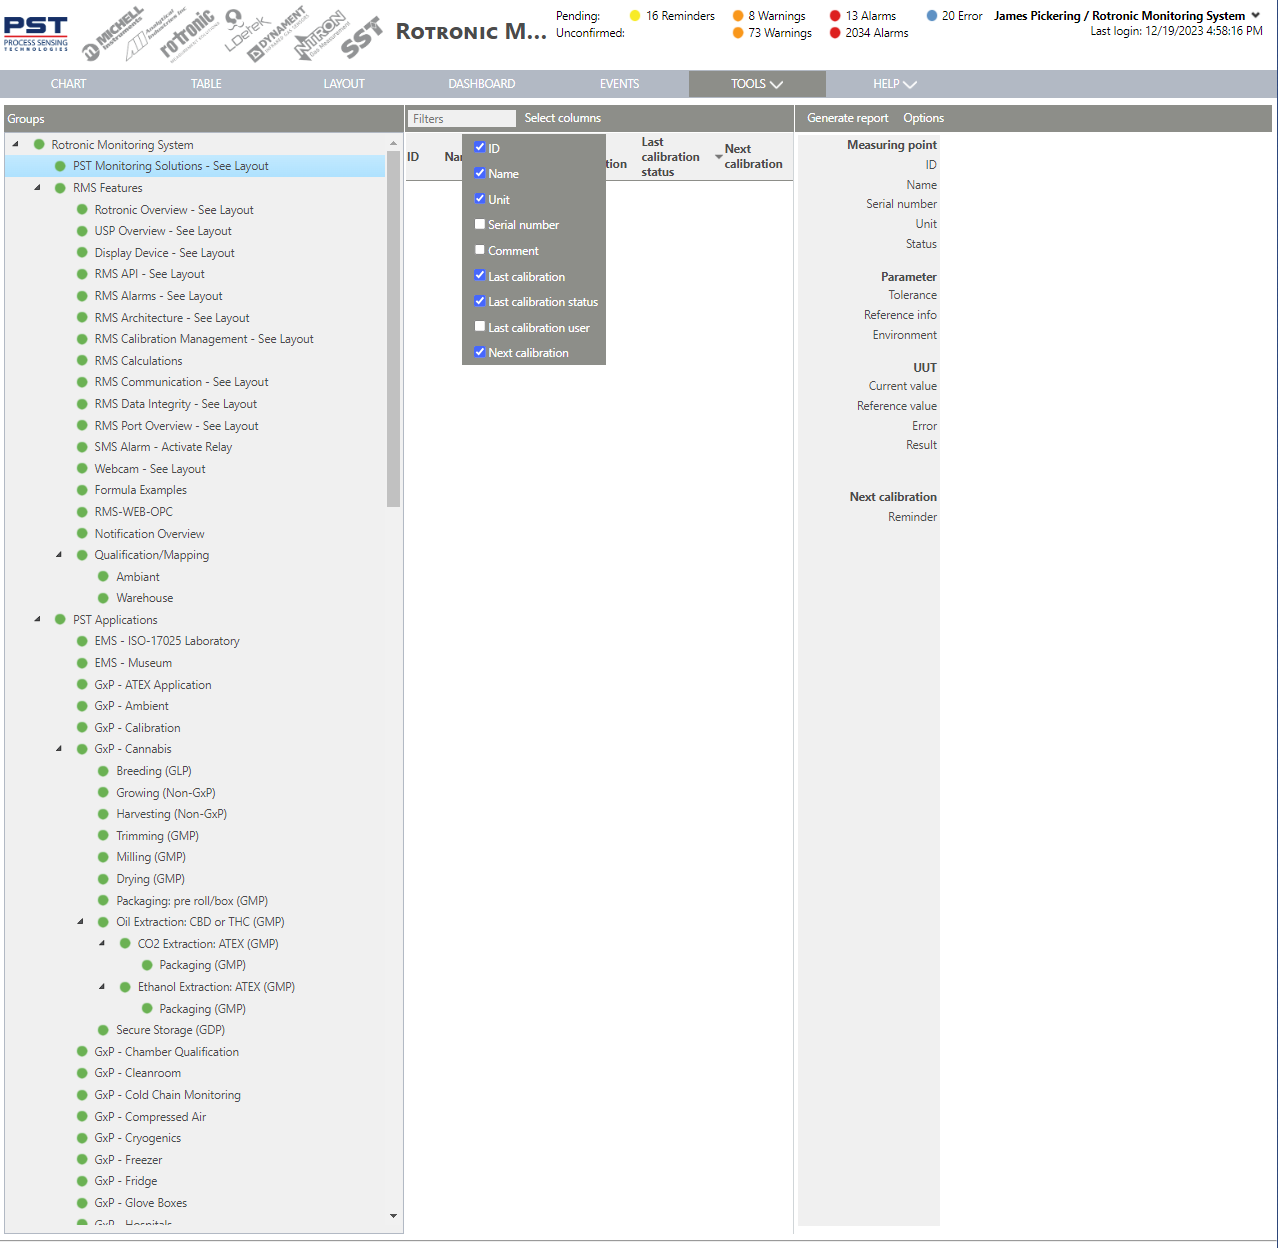 |
Print Screen 3 |
Once a measuring point selected and a reference value entered, the user can push on the calibrate! button. The user can then input comments as well define if it is an as found or as left calibration. 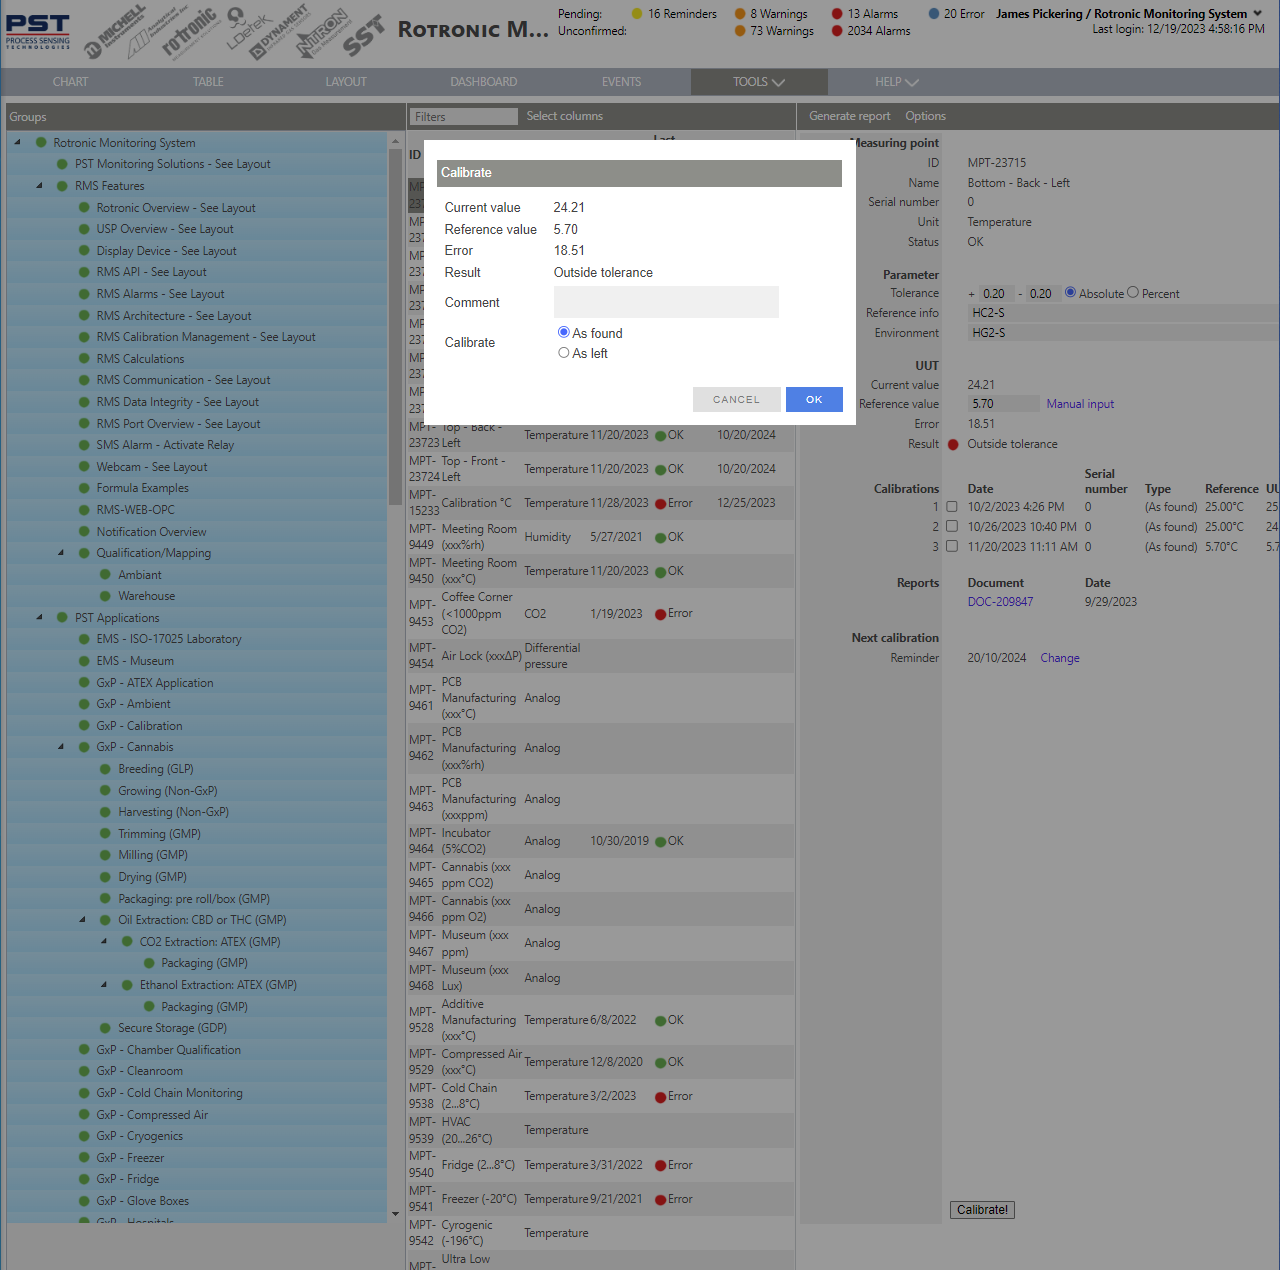 |
Print Screen 4 |
Once a measuring point has been calibrated, the user can generate a report by clicking on generate report (this report will automatically be added to the Tools>Documents>Measuring point location). The user can then select to either see all calibrations or only those selected.
Update V2.8.0: Content configuration of calibration report. The user can configure the content of the calibration report.
|
Print Screen 5 |
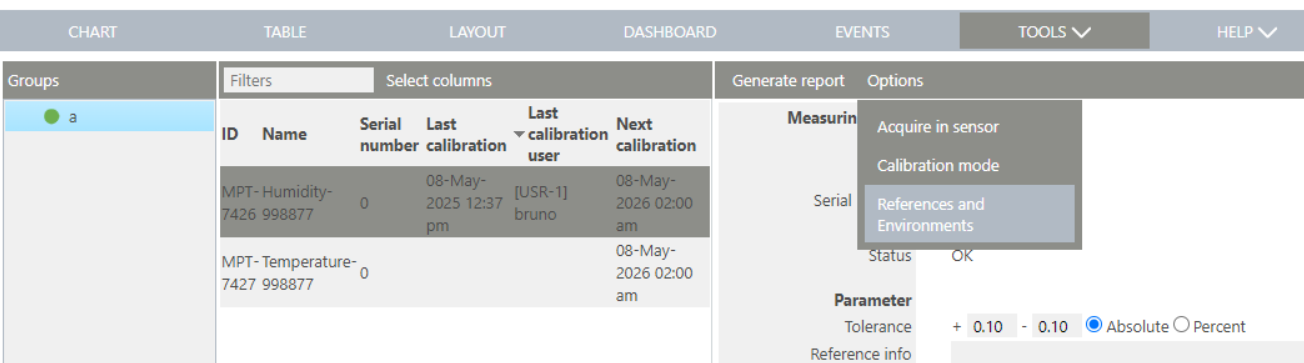
By clicking on options, the user has two choices that appear.
Acquire in sensor: once a measuring point has been calibrated, the user can acquire the calibration values into the sensor. This would be done if the user wishes to adjust the sensor.
Calibration mode: the user can send the measurement point into calibration mode (faster measurement interval). |
Print Screen 6 |
Prior to carrying out a calibration, the user can click on options and click on calibration mode. 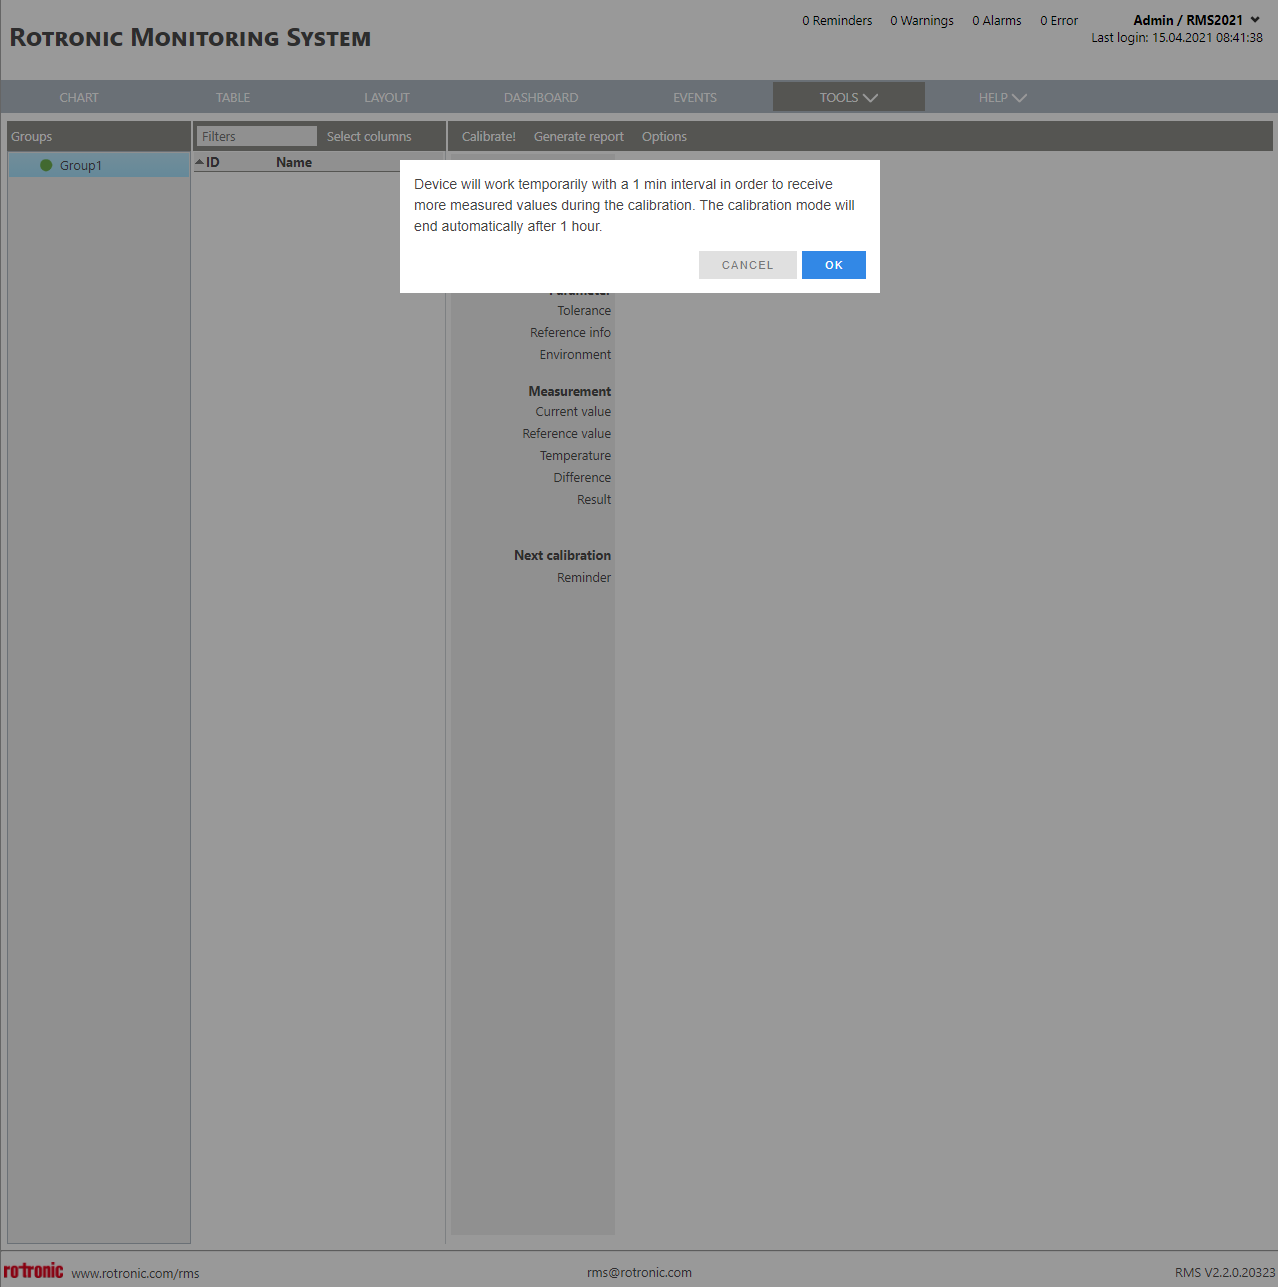 |
Print Screen 7 |
When selecting multiple measuring points, with the Ctrl or Shift button, please ensure that all measuring points are the same parameter, then all measuring points will be shown under the UUT's. Simply fill out the required data and click on Calibrate! to carry out a multi measuring point calibration. 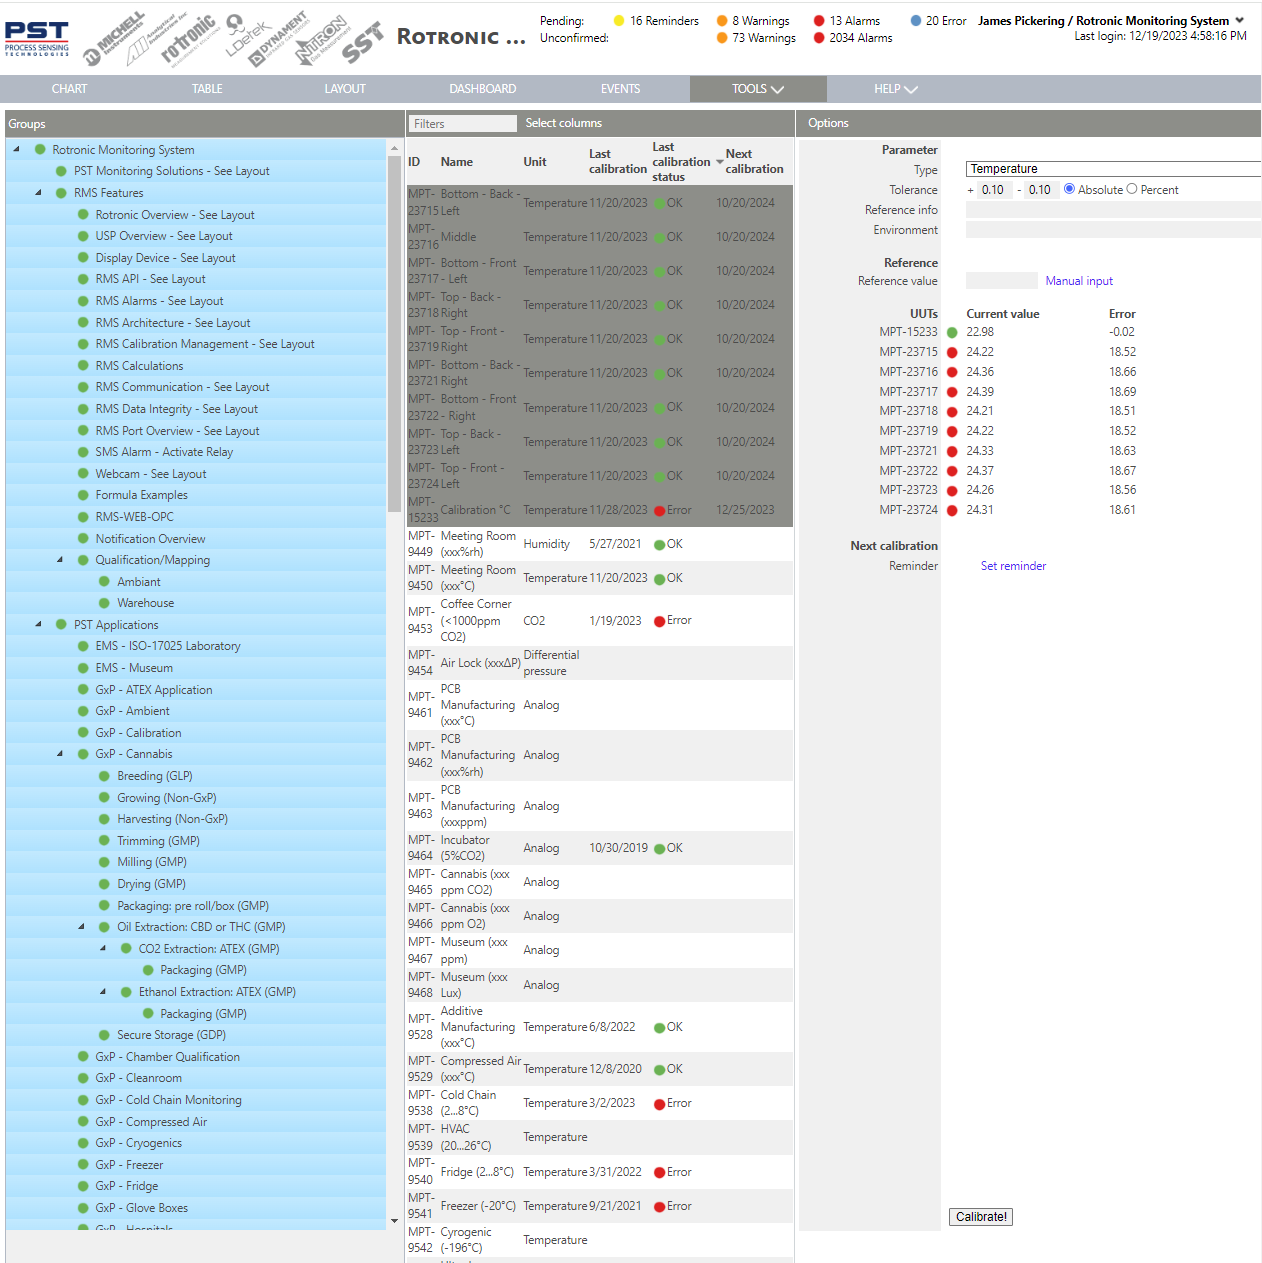 |
Update V2.8.0 |
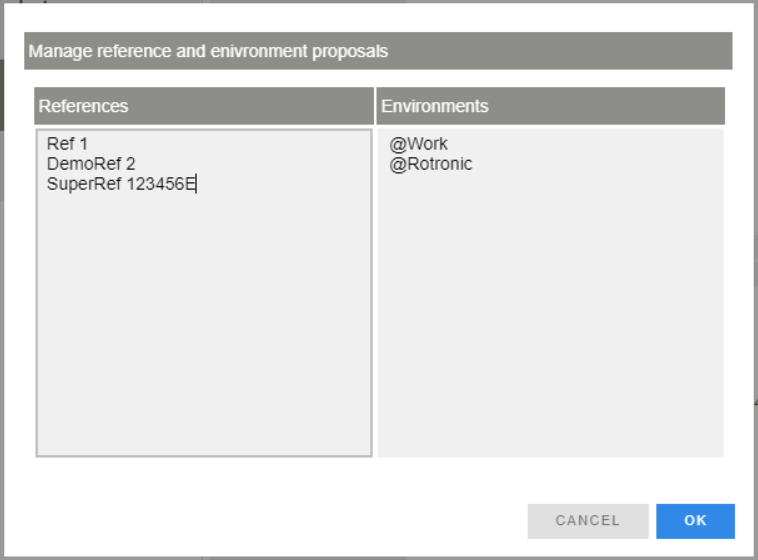
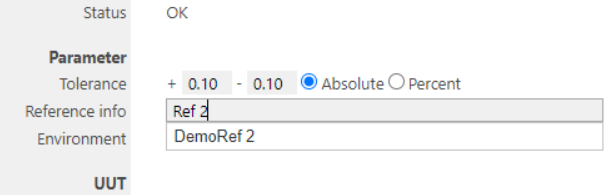
Calibration reference info and environment at calibration management menu as drop down Users define references and environments for calibration purposes. These references and environments are defined under a new calibration managment menu. This calibration management menu contains view/add/edit/delete user rights.
•Tools > Calibrate •Open editor from "Calibration -> Options -> References and Enviroments"
•Edit in multi line textboxes
•Proposals now shown when text box is focused •Proposals filtered by text
|
Update V2.9.1 |
A calibration report can be created in a csv and pdf file format. This can be done for selected calibrations or for all calibrations optionally. 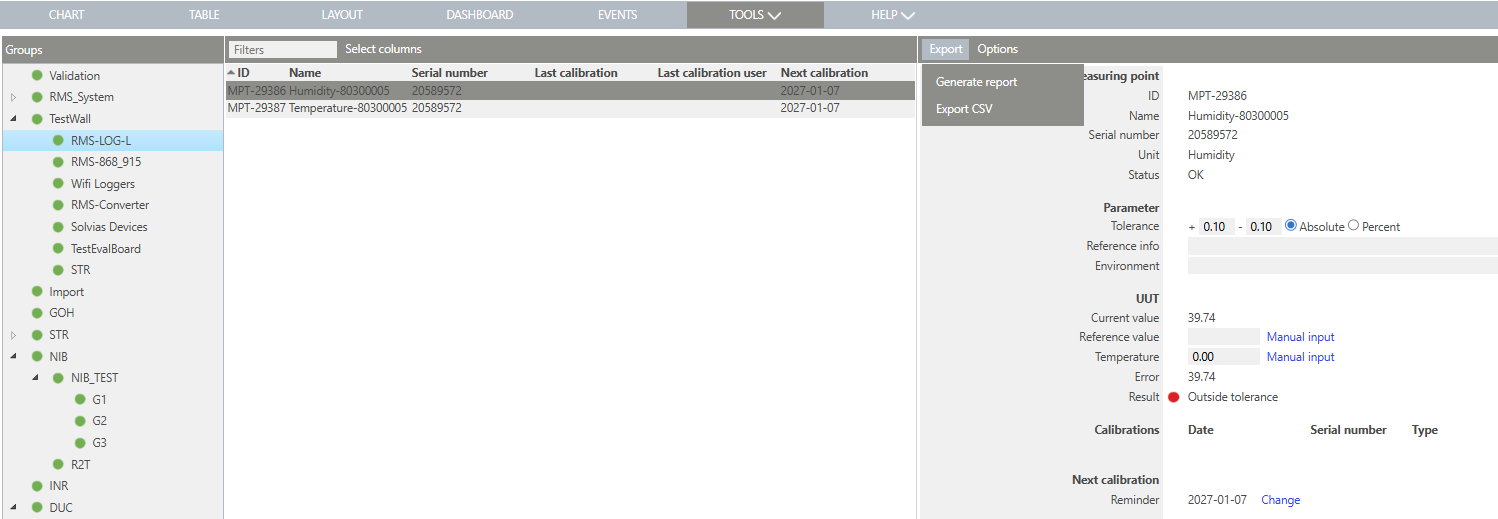 |


Update: 20.05.2026