Step 1 |
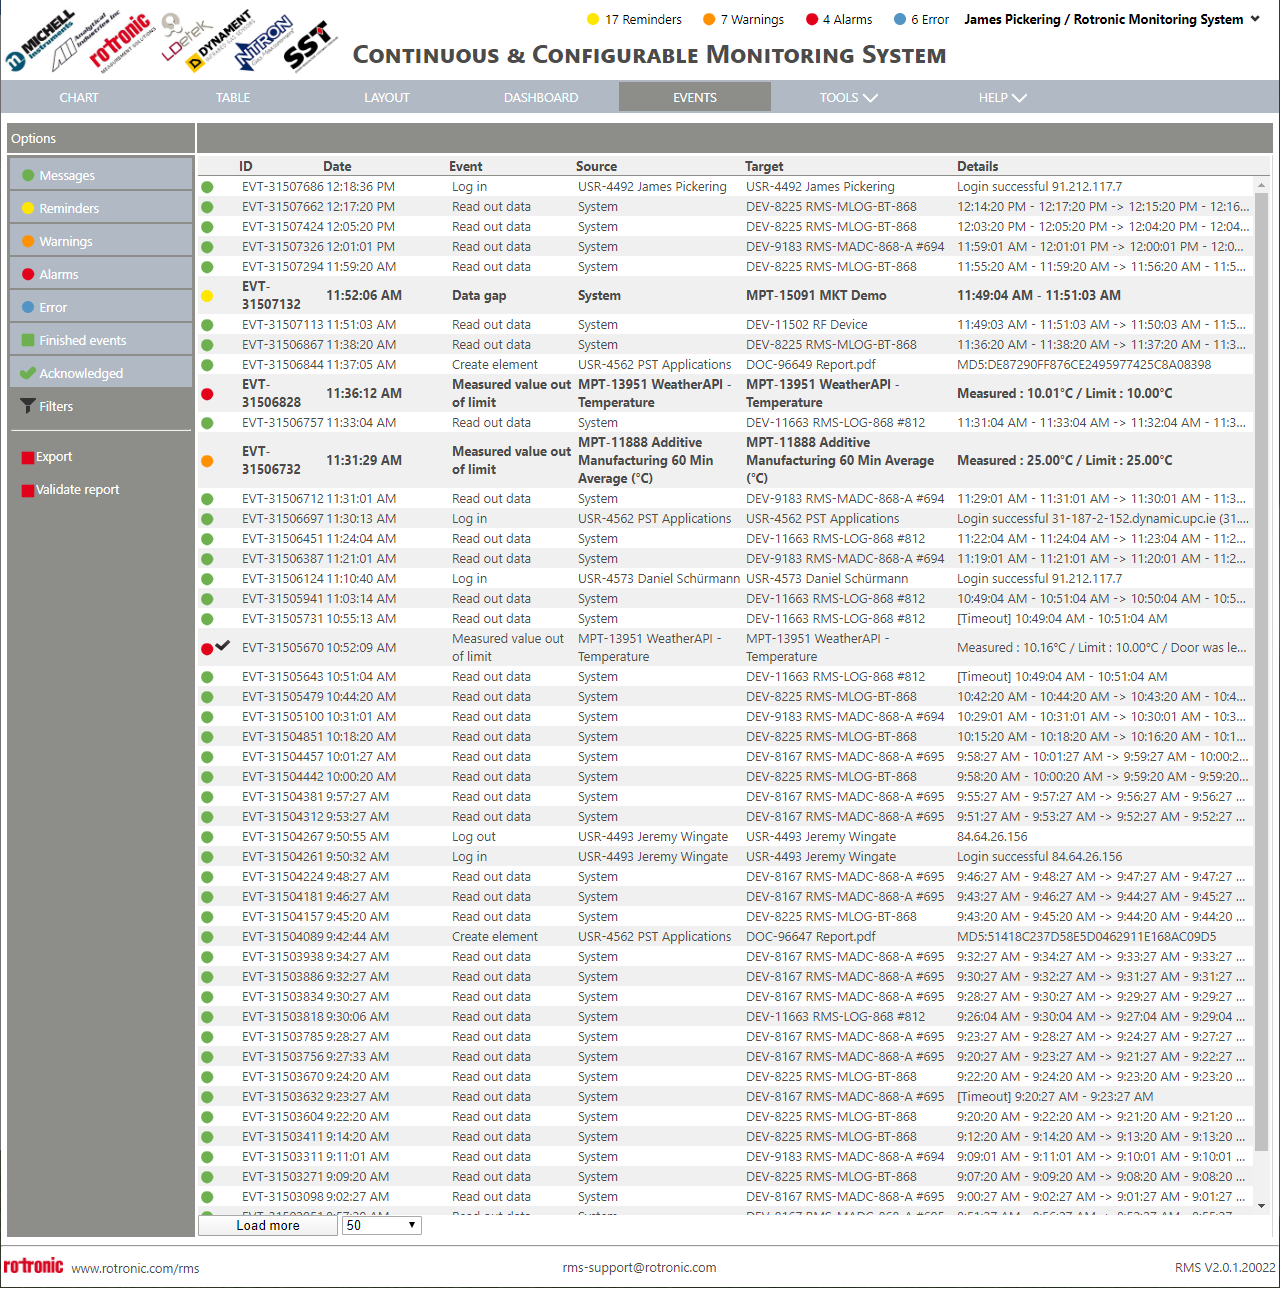
From the start page, click on "Events":
|
Step 2 |
Two filter options exist.
Go to step 3 for detailed filtering. Go to step 7 for simplified filtering. |
Step 3 |
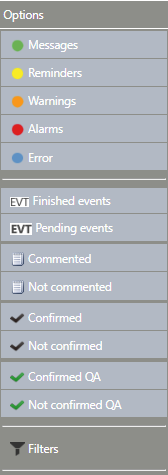
Filter out the required events using the filters function on the left as well as the messages, reminders, warnings, alarms, errors, finished and acknowledged events.
|
Step 4 |
Filter the events based upon ID, date, event, source, target and details:
ID: Filter based upon the event ID number. Date: Filter based upon the date. When selecting a time and date, the audit trail will show the point selected as the last event. It is possible to scroll down to see all events prior to this event. Event: Filter based upon an event name. See the list of events here: Audit Trail Events Overview. Source: Filter based upon the event source. The source is what generated the event and can be the system, a device (DEV), measuring point (MPT), user (USR), alarm scheme (AS), script (SCR). Target: Filter based upon the event target. The target is what is changed or generated in the event and can be a device (DEV), measuring point (MPT), user (USR), alarm scheme (AS), script (SCR), document (DOC), validation (VAL), group (GRP). Details: Filter based upon the details of the event. The details are details about the event itself.
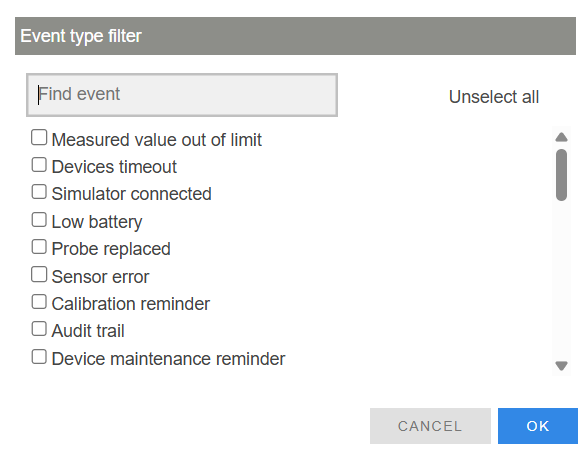
Update with Version 2.8.0: The events can be filtered by a click on the button <Filters>
The view can be filtered by event types. One or more event types can be selected.
The filter Source and Target, the user can combine more than one filter parameter, e.g. "MPT-6, DEV-1". The user can also define data that are excluded / filtered out from the view using the prefix "--". Typing e. g. "--DEV-1234", all information that contain DEV-1234 will not be displayed. |
Step 5 |
Once the correct filters are set, click on "Export":
|
Step 6 |
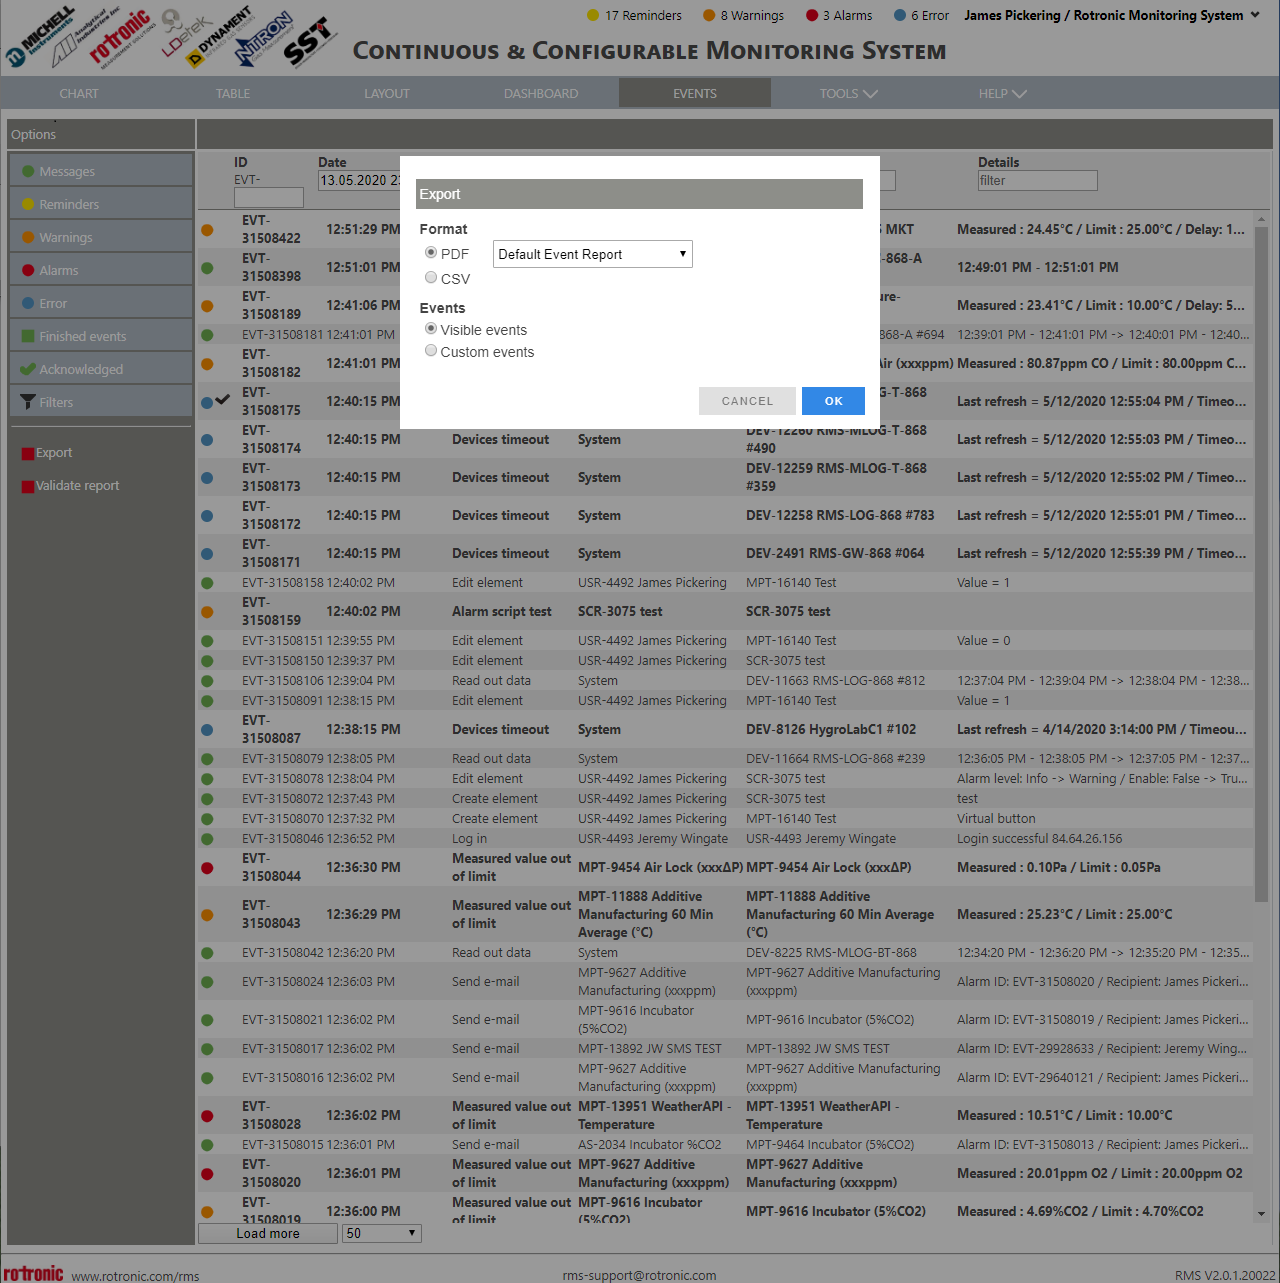
Select the format. Either a PDF or a CSV. If selecting a PSF, select the report template required.
If the events were already filtered from step 3, select visible events and click on OK.
Either a PDF or a CSV file will be downloaded. |
Step 7 |
Click on "Export":
|
Step 8 |
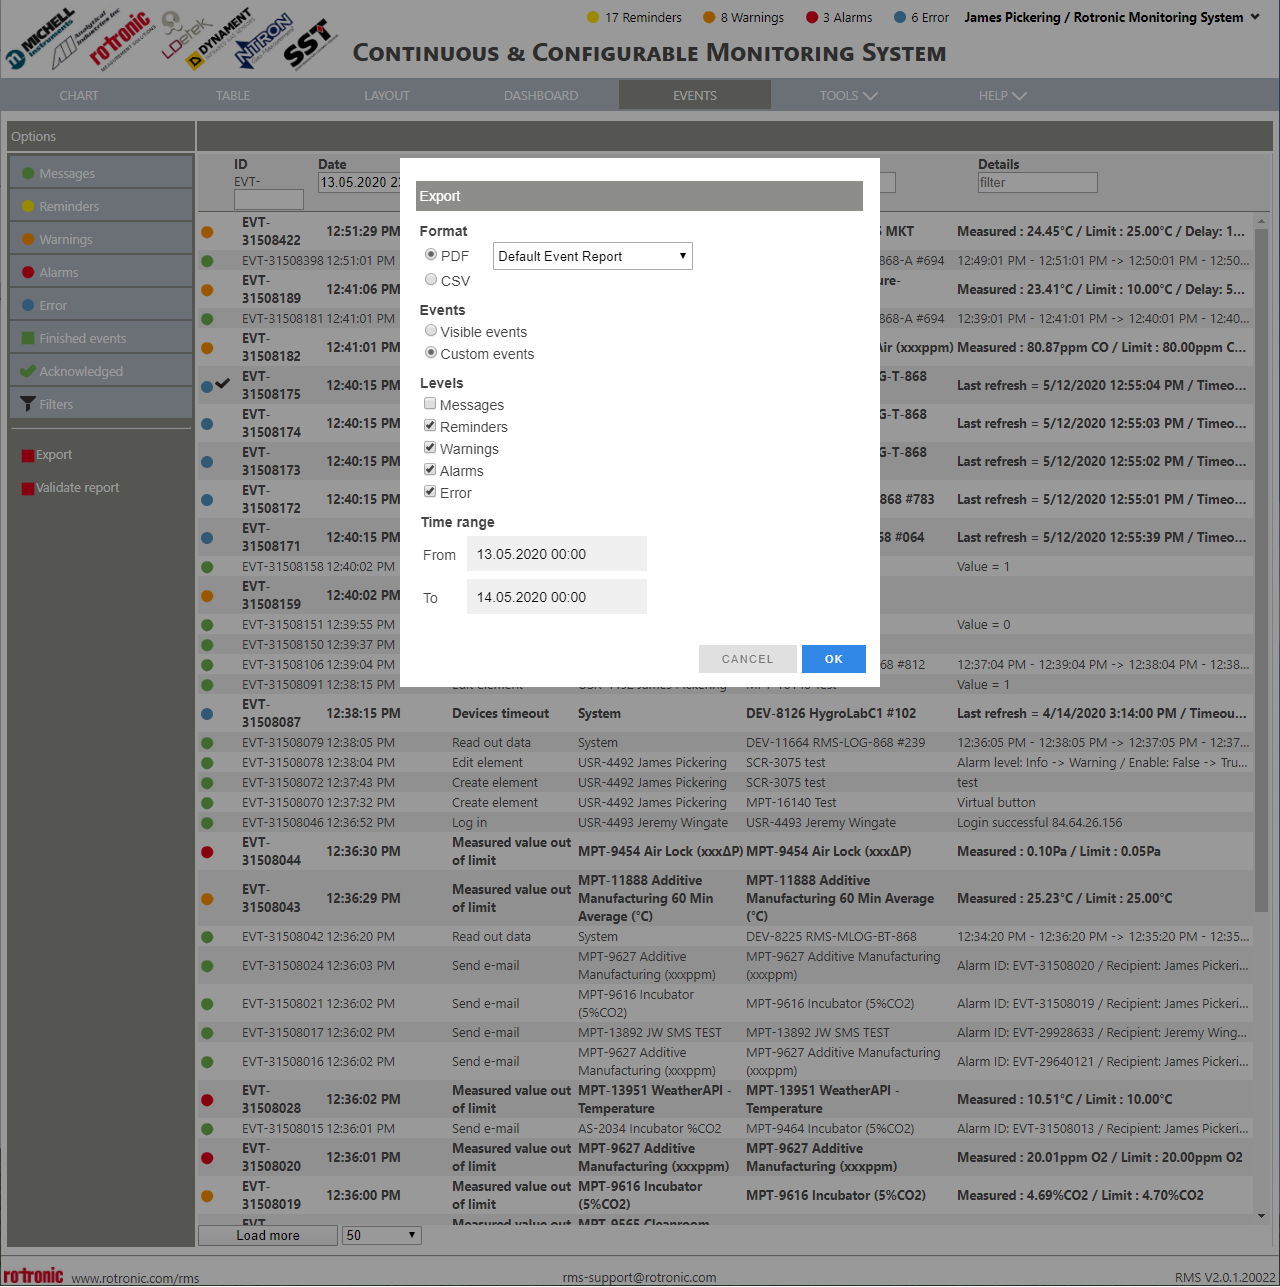
Select the format. Either a PDF or a CSV. If selecting a PSF, select the report template required.
Select customer events:
Either a PDF or a CSV file will be downloaded. |

Update 13.09.2025