In this step you create a database that later interacts with the RMS server software.
Step 1 |
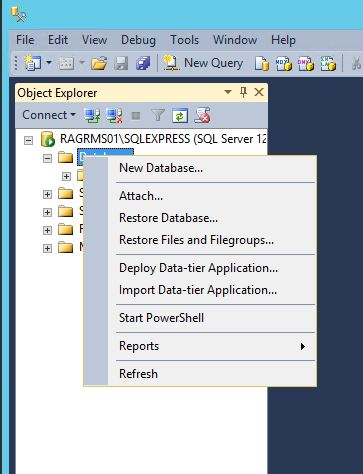
Right click on "Databases" and select "New Database…"
|
Step 2 |
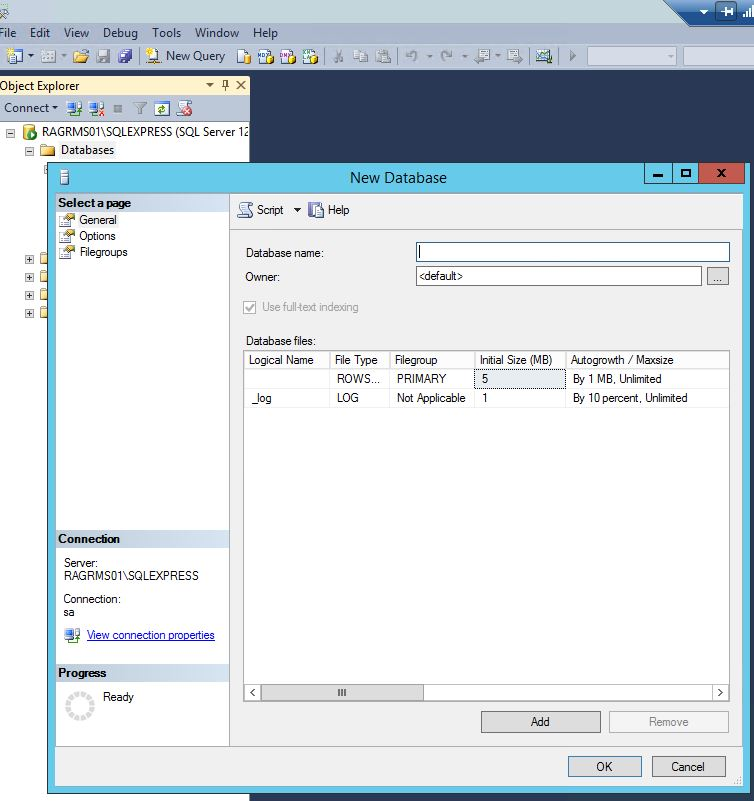
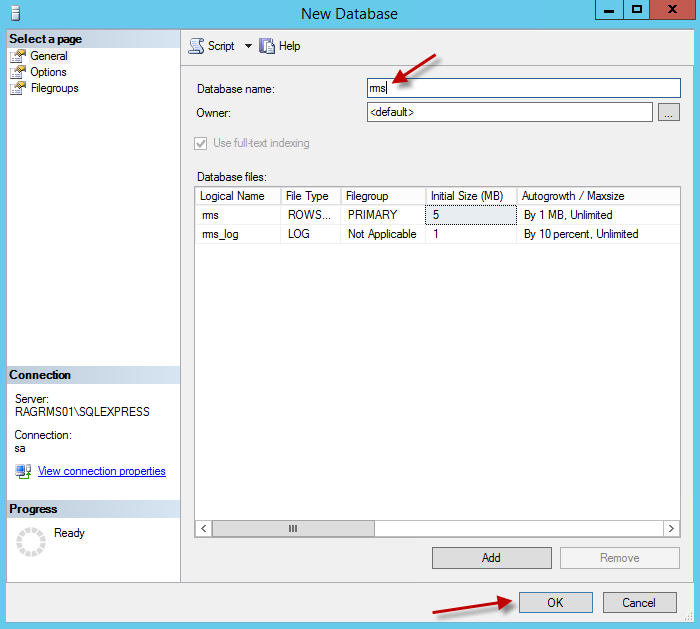
Specify the database name: "rms". The default values can be used for the initial size of the database.
|
Step 3 |
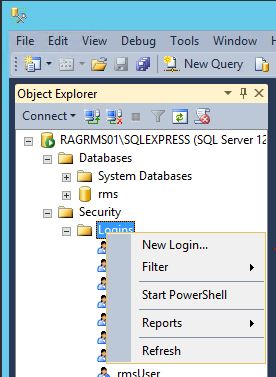
To generate new user for database login, go to "Object Explorer" > "Security" > right click on "Logins" > "New Login…"
|
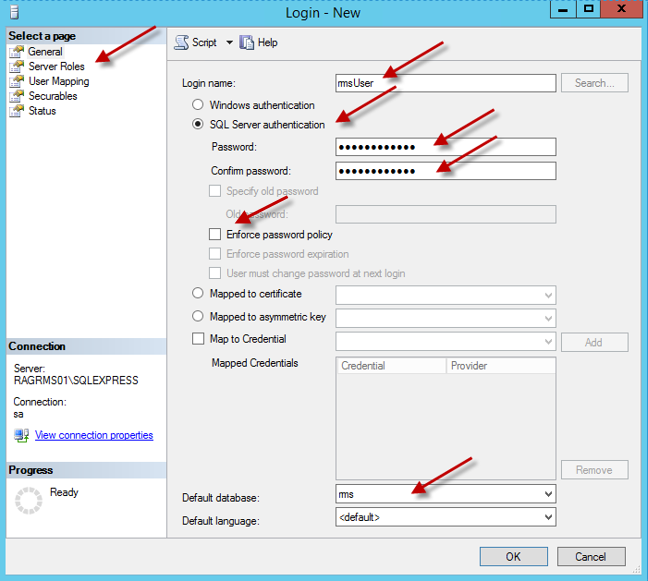
Step 4 |
Specify the login data for the user of the SQL database
IMPORTANT: oThis user login must be specified later for the Web Service so that the RMS server software can access the database. oUse only letters and numbers for the password. The password will be used when installing server software. Special characters could create conflict. oDefault database: "rms"
Go to "Server Roles" when finished on this page.
|
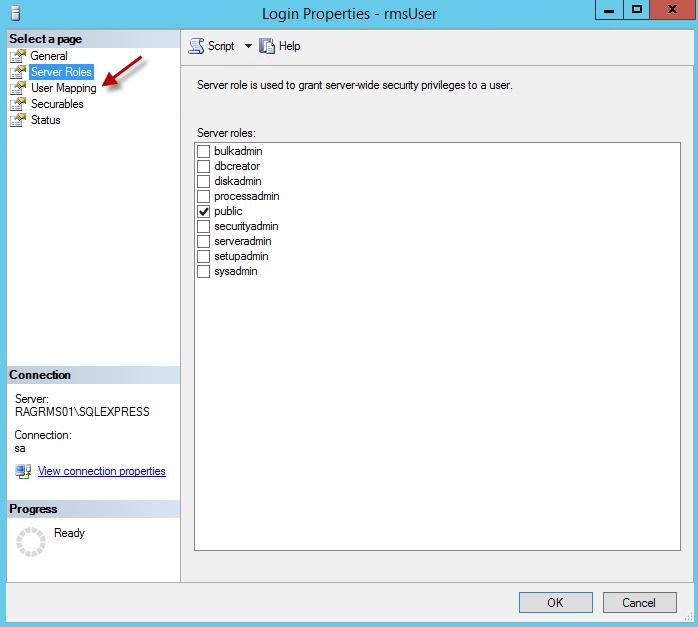
Step 5 |
Specify the server roles: only "public" must be selected.
Go to "User Mapping" when finished this page.
|
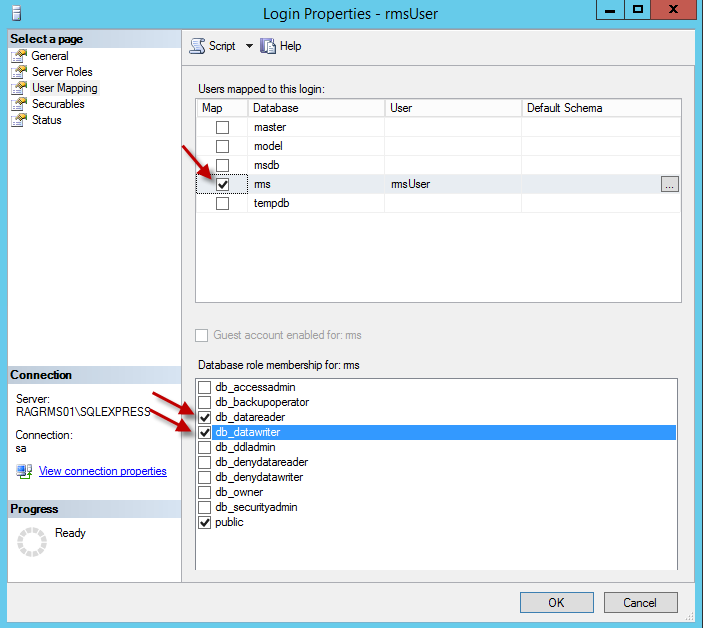
Step 6 |
Specify all settings under "User Mapping":
|
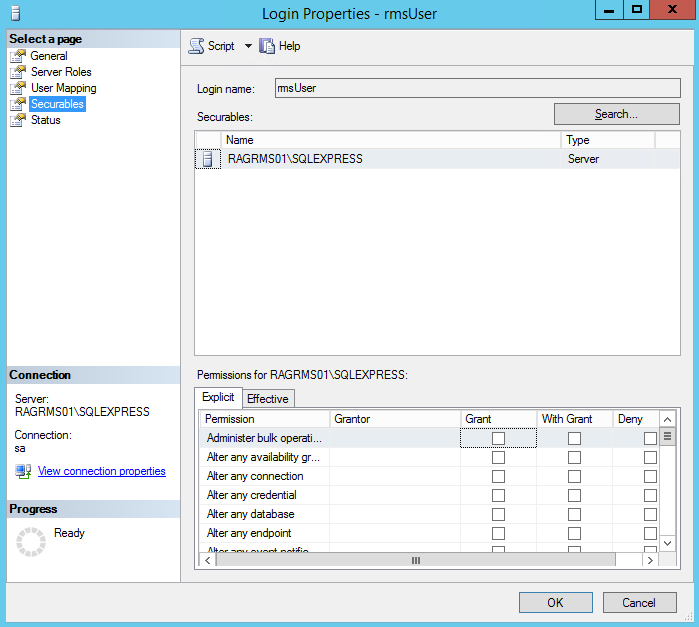
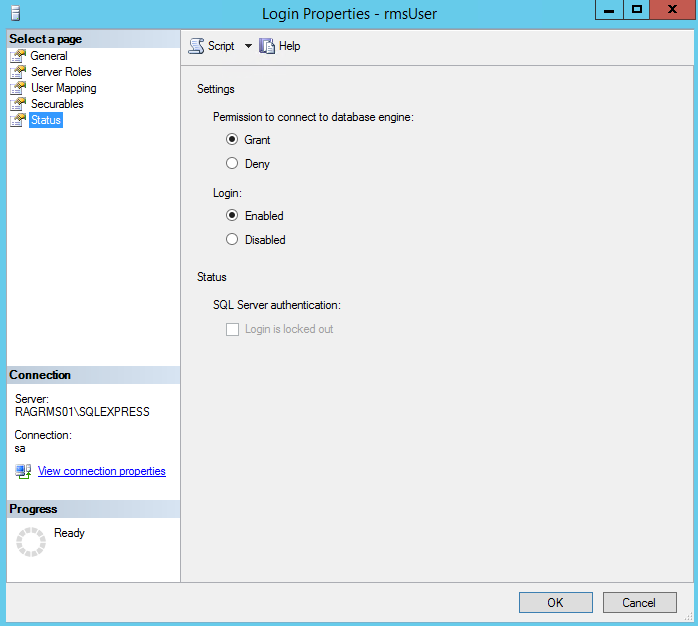
Step 7 |
No particular settings need to be made under "Securables" and "Status".
|
Step 8 |
Configuration of the database is then finished. |